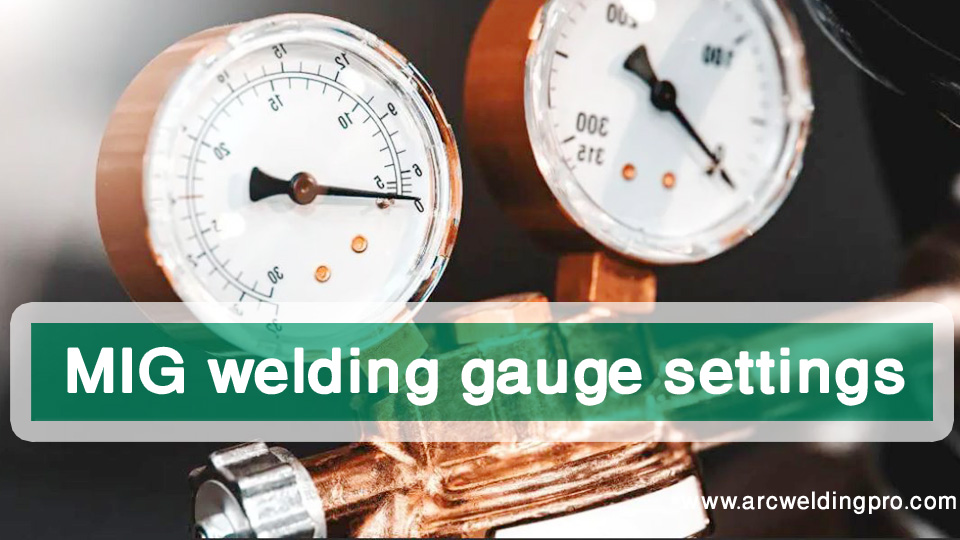
MIG welding, also known as Gas Metal Arc Welding (GMAW), relies on precise gauge settings to produce high-quality welds. The gauge settings determine crucial parameters such as voltage, wire feed speed, and shielding gas flow rate. Understanding how these settings impact the welding process is essential for achieving optimal results.
By mastering the gauge settings, welders can control the heat input, penetration depth, and overall weld quality. Let’s delve into the key aspects of gauge settings in MIG welding.

Image by workshopinsider
Setting the gauge correctly involves considering factors such as the material thickness, wire diameter, welding position, and desired weld profile. The voltage setting determines the heat input, while the wire feed speed controls the deposition rate of the filler wire. The type of shielding gas used influences the weld bead appearance and penetration. By balancing these factors, welders can create strong, clean welds with minimal defects.
Proper gauge settings are crucial for achieving consistent and reliable welds across various materials and thicknesses. Whether welding thin sheet metal or thick structural components, adjusting the gauge settings as per the specific requirements is key to producing sound welds.
Understanding the relationship between voltage, wire feed speed, and material thickness is essential for selecting the right settings for each welding project.
Factors to Consider When Setting the Gauge in MIG Welding
When setting the gauge for MIG welding, several factors must be taken into account to ensure optimal welding performance. The material type and thickness play a significant role in determining the appropriate gauge settings. Thinner materials require lower voltage and wire feed speed to prevent burn-through, while thicker materials may necessitate higher settings for proper fusion.
The type of shielding gas used also influences the gauge settings. Different gases have varying heat transfer properties, affecting the weld pool behavior and bead appearance.
The welding position, whether flat, vertical, overhead, or horizontal, impacts the distribution of heat and weld penetration, requiring adjustments to the gauge settings accordingly. By considering these factors, welders can tailor the settings to achieve the desired weld characteristics.
Another critical factor to consider is the wire diameter. Thicker wires demand higher voltages and wire feed speeds to accommodate their increased deposition rates, while thinner wires operate more efficiently at lower settings. By selecting the appropriate wire diameter and adjusting the gauge settings accordingly, welders can maintain control over the welding process and produce high-quality welds.
Recommended Gauge Settings for Different Materials and Thicknesses
Choosing the right gauge settings for MIG welding depends on the specific material and thickness being welded. For mild steel, a common material in welding applications, recommended gauge settings typically range from 16 to 20 volts and 200 to 300 inches per minute (IPM) for wire feed speed. Thicker sections may require higher voltage settings to ensure proper fusion and penetration.
When welding stainless steel, which has different heat transfer properties compared to mild steel, adjustments to the gauge settings are necessary. Stainless steel typically requires lower voltage and higher wire feed speeds to prevent overheating and distortion. For aluminum welding, which conducts heat more effectively, lower voltage settings and higher wire feed speeds are recommended to achieve clean welds.

Image by indiamart
For thin sheet metal welding, where burn-through is a common concern, using lower voltage settings and slower wire feed speeds can help control the heat input and prevent warping.
On the other hand, when welding thicker materials, higher voltage and wire feed speed settings are necessary to ensure adequate penetration and fusion. By following manufacturer recommendations and conducting test welds, welders can fine-tune the gauge settings for optimal welding results.
How to Adjust the Gauge Settings for Optimal Welding Results
Achieving optimal welding results requires meticulous adjustment of the gauge settings to suit the specific welding conditions and material properties. Start by selecting the appropriate wire diameter and type based on the material thickness and welding application.
Next, adjust the voltage setting to control the heat input and penetration depth, keeping in mind the material conductivity and desired weld profile.
Fine-tuning the wire feed speed is equally important for maintaining a stable arc and consistent weld bead formation. By adjusting the wire feed speed, welders can control the deposition rate of the filler wire and ensure proper fusion with the base material.
Optimizing the shielding gas flow rate is essential for protecting the weld pool from atmospheric contamination and achieving clean, slag-free welds.
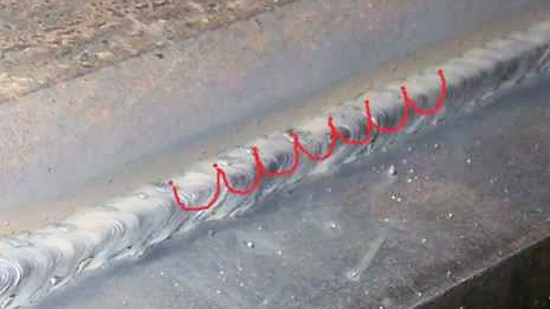
During the welding process, continuously monitor the weld bead appearance and penetration to assess the effectiveness of the gauge settings. Make incremental adjustments as needed to refine the weld quality and address any issues such as spatter, undercut, or lack of fusion.
By practicing proper technique and experimenting with different settings, welders can hone their skills and master the art of adjusting gauge settings for optimal welding performance.
Common Mistakes to Avoid When Setting the Gauge in MIG Welding
While setting the gauge for MIG welding, several common mistakes can compromise the quality and integrity of the welds. One common error is using incorrect gauge settings for the specific material and thickness being welded, leading to inadequate fusion, burn-through, or distortion. It is essential to refer to welding procedure specifications (WPS) and manufacturer guidelines to select the appropriate settings.
Another mistake to avoid is neglecting to clean the base metal before welding, which can result in contamination and poor weld quality. Proper surface preparation, including removing rust, paint, and oils, is crucial for achieving strong welds. Additionally, failing to maintain consistent travel speed and torch angle during welding can impact the weld bead appearance and penetration, necessitating adjustments to the gauge settings.
Improper gas flow rate and shielding gas selection are also common mistakes that can affect the weld quality. Inadequate gas coverage can lead to porosity and oxidation in the weld, compromising its strength and integrity.
By ensuring the proper flow rate and gas composition, welders can create clean, spatter-free welds with excellent mechanical properties. Avoiding these common mistakes and paying attention to detail during the welding process can help achieve consistent and high-quality welds.
Tips and Tricks for Getting the Perfect Gauge Settings in MIG Welding
Achieving the perfect gauge settings in MIG welding requires a combination of technical knowledge, hands-on experience, and attention to detail. To fine-tune the settings for optimal welding performance, consider conducting test welds on scrap material to evaluate the weld bead appearance, penetration, and overall quality. Use these test welds to adjust the gauge settings and refine your technique before welding on the actual workpiece.
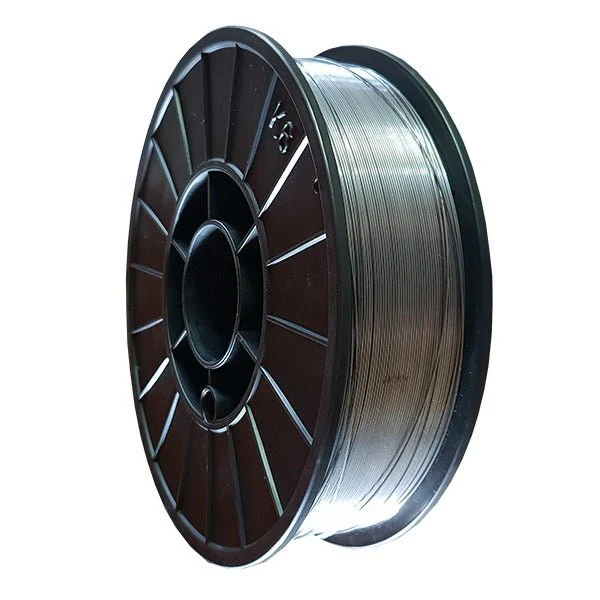
When selecting the wire diameter and type, refer to the welding wire manufacturer’s recommendations and welding procedure specifications for guidance. Different wire types, such as flux-cored or solid wire, may require specific settings to achieve the desired weld characteristics. Experiment with various settings, including voltage, wire feed speed, and shielding gas flow rate, to find the optimal combination for your welding application.
Maintaining a stable arc length and consistent travel speed is essential for producing uniform weld beads and preventing defects such as spatter and undercut. Practice proper gun angle and torch manipulation to control the heat input and weld pool shape.
By mastering these techniques and continuously refining your gauge settings, you can enhance your welding skills and produce high-quality welds with precision and efficiency.
Troubleshooting Common Gauge Setting Issues in MIG Welding
Despite meticulous preparation and calibration of gauge settings, welders may encounter common issues during the welding process that require troubleshooting. One common problem is excessive spatter, which can result from high wire feed speeds or improper shielding gas flow rates. Adjusting the settings to reduce the wire feed speed and optimize the gas flow can help minimize spatter and produce cleaner welds.
Another common issue is poor weld penetration, often caused by insufficient voltage or wire feed speed settings. Increasing the voltage and wire feed speed can enhance the heat input and promote deeper fusion with the base material. Addressing issues such as erratic arc behavior, inconsistent bead appearance, or excessive heat-affected zone (HAZ) can be resolved by adjusting the gauge settings and practicing proper welding technique.
In cases where weld defects persist despite adjustments to the gauge settings, consider inspecting the welding equipment for any malfunctions or worn components that may be affecting the welding performance. Regular maintenance and calibration of the welding machine, including checking for damaged contact tips, worn drive rolls, or dirty welding gun components, can help ensure consistent and reliable weld quality.
By identifying and addressing common gauge setting issues promptly, welders can troubleshoot effectively and achieve optimal welding results.
Importance of Regular Maintenance and Calibration of Gauge Settings in MIG Welding
Maintaining and calibrating the gauge settings in MIG welding equipment is essential for ensuring consistent and reliable welding performance. Regular maintenance tasks, such as cleaning the welding gun, replacing worn contact tips, inspecting drive rolls, and checking for gas leaks, help prevent equipment malfunctions and ensure smooth operation. By addressing any issues promptly, welders can avoid costly downtime and maintain productivity.
Calibrating the gauge settings involves verifying the accuracy of voltage, wire feed speed, and shielding gas flow rate to match the welding requirements. Periodic calibration checks, using a multimeter or welding machine settings, can help confirm that the gauge settings align with the desired parameters for the specific welding application. By calibrating the settings regularly, welders can achieve consistent weld quality and minimize the risk of weld defects.
In addition to equipment maintenance and calibration, proper storage and handling of welding consumables, such as filler wire and shielding gas cylinders, are crucial for preserving their integrity and performance. Store welding wires in a dry, clean environment to prevent rust or contamination, and secure gas cylinders upright to prevent leaks or damage.
By following best practices for equipment maintenance and consumable handling, welders can prolong the lifespan of their welding equipment and ensure reliable welding results.
Conclusion
MIG welding is essential for achieving precise, consistent, and high-quality welds across a variety of materials and thicknesses. By understanding the factors that influence gauge settings, selecting the appropriate settings for each welding application, and troubleshooting common issues effectively, welders can elevate their welding skills and produce professional results.
Regular maintenance and calibration of gauge settings are key to ensuring reliable welding performance and minimizing the risk of defects. With practice, attention to detail, and a commitment to continuous improvement, welders can unlock the secrets to achieving top-notch welds with the right gauge settings. Happy welding!

I’m Darrell Julian, the founder, lead writer, and hands-on welding enthusiast behind ArcWeldingPro.com. With more than 15 years of real-world welding experience, I created this platform to share what I’ve learned in the field, in the shop, and in the heat of the arc.


