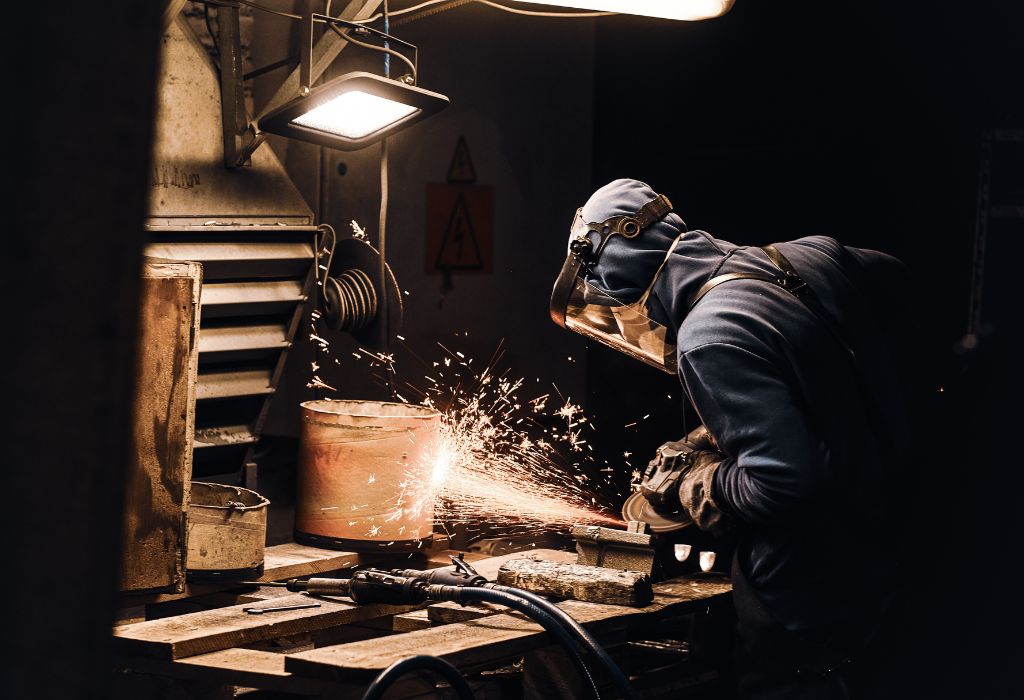
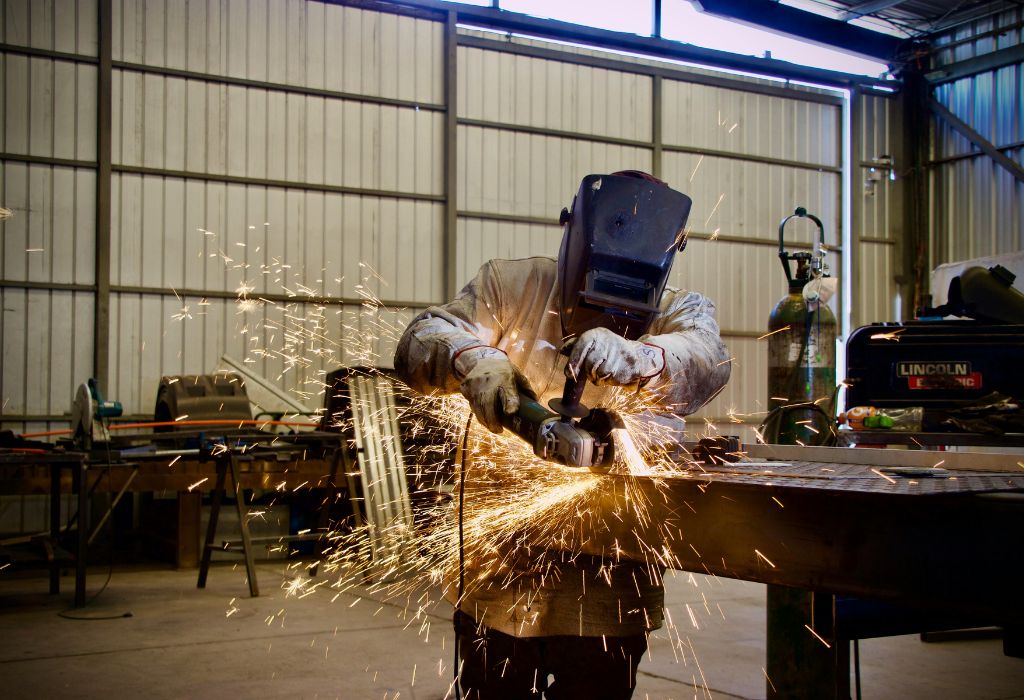
A welder approaches the machine, flips the switch, and nothing happens.
No hum, no spark, just silence.
In the middle of a critical job, this moment can bring everything to a standstill.
A non-starting welder doesn’t always mean the machine is dead—it often points to a small electrical fault or a drained starter battery in an engine-driven unit.
Yet, rushing to “jump start” without understanding the process can cause more harm than good.
Incorrect jump-starting is one of the leading causes of inverter board and rectifier failures in portable welding units.
Curiosity naturally follows: can a welding machine be safely jump-started like a vehicle?
The answer depends on the type of welder, the cause of the failure, and how the electrical circuit is designed.
According to Miller Electric, improper jump-starting can permanently damage control boards or cause dangerous voltage spikes .
Safety experts emphasize that grounding, polarity, and current flow must be verified before any attempt to jump-start.
A single mistake in cable order or clamp placement can lead to short circuits or battery explosions.
In fact, OSHA data shows that electrical mishaps account for over 5% of welding-related injuries in industrial settings .
What “Jump Start” Really Means for Welding Machines
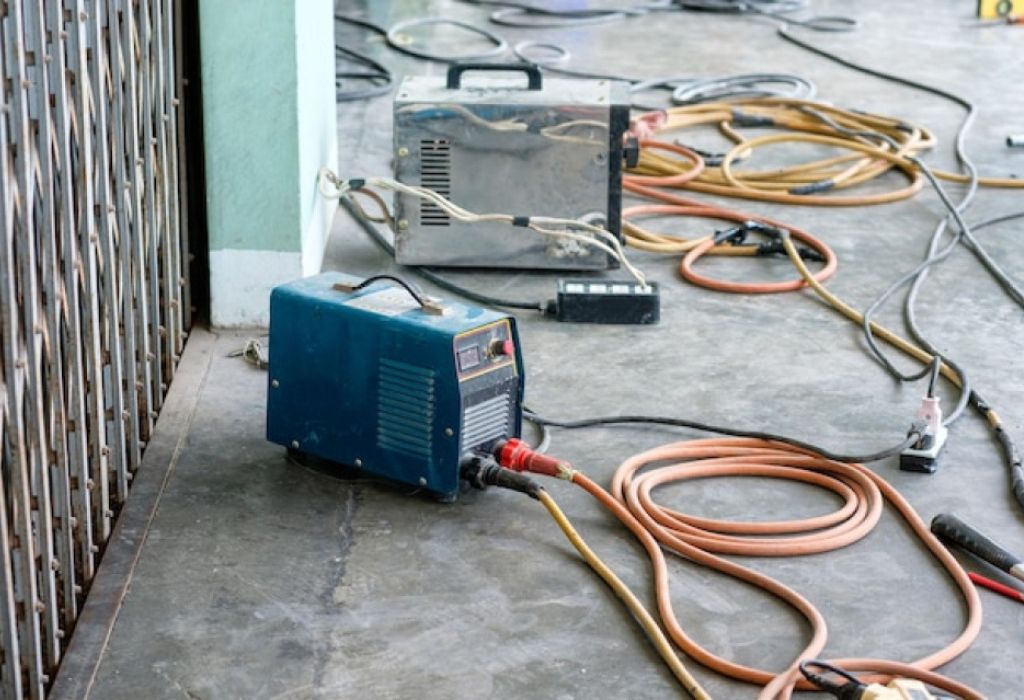
When a welding machine fails to start, the term “jump start” can describe several different situations depending on the type of welder.
In an engine-driven welder, it usually refers to starting the unit’s internal combustion engine using an external power source, similar to how a car battery jump works.
This involves transferring enough current from a charged battery to a drained one to initiate ignition.
However, for generator-based welders, “jump starting” can mean restoring generator output when the exciter or field magnetism has faded—a process known as field flashing.
This technique helps re-energize the generator coils to produce electricity again, but it must be done with extreme caution and in strict accordance with the manufacturer’s procedure.
In contrast, inverter or shop-based welding machines cannot be jump-started in the traditional sense.
They rely on electronic circuits, capacitors, and transformers that are highly sensitive to sudden voltage surges.
Applying external current can easily burn out their control boards or rectifiers, leading to costly repairs.
Understanding these distinctions is essential before attempting any jump-starting procedure.
Each machine design—engine-driven, generator-type, or inverter—has a different electrical architecture, and misidentifying the issue can make a recoverable problem catastrophic.
Therefore, proper diagnosis, grounding checks, and OEM-specific guidelines must always precede any power-restoration step to ensure both safety and machine longevity.
Safety Fundamentals Before Any Jump
Before attempting to jump start any welding machine, safety preparation must always come first.
Electrical hazards, fuel vapors, and high-current circuits can quickly turn a simple restart into a dangerous accident.
Proper inspection, grounding, and protective equipment ensure that the process remains controlled and hazard-free.
The most critical step is disconnecting all unnecessary leads before beginning.
Welding cables, torch connections, or unused clamps should be isolated from the circuit to avoid accidental shorting.
Next, confirm that the work area is completely dry, free of flammable materials, and well-ventilated to prevent sparks from igniting fumes.
Always use the manufacturer’s manual as the foundation for every jump-starting step.
Every welder model has unique grounding and polarity requirements that must be followed precisely.
Even a small reversal of polarity can cause current surges that damage the internal rectifier or inverter modules.
Personal Protective Equipment (PPE) is non-negotiable.
Operators must wear insulated gloves, flame-resistant clothing, safety boots, and an approved face shield to reduce the risk of electric shock or burns.
Additionally, any nearby metallic structures should be checked to ensure they’re not inadvertently part of the current path.
Grounding is also vital before starting.
A loose or contaminated ground connection can cause electrical arcing or irregular current flow during startup.
By ensuring a solid grounding point and verifying all connections, the operator reduces both electrical and mechanical risks.
Rapid Triage — Fixing 80% of “No Start” Problems
In many cases, a welding machine that appears completely dead doesn’t need to be jump-started at all.
Most issues come from simple electrical interruptions, tripped protection circuits, or connection faults that can be resolved in minutes with basic checks.
Start by inspecting the power supply.
Ensure that the machine is properly plugged into a functional outlet or power source that matches its voltage requirement.
Use a multimeter to confirm voltage at the receptacle, as circuit breakers or fuses may have tripped without visible signs.
Next, check the main power switch, fuses, and reset buttons on the machine itself.
Many inverters and industrial welders have rear-panel or side-mounted reset switches that disable output during overload conditions.
Pressing the reset or replacing a blown fuse often restores operation immediately.
Examine all input and output cables, including the electrode holder, work clamp, and internal terminals.
Corroded connectors, loose DINSE plugs, or frayed cables can break the current path and make the machine appear nonfunctional.
Cleaning contacts and tightening connections can quickly resolve intermittent power or arc failures.
If the fan runs but there’s no arc, inspect thermal overload indicators or warning lights.
Machines that exceed their duty cycle automatically shut down until cooled.
Allow a few minutes for the internal thermostat to reset before retrying.
Engine-Driven Welders — Jump Starting the Right Way
When dealing with engine-driven welding machines, the jump-start process is more mechanical than electrical.
These welders rely on a small internal combustion engine powered by a 12V or 24V battery, much like an automobile.
If the unit fails to start due to a discharged or weak battery, jump-starting can be performed safely—but only under the correct procedure.
Begin with a visual inspection of the battery terminals and cables.
Corroded or loose terminals are a leading cause of startup failure.
Clean them using a wire brush and tighten the connectors before attempting any external charge or jump.
When connecting an external power source, always match voltage and polarity.
For example, a 12V battery should never be connected to a 24V system.
Incorrect voltage or reversed polarity can instantly destroy the welder’s starter solenoid, alternator, or control circuitry.
Connect the positive (+) jumper cable to the dead battery first, then to the live battery’s positive terminal.
Next, connect the negative (–) cable to the live battery, and finally, clamp the other end to a grounded metal part of the welder’s frame—away from the battery.
This reduces the risk of sparks igniting explosive hydrogen gas around the battery.
After starting, let the engine run for several minutes to recharge the internal battery.
Once stable, disconnect cables in the reverse order to prevent arcing.
According to Lincoln Electric, proper battery maintenance can prevent over 70% of starting failures in engine-driven welders (LincolnElectric.com).
Performing this process carefully not only restores power safely but also extends the life of both the welding machine and its electrical components.
Generator Exciter “Wake-Up” — Field Flashing Explained
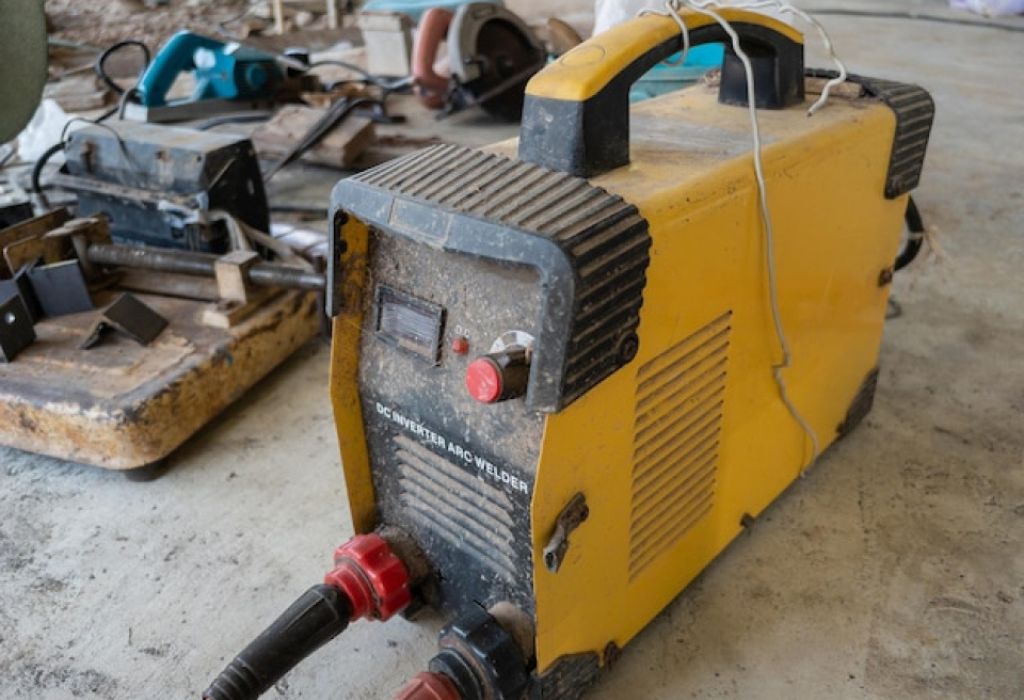
Sometimes, an engine-driven welding generator starts perfectly but still produces no welding output.
This situation usually indicates that the generator has lost its residual magnetism, a small magnetic charge required to start generating electricity.
When that happens, a controlled procedure called field flashing can restore its functionality.
Field flashing involves applying a small DC voltage to the generator’s exciter field windings to re-establish the magnetic field.
This step “wakes up” the generator, allowing it to begin producing current normally again.
However, it must be done with extreme precision and always according to the manufacturer’s instructions.
Before performing field flashing, verify that the generator isn’t already producing a low or unstable output.
Connect a multimeter to the output terminals and measure voltage levels.
If voltage is completely absent, the machine likely needs a magnetic boost.
To perform the process, use a low-voltage DC source, usually a 12V battery, connected briefly across the exciter terminals.
Polarity is critical—reversing connections can damage the exciter or rectifier.
Never use higher voltages or hold the connection for more than a few seconds, as excessive current can overheat the field coil.
After flashing, restart the generator and check for output voltage.
In most cases, this restores normal operation immediately.
If the generator still fails to produce power, deeper issues like a faulty diode, open winding, or damaged voltage regulator may exist and should be inspected by a qualified technician.
Inverter Welders — Why Jump Starting Can Be Dangerous
Unlike engine-driven or generator-based machines, inverter welders are built with highly sensitive electronic systems.
They operate using advanced circuitry that converts alternating current (AC) into direct current (DC) through components like rectifiers, capacitors, and insulated-gate bipolar transistors (IGBTs).
While this design improves efficiency and arc control, it also makes inverters extremely vulnerable to voltage surges and improper electrical contact.
Attempting to jump start a welding machine of this type using an external battery or power source can instantly overload the delicate control board.
The sudden inrush of current may destroy internal fuses, burn traces on circuit boards, or permanently damage rectifiers.
Even connecting a small 12V car battery can create a dangerous mismatch in voltage or polarity, resulting in total circuit failure.
Before suspecting that an inverter “needs a jump,” it’s essential to test the input power supply and internal fuse status.
A multimeter check will often reveal a simple open circuit, tripped breaker, or thermal overload issue rather than a true power fault.
Manufacturers like Miller Electric and ESAB explicitly warn against any form of external current boost, advising instead to follow diagnostic reset procedures outlined in their manuals (MillerWelds.com).
The proper way to “restart” an inverter machine is through a controlled reset: disconnect the power, allow capacitors to discharge fully, and reconnect after several minutes.
If no response follows, only an authorized technician should open the casing to inspect the internal power modules.
By respecting the unique electronic design of inverter welders, operators can avoid irreversible damage and maintain consistent output performance.
In essence, safety and patience—not speed—are the true keys to reviving an inverter welding machine successfully.
Electrical Health Check — Inputs, Outputs, and Power Flow
Before assuming a welding machine needs a jump start, it’s vital to perform a complete electrical health check.
Most welding machines fail to start not because of internal damage but due to poor electrical input, faulty grounding, or damaged output connections.
Systematic inspection of these areas can reveal 90% of hidden faults without risking equipment damage.
Begin with the input side.
Confirm that the power supply matches the voltage and phase requirements of the machine.
For example, a 230V single-phase welder plugged into a 110V outlet won’t produce enough power to initiate startup.
Use a calibrated multimeter to check voltage consistency at the outlet and verify that the input cord and plug aren’t burnt, melted, or frayed.
Next, inspect circuit protection components like breakers and fuses.
A tripped breaker or blown fuse often cuts the machine’s power entirely.
Resetting or replacing these components can instantly restore operation.
However, if breakers trip repeatedly, it may indicate an internal short circuit or overcurrent condition requiring further inspection.
On the output side, check the welding cables, connectors, and ground clamp.
Loose or corroded terminals can increase resistance, causing the arc to flicker or fail.
Ensure that the work clamp is secured on clean, bare metal with no paint or rust.
Also verify that DINSE connectors are tightly seated, as even a slight gap can lead to voltage loss or erratic current flow.
Finally, review the machine’s cooling and internal fan system.
Blocked airflow or dust accumulation can trigger thermal overload protection.
Clean vents regularly and allow sufficient cooling time before restarting.
By performing this full electrical checkup, welders can pinpoint problems accurately and restore functionality without attempting a risky jump start.
This method ensures both safety and longevity, aligning with professional maintenance standards across industrial welding setups.
When a “Jump” Is Not the Answer — Common Root Causes
Many welders believe that a dead machine simply needs a jump start, but in most cases, the real issue lies deeper within the electrical system.
Understanding these common root causes helps prevent unnecessary jump-start attempts that could lead to more serious damage.
One of the most frequent culprits is a faulty power switch or control circuit.
Switches may wear out over time, especially in high-use industrial environments where dust, vibration, and moisture can corrode internal contacts.
Testing continuity with a multimeter can quickly confirm if the switch is interrupting the power flow.
Another major cause is a blown internal fuse or defective rectifier diode.
When voltage spikes or surges occur, these components sacrifice themselves to protect the main control board.
Replacing a small fuse is far cheaper and safer than forcing current through a damaged circuit via a jump start.
Thermal overload protection is another factor that mimics a power failure.
If the welder has been running beyond its duty cycle, the internal temperature sensors will automatically cut power to prevent overheating.
Allowing sufficient cooldown time—usually 10 to 15 minutes—resets the thermal protection system and restores output.
Loose or corroded ground and work connections also create false “no-start” conditions.
Even a small layer of oxidation can block current return and prevent the machine from striking an arc.
Cleaning these points with a wire brush or sandpaper often brings the system back to life instantly.
Finally, if the welder’s display turns on but there’s still no welding output, the issue might involve the output relay, PCB connection, or control transformer.
These failures require professional inspection and should never be bypassed or “jumped.”
Recognizing when a machine doesn’t actually need a jump start saves both time and money.
A methodical diagnostic approach ensures safe operation and preserves the integrity of sensitive welding electronics.
Compliance, Grounding, and Shock Prevention During Restart
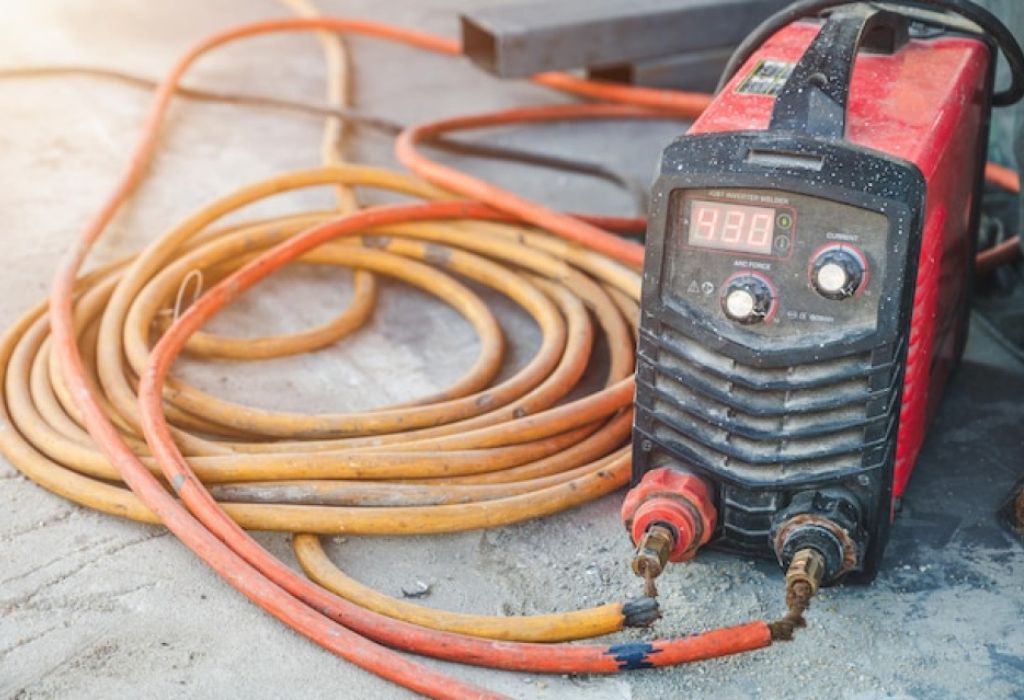
Any time a welding machine is restarted—especially after a failed start or maintenance attempt—grounding and compliance become critical safety priorities.
Grounding errors are responsible for many electrical shocks, arc instability issues, and even equipment fires in industrial environments.
Ensuring the correct setup before powering up is essential for both operator safety and machine longevity.
Start by confirming that the machine frame, power source, and workpiece are properly bonded.
This connection ensures that any fault current travels safely through the grounding system rather than through the welder’s body or nearby conductive materials.
The ANSI Z49.1 Safety in Welding, Cutting, and Allied Processes standard highlights the importance of maintaining a dedicated return circuit separate from the building’s electrical earth (AWS.org).
The OSHA 1910.254 regulation also mandates proper grounding conductors for all welding installations.
Each welder must be grounded through an approved conductor that complies with the National Electrical Code (NEC).
This prevents shock hazards and ensures that residual current devices (RCDs) or circuit breakers activate correctly in case of a fault (OSHA.gov).
For portable and engine-driven welders, grounding procedures differ slightly.
Some generators are designed with floating systems, meaning they operate without direct earth connection.
Others require grounding rods to safely dissipate fault current.
Consult the manufacturer’s grounding diagram before connecting an earth wire or electrode to avoid backfeeding or arcing risks.
Before restarting any welding machine, visually inspect the ground clamp.
Make sure it’s firmly attached to clean, bare metal near the weld zone.
Paint, rust, or oil will act as insulators, increasing resistance and causing voltage drops during startup.
Lastly, verify that all cables and connectors are properly rated for the welder’s current output.
Underrated or damaged cables can overheat, melt insulation, and lead to shock or fire hazards during high-load conditions.
By adhering to grounding and compliance protocols, welders not only meet regulatory standards but also create a safer, more stable electrical environment—reducing the likelihood of accidents during restarts or power recovery procedures.
Conclusion
A welding machine that refuses to start can be frustrating, especially when time-sensitive work is on hold.
But understanding the correct way to jump start a welding machine separates quick fixes from costly mistakes.
In most cases, what seems like a dead welder is actually a simple issue—loose connections, tripped breakers, or drained batteries—rather than a true electrical failure.
Throughout this guide, we’ve explored every scenario, from engine-driven welders that safely accept battery assistance to generator-based machines requiring careful field flashing, and modern inverter welders that should never be jump-started externally.
Each system demands a specific approach to protect both the operator and the internal components.
Proper preparation always begins with safety.
Following OSHA and ANSI grounding guidelines, wearing the right PPE, and verifying polarity are non-negotiable steps before applying power.
Even small errors—like reversed cables or grounding on painted metal—can result in severe shock hazards or permanent circuit damage.
Regular maintenance and routine diagnostics are the most effective ways to prevent future startup failures.
Cleaning ground clamps, inspecting cables, and testing voltage before every session keep the system running smoothly.
According to Lincoln Electric, consistent inspection and timely maintenance can extend a welding machine’s service life by up to 40% (LincolnElectric.com).
Ultimately, “jump-starting” a welder is not about speed—it’s about understanding.
By diagnosing the root cause and applying the right corrective steps, welders can restore full functionality safely while preserving equipment integrity.
A thoughtful, methodical approach ensures that every spark ignites under control, every connection holds strong, and every weld reflects true craftsmanship.

I’m Darrell Julian, the founder, lead writer, and hands-on welding enthusiast behind ArcWeldingPro.com. With more than 15 years of real-world welding experience, I created this platform to share what I’ve learned in the field, in the shop, and in the heat of the arc.

