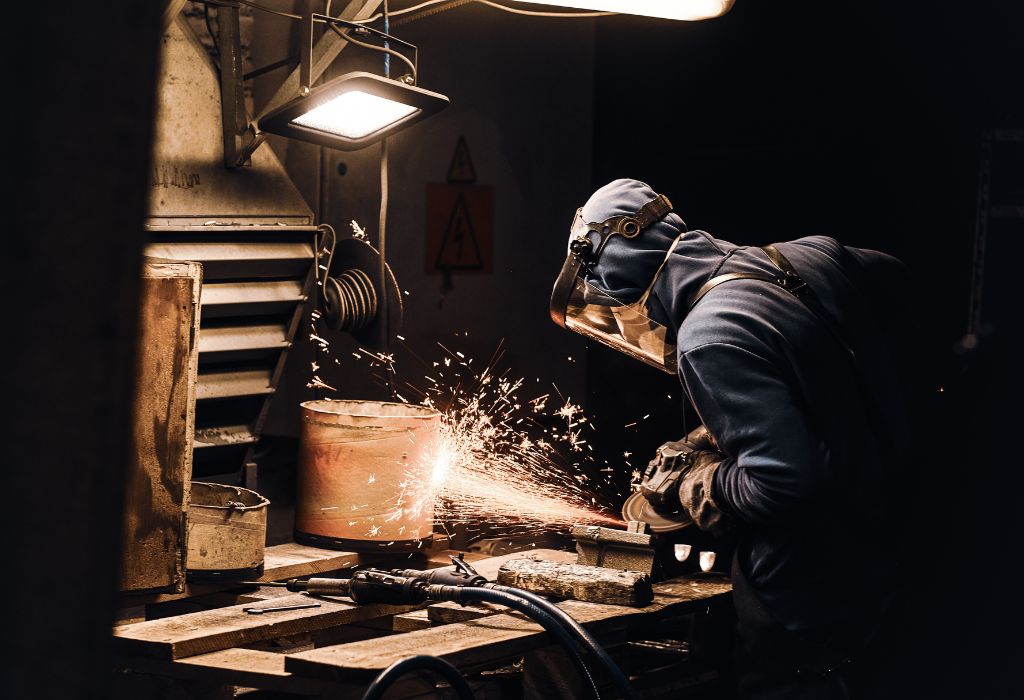
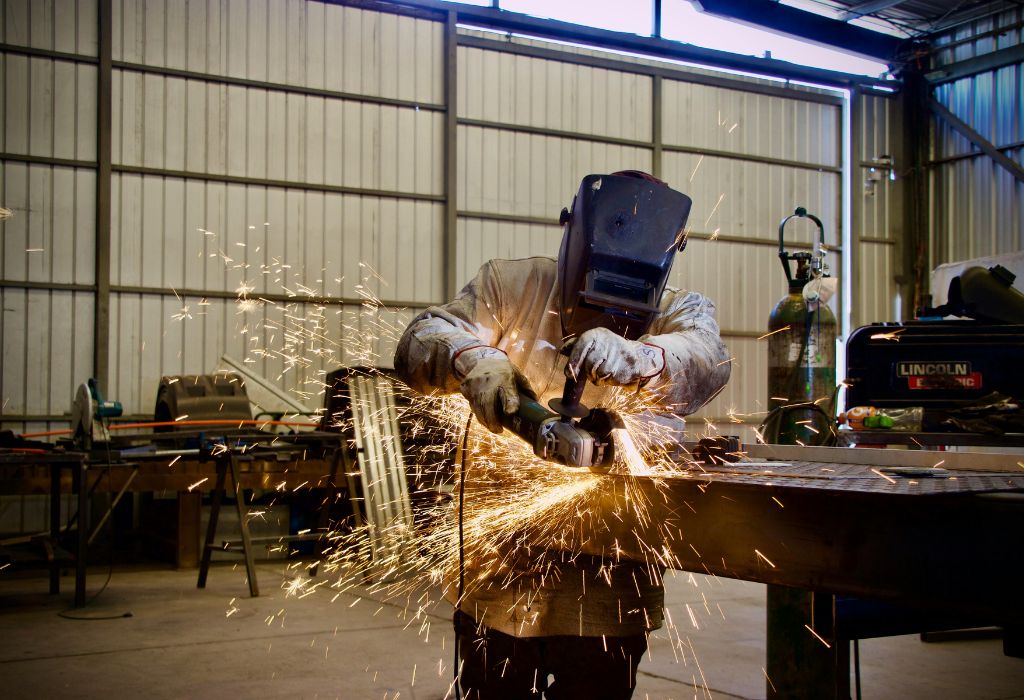
A beginner steps into a workshop, sparks flying nearby, as the low hum of a welding machine fills the air.
The excitement is real, but so is the challenge — how do you actually make clean, strong welds without burning through metal or creating weak joints?
Many first-time welders face the same struggle.
They power up the machine, strike an arc, and end up with spatter, uneven beads, or poor penetration because the setup wasn’t done correctly.
Welding may look simple, but it’s a process built on precision and sequence.
Every clean, durable weld starts with understanding voltage, polarity, electrode choice, and travel speed.
Learning how to use a welding machine step by step transforms confusion into control.
It helps beginners avoid mistakes, weld safely, and produce results that look professional from the very first project.
Research in the welding industry shows that most beginner weld defects occur due to incorrect setup or insufficient surface preparation.
Small changes in amperage or angle can make the difference between a weak weld and a flawless joint.
From preparing the work area to adjusting current settings and refining technique, each step matters.
Once mastered, these fundamentals allow even new welders to achieve strong, consistent, and visually clean results.
What Is Welding & Why Proper Process Matters
Welding is the process of joining two or more metal pieces by melting their edges and fusing them together using heat or an electric arc.
It forms a strong, permanent bond that can handle extreme pressure, heat, and vibration.
While it might seem like just melting metal, welding is a precise science.
Every variable — from amperage and voltage to electrode type and travel speed — affects how well the metals fuse.
Beginners often underestimate how sensitive welding can be.
A slight change in current or angle can cause common defects such as porosity, undercut, or lack of fusion.
These flaws weaken the weld and can lead to structural failure under load.
Following a proper step-by-step process ensures consistent results and minimizes these errors.
It helps the welder control the weld pool, maintain correct penetration, and achieve clean, smooth beads.
For new welders, understanding the sequence is more than just technique — it’s the foundation of safety and skill.
Each stage, from preparation to cooling, builds upon the last to create welds that are both strong and visually flawless.
Welding is not only a craft but also a core industrial skill used in everything from construction to automotive repair.
By mastering the fundamentals early, anyone can transform raw metal into durable, professional-quality workpieces with precision and confidence.
What is welding in simple terms?
It is the process of fusing metals together by applying heat, usually from an electric arc or flame.
Why follow a step-by-step welding process?
Because each stage affects weld strength, safety, and overall quality.
Which welding methods are best for beginners?
MIG and stick welding are easiest to learn due to their control and versatility.
What happens if the process is not followed correctly?
It can lead to weak joints, cracks, porosity, and wasted materials.
Why does proper process matter in welding?
Because consistency and control determine how durable and professional the finished weld will be.
Safety & Preparation Before You Weld
Before striking your first arc, safety and preparation must come first.
Welding involves intense heat, ultraviolet radiation, and electrical current — all of which can cause serious injury if proper precautions are ignored.
A safe workspace starts with removing all flammable materials from the area.
Ensure the floor is dry, the workbench is stable, and there’s enough ventilation to clear welding fumes and gases.
Every welder must wear proper personal protective equipment (PPE).
This includes a welding helmet with an auto-darkening lens, flame-resistant gloves, a leather apron or jacket, long pants, and steel-toe boots.
Bare skin should never be exposed, as UV rays from the welding arc can cause burns similar to severe sunburn.
Grounding is another critical part of preparation.
Attach the ground clamp securely to a clean, bare section of the metal workpiece to complete the circuit safely.
Loose or rusty grounding points can cause erratic arcs and electric shock risks.
Before beginning, inspect all cables, electrodes, and clamps for wear or damage.
Even a small tear in insulation can cause voltage leaks or inconsistent current flow.
Environmental conditions also matter.
Avoid welding in windy, wet, or humid areas that may interfere with the arc or shielding gas.
A controlled environment ensures cleaner, stronger welds and reduces spatter.
Understanding how to prepare and protect yourself is the first real step in mastering how to use a welding machine step by step.
Safety builds confidence — and confidence builds skill.
What PPE should every welder use?
Helmet, gloves, flame-resistant jacket, boots, and protective eyewear for complete coverage.
Why is grounding important in welding?
It prevents electric shock and stabilizes the arc for smoother welding.
How to prepare the workspace properly?
Remove flammables, ensure good ventilation, and keep the work area dry and organized.
When should cables and tools be inspected?
Before every welding session to avoid electrical faults or short circuits.
Can welding be done outdoors safely?
Yes, but wind barriers and dry conditions are essential to maintain arc stability and safety.
Equipment & Machine Setup
Before welding begins, setting up the equipment correctly is one of the most crucial steps for achieving strong, clean welds.
An incorrect setup can lead to weak joints, spatter, or even equipment damage.
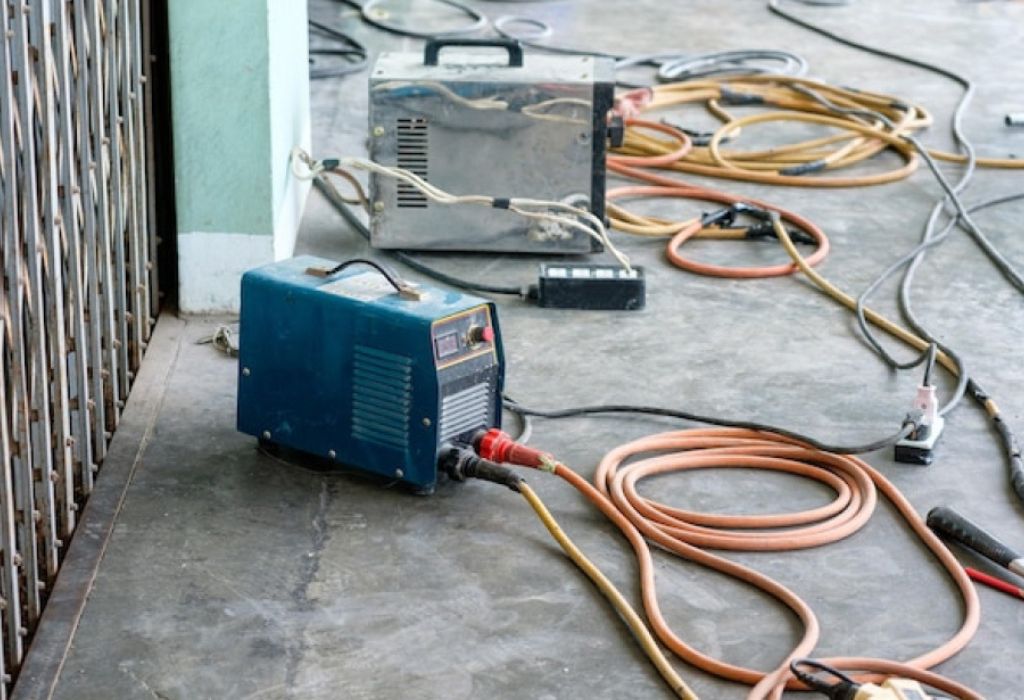
Start by ensuring that the welding machine is on a stable, flat surface and connected to a reliable power source.
Verify that the input voltage matches the machine’s specifications to avoid overload or underperformance.
Next, check all cable connections — from the power cord to the electrode holder and ground clamp.
Loose or corroded connections cause inconsistent current flow and make the arc unstable.
Select the correct polarity setting based on your welding process.
For example, DCEN (Direct Current Electrode Negative) is used for most stick and TIG welding, while DCEP (Direct Current Electrode Positive) is preferred for MIG welding.
Choosing the wrong polarity can instantly affect penetration and bead formation.
Install the electrode or wire spool properly.
Ensure it feeds smoothly through the torch or electrode holder without bends or kinks.
In MIG or TIG setups, check the gas cylinder connection and adjust the flow rate to about 20–25 CFH for most materials.
Ground the workpiece securely to clean, bare metal close to the weld zone.
Poor grounding leads to arc instability, sputtering, and reduced weld strength.
Finally, double-check the duty cycle rating of your welding machine.
Avoid running the machine continuously beyond its rated cycle to prevent overheating or internal damage.
When all components are properly connected and adjusted, the machine will produce a stable arc ready for precision welding.
Proper setup ensures efficiency, safety, and consistent quality throughout every project.
How do you connect a welding machine properly?
Attach power, ground, and electrode leads tightly, ensuring no loose or corroded contacts.
Why is polarity selection important?
The wrong polarity can cause poor penetration, spatter, or an unstable arc.
How to check gas flow in MIG or TIG welding?
Use a regulator and maintain 20–25 CFH for clean, smooth shielding coverage.
What happens if the duty cycle is exceeded?
The machine can overheat, trip breakers, or suffer permanent internal damage.
Where should the ground clamp be placed?
On bare, clean metal close to the weld joint to ensure proper circuit continuity.
Setting Initial Parameters
Once your machine is ready, the next step is fine-tuning the welding parameters.
Proper settings for amperage, voltage, and wire feed speed determine how clean, deep, and stable your welds will be.
Start with amperage, the most critical factor in controlling heat and penetration.
A general rule for beginners is to use 1 amp for every 0.001 inch of material thickness.
For example, a 1/8-inch steel plate typically requires around 125 amps for balanced penetration.
Next, set the voltage or arc length according to the welding process.
Too low voltage causes the electrode to stick and limits penetration, while too high voltage can widen the arc and produce spatter.
Keep the arc short and consistent for a smooth bead.
If using MIG welding, adjust the wire feed speed so the wire melts evenly into the weld pool without pushing or sputtering.
For stick welding, ensure the electrode diameter matches the chosen amperage range.
Incorrect pairing often leads to erratic arcs or weak fusion.
The travel speed should be steady — moving too fast results in narrow, shallow welds, while moving too slow can cause burn-through or excessive buildup.
Pay attention to the weld pool: it should be fluid but controlled, forming a uniform bead behind the arc.
Once you’ve dialed in your parameters, test on a scrap piece of metal before working on your main project.
This small step helps confirm your settings and reduces the chance of errors during actual welding.
Learning these adjustments is a key part of mastering how to use a welding machine step by step with confidence and precision.
How to set the correct amperage for welding?
Follow the 1 amp per 0.001 inch rule and fine-tune based on weld penetration and bead shape.
Why does voltage affect bead appearance?
High voltage widens the bead and increases spatter; low voltage creates narrow, cold welds.
How to adjust travel speed properly?
Maintain a steady motion that allows the weld pool to form without overheating or undercutting.
What’s the benefit of test welding on scrap metal?
It lets you confirm your machine settings and electrode performance before starting real work.
Why is balance between heat and travel speed important?
Because too much heat distorts metal, while too little causes poor fusion and weak joints.
Welding Technique & Joint Execution
With the machine set up and parameters adjusted, it’s time to focus on the technique.
Even the best settings won’t produce clean welds without correct body positioning, electrode control, and movement.
Begin by positioning yourself comfortably so your hand and arm can move smoothly along the weld path.
A stable stance helps maintain a steady arc length and consistent bead formation.
To strike the arc, lightly tap or scratch the electrode on the metal surface until the arc ignites.
Once it starts, hold the electrode about the same distance from the metal as its diameter to maintain a steady arc.
For MIG and TIG welding, trigger the torch and let the shielding gas flow before starting the weld.
The electrode angle plays a major role in weld quality.
Use a 10–15° push or drag angle depending on the process: push for MIG and drag for stick welding.
This controls penetration and directs the gas or slag flow properly.
Movement speed and pattern also determine how smooth the weld will be.
Move too slowly and the metal overheats; move too fast and the weld becomes shallow or uneven.
Small weaving or circular motions help fill gaps in thicker joints and create uniform bead ripples.
Joint types matter as well.
Butt joints require equal heat on both sides, fillet joints need proper torch angle at the corner, and lap joints demand consistent overlap for strength.
Clean surfaces and correct fit-up prevent contamination and ensure complete fusion.
With patience and steady control, even beginners can achieve strong, visually appealing welds.
Perfecting this step is the heart of mastering how to use a welding machine step by step like a professional.
How to strike an arc properly?
Tap or scratch the electrode until the arc starts, then lift slightly to maintain distance.
What angle should be used during welding?
Hold the electrode or torch at a 10–15° push or drag angle for ideal penetration.
How fast should you move the electrode?
Maintain a steady speed that keeps the weld pool fluid but controlled, without overheating.
Why use weaving or circular motion?
It helps distribute heat evenly and fills gaps in wider joints for stronger welds.
What’s the key to welding a perfect bead?
Consistency — steady travel speed, correct angle, and uniform arc length across the entire joint.
Inspecting & Evaluating the Weld
After completing the weld, the next step is inspection.
A proper evaluation ensures that your weld is not only visually appealing but also structurally sound and free of internal defects.
Start with a visual inspection under good lighting.
A quality weld should have a uniform bead with smooth ripples, even width, and no visible cracks or gaps.
The bead should tie seamlessly into the base metal without undercut or excessive buildup.
Next, check for common surface defects such as porosity, spatter, slag inclusions, or cold laps.
These imperfections can weaken the weld and are often signs of improper heat settings or poor cleaning before welding.
If possible, test your welds using simple strength checks.
Try light bending, hammer taps, or pulling the joint to see if it holds firm.
A well-fused weld will resist cracking or separation, while a weak one will break or bend at the joint.
For critical applications, non-destructive testing methods like dye penetrant or magnetic particle inspection can detect hidden flaws.
Although these methods are more advanced, they are worth understanding as you progress in your welding journey.
Finally, evaluate penetration and fusion by cutting a test piece and examining the cross-section.
A properly executed weld will show complete fusion between the filler and base metals with no voids in the root.
Inspecting welds after every project helps you understand your strengths and pinpoint areas for improvement.
It’s a crucial step in learning how to use a welding machine step by step effectively and confidently.
How can you tell if a weld is good?
A good weld has uniform ripples, even width, smooth edges, and no visible cracks or holes.
What causes porosity or bubbles in a weld?
Contaminants, drafts, or moisture in the electrode or work surface cause trapped gas pockets.
How can you test weld strength without special tools?
Use light hammer taps or bend tests to see if the joint holds firm without cracking.
Why is penetration important in welding?
It ensures full fusion between the base metal and filler, providing maximum strength.
What to do if a weld looks uneven or rough?
Grind out the defective section and re-weld using corrected parameters or technique.
Common Problems & Troubleshooting
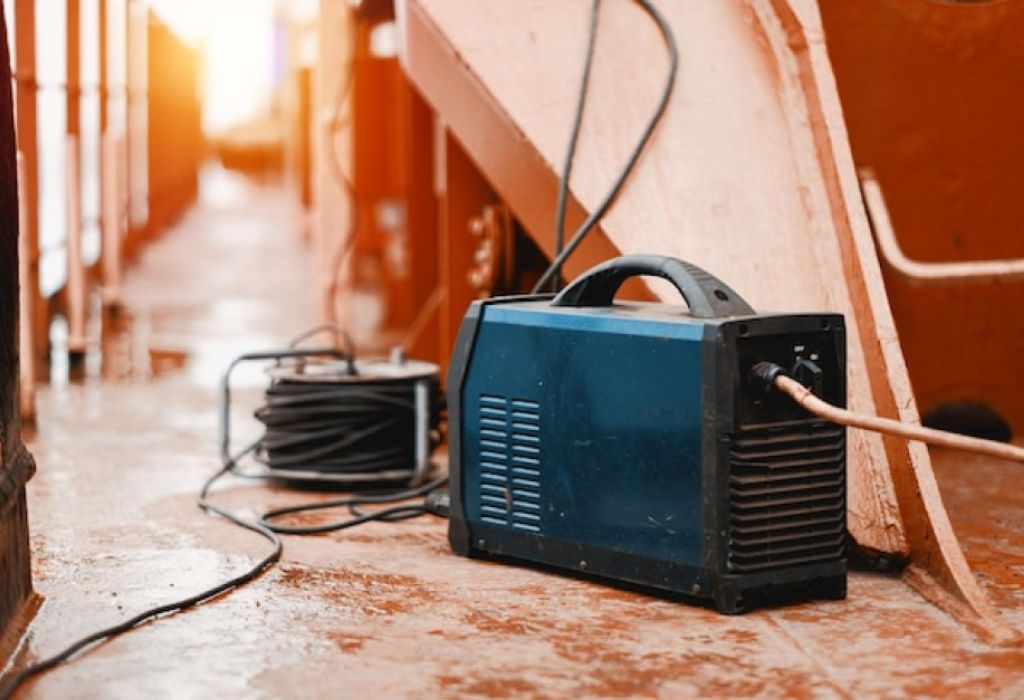
Even experienced welders face challenges, and beginners often encounter issues when learning how to use a welding machine step by step.
Knowing how to identify and fix these problems quickly will help you improve faster and avoid wasting materials.
One of the most frequent issues is porosity, which appears as tiny holes in the weld bead.
It’s usually caused by contaminants, moisture, or drafts disrupting the shielding gas.
Cleaning the metal thoroughly and maintaining a steady gas flow prevents this problem.
Spatter is another common frustration, especially with beginners.
Excessive spatter usually means the amperage is too high or the arc length is inconsistent.
Lower the current slightly and keep a shorter, more controlled arc for smoother results.
If the weld fails to penetrate the base metal, you’re likely using too little heat or moving too fast. Increase the amperage slightly and slow down your travel speed to achieve deeper fusion.
On the other hand, burn-through occurs when there’s too much heat or the metal is too thin.
To fix this, lower the current or make short, staggered welds to allow cooling between passes.
Another frequent issue is electrode sticking, often caused by holding the arc too close or using low amperage.
Raise the current slightly and maintain the proper arc gap to keep the electrode from fusing to the workpiece.
Finally, always ensure your ground connection is solid.
A loose or rusty ground clamp can cause erratic arcs and unstable current flow, leading to poor weld quality.
Troubleshooting isn’t just about fixing mistakes — it’s about understanding how your machine responds to adjustments.
Each correction you make teaches you control, precision, and awareness, bringing you closer to welding mastery.
Why is my weld full of holes or bubbles?
That’s porosity — caused by dirty metal, drafts, or contaminated electrodes. Clean and shield properly.
What causes spatter to form around the weld?
Too much heat, long arc length, or incorrect polarity are the main culprits.
Why isn’t my weld penetrating the base metal?
Low amperage, fast travel speed, or improper joint preparation prevent full fusion.
How can I stop burning through thin metal?
Use lower current, shorter welds, or backing plates to absorb excess heat.
Why does my electrode keep sticking?
Amperage is too low, or you’re holding the rod too close — adjust both for a stable arc.
Conclusion
Mastering how to use a welding machine step by step is about more than just melting metal together.
It’s about precision, control, and understanding how each adjustment — from amperage to travel speed — shapes the final result.
Every great weld begins with the basics: safety, preparation, and proper machine setup.
Neglecting even one of these steps can lead to weak joints, porosity, or inconsistent beads.
With practice, patience, and careful observation, any beginner can learn to create strong, smooth, and professional-quality welds.
The key is to start slow, test your settings, and make small corrections until each weld feels consistent and controlled.
Welding is both a skill and an art form that rewards attention to detail.
The more time spent refining your technique, the more natural and confident each motion becomes.
Whether you’re repairing equipment, building projects, or pursuing a new trade, proper welding technique will serve as the foundation of your success.
So set up carefully, strike your arc with confidence, and remember — every clean bead you make is another step toward mastering the craft of welding.

I’m Darrell Julian, the founder, lead writer, and hands-on welding enthusiast behind ArcWeldingPro.com. With more than 15 years of real-world welding experience, I created this platform to share what I’ve learned in the field, in the shop, and in the heat of the arc.

