Every weld tells a story—of heat, control, and precision. But too often, the story ends in rework, ugly beads, or structural failure. That frustration usually traces back to one root cause: not knowing exactly how to use electric welding machine without mistakes.
Visualize setting up a project, tightening your clamps, selecting a rod, and striking the arc—only to see the bead wander, spatter, or undercut. Those defects don’t just look bad—they compromise strength. Small missteps in current, polarity, or arc length can cascade into critical weld flaws.
In expert surveys and industrial audits, roughly 30% of weld failures are attributed to incorrect machine setup or operator error. Defects like porosity, undercut, and lack of fusion consistently appear in welding guides as the most common issues. (Fractory)
Electric welding (often via arc welding or stick welding) is deceptively simple in theory: an electric arc melts electrode and base metal to fuse them. But succeeding in practice demands mastery over each variable—amperage, polarity, electrode type, travel speed, and technique.
Learning how to use electric welding machine correctly unlocks greater consistency, fewer defects, and stronger joints. It enables confident control over fusion, bead shape, and mechanical integrity—even under challenging conditions.
What Is Electric Welding & Why Precision Matters
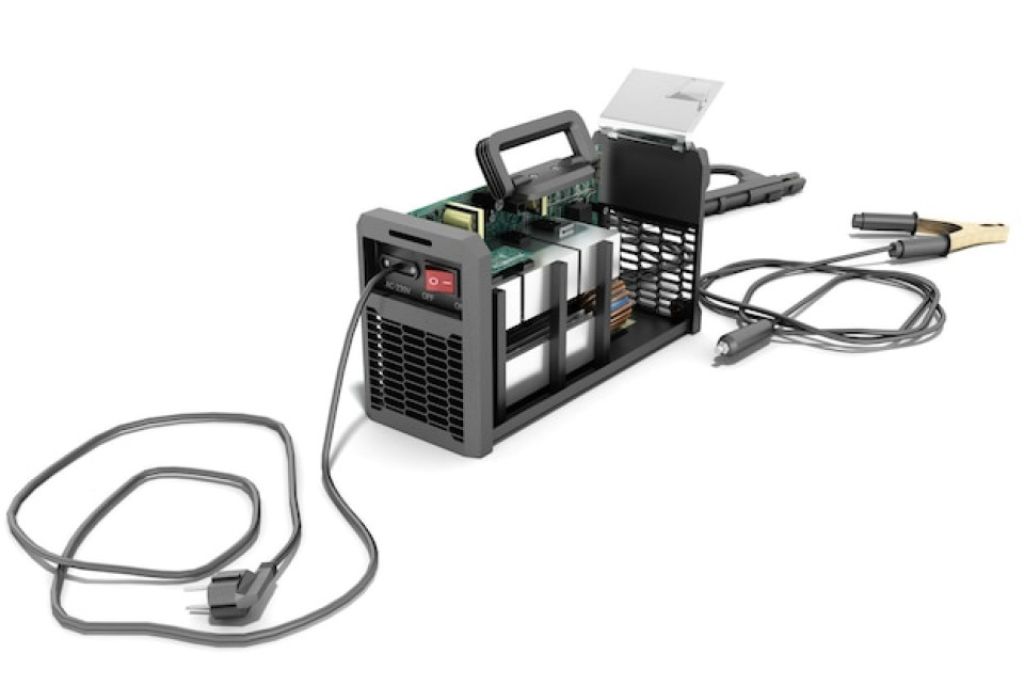
Electric welding, often referred to as arc welding, is a process that uses an electric current to fuse two pieces of metal together by melting their edges.
The intense heat generated by the electric arc melts both the electrode and the base metal, forming a strong joint once it cools and solidifies.
This process is one of the most widely used methods in construction, manufacturing, and repair work due to its versatility and cost-effectiveness.
At its core, electric welding is about controlling three key elements: current, arc stability, and electrode behavior.
The precision of these controls determines the quality of the weld. When the current is too high, the metal overheats, leading to undercutting or burn-through.
When it’s too low, the electrode sticks and the weld lacks proper penetration. Maintaining balance between these factors is what separates a flawless weld from a failed one.
Another essential aspect of precision lies in understanding the role of the electrode and flux coating.
The flux stabilizes the arc and forms a gas shield to protect the molten pool from atmospheric contamination. If this balance is disrupted, the weld becomes porous, weak, or brittle.
Electric welding might seem straightforward, but it’s a process that demands consistency, discipline, and awareness of every small variable. Each movement, from arc striking to filler application, directly impacts the weld’s integrity.
Precision in setup and execution ensures not only strong welds but also improved efficiency and reduced rework—making it a foundational skill for both beginners and professionals.
Safety & Preparation Essentials
Before switching on an electric welding machine, preparation and safety must always come first. Welding involves high voltage, extreme heat, and ultraviolet light, all of which can cause serious injury or damage if not handled correctly.
A safe work environment and the right protective measures are just as important as technical skill in ensuring clean and controlled welds.
Start by setting up a clean, well-ventilated workspace. Remove any flammable materials such as oil, paper, or solvent from the area, as sparks and spatter can easily ignite them.
Adequate ventilation is critical because the fumes released from flux coatings and molten metal can be harmful when inhaled.
Installing exhaust fans or using a fume extraction system helps maintain air quality and keeps the workspace comfortable.
Personal Protective Equipment (PPE) is non-negotiable. A high-quality welding helmet with an auto-darkening lens protects the eyes and face from UV radiation, while flame-resistant gloves and clothing guard against burns and sparks.
Leather aprons and closed-toe boots add another layer of protection. Never wear synthetic fabrics, as they can melt and stick to the skin when exposed to heat.
Electrical safety is another key consideration. Always check that cables are properly insulated and the machine is correctly grounded.
A faulty ground or damaged wire can result in electrical shock or unstable current flow. Ensure that the ground clamp is attached to clean, bare metal near the welding area for optimal conductivity.
Preparation also includes cleaning the base metal before welding. Remove rust, grease, and paint using a wire brush or grinder to achieve better fusion. Contaminated surfaces prevent proper bonding and lead to weak or porous welds.
Taking these precautions not only protects the welder but also sets the stage for efficient, high-quality results. Safety and preparation form the backbone of every successful welding operation, ensuring both precision and confidence in every project.
Machine Setup: Connections, Polarity & Current
Setting up an electric welding machine correctly is the foundation of every successful weld. A proper setup ensures smooth current flow, consistent heat input, and stable arc performance, all of which directly affect the weld’s strength and appearance.
Before turning on the machine, each connection, setting, and adjustment must be double-checked to avoid mistakes that could lead to poor fusion or equipment damage.
Begin by connecting the electrode holder and ground clamp securely to their respective terminals. The ground clamp should always be attached to clean, bare metal close to the welding area to maintain strong electrical contact.
Loose or corroded connections can cause voltage drops, unstable arcs, and uneven penetration. For long welding sessions, periodically inspect these cables to ensure they are not frayed, overheated, or loosely attached.
Next, focus on polarity selection, one of the most crucial aspects of setup. Electric welding typically uses two types of direct current: DCEP (Direct Current Electrode Positive) and DCEN (Direct Current Electrode Negative).
DCEP provides deeper penetration and is suitable for most electrodes like E6011 or E7018, while DCEN generates less heat and is ideal for thinner metals or light fabrication work.
Some machines also support AC (Alternating Current), which performs well for general repairs and when working in outdoor conditions.
The current (amperage) setting determines how hot the arc becomes. Too low and the electrode sticks; too high and the metal overheats, creating undercuts or spatter.
Always match amperage to electrode size and material thickness—for instance, a 3.2 mm rod typically runs between 90–130 amps.
Finally, check the open circuit voltage (OCV), as it affects how easily the arc strikes. A stable OCV ensures consistent ignition even on rusty or painted surfaces.
Once all these parameters are adjusted, perform a short test run on scrap metal to verify stability before beginning the actual weld. Precision at this stage prevents most common welding errors and sets the tone for professional, defect-free results.
Electrode Selection & Rod Size
Choosing the correct electrode and rod size is one of the most critical decisions in electric welding. The electrode determines how the weld forms, how deep it penetrates, and how clean the final bead appears.
A wrong choice can lead to spatter, weak joints, or poor fusion, even if the machine is set up perfectly. Understanding electrode classifications and their applications is essential for achieving consistent, high-quality results.
Electrodes are identified by codes such as E6010, E6011, E6013, and E7018, each representing its strength, usability, and coating type.
For example, E6013 is a great all-purpose electrode that produces smooth, stable arcs and minimal spatter—ideal for beginners and thin metals.
E7018, on the other hand, is a low-hydrogen rod preferred for structural and industrial welding due to its high tensile strength and clean finish.
When welding through dirt, paint, or rust, E6011 performs well because of its penetrating arc and ability to handle less-than-perfect surfaces.
The rod size must match both the thickness of the base metal and the amperage setting. Smaller electrodes like 2.5 mm are used for thin materials, while larger ones such as 4.0 mm or 5.0 mm are better suited for thick plates requiring deeper penetration As a general rule, use approximately 30–40 amps per millimeter of electrode diameter.
Moisture control is another factor that directly affects weld quality. Electrodes absorb humidity from the air, which can cause porosity, cracking, or hydrogen embrittlement.
Store rods in a dry container, and keep low-hydrogen types like E7018 in a heated rod oven around 250°C (480°F).
Proper electrode selection and storage ensure stable arcs, minimal defects, and uniform weld beads. With the right rod and settings, the electric welding process becomes smoother, cleaner, and more predictable, delivering professional results every time.
Striking the Arc & Welding Technique
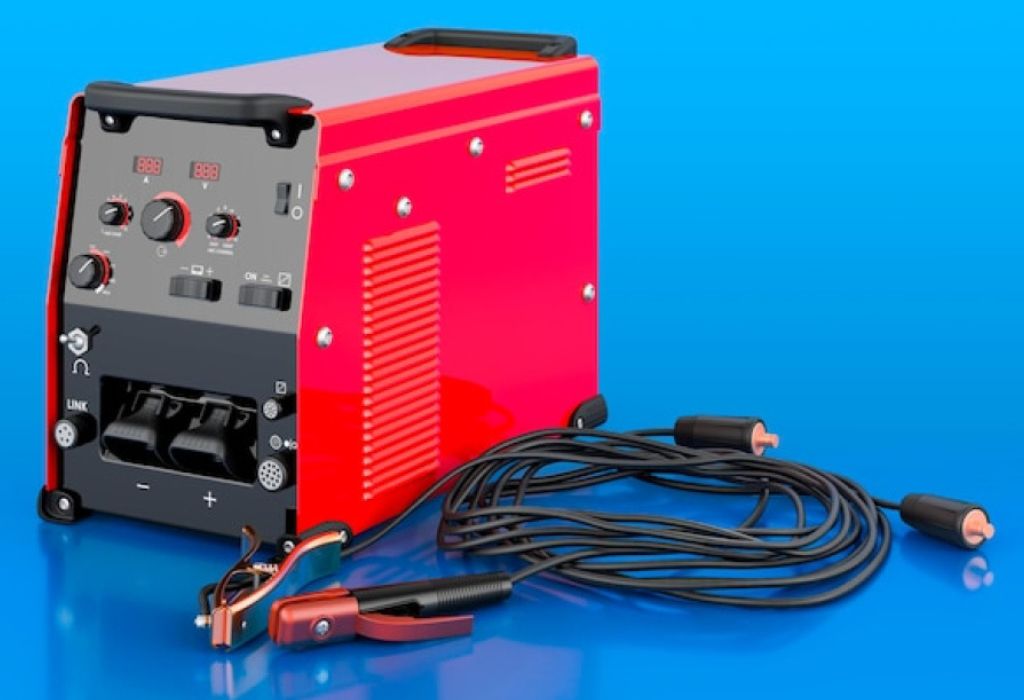
Striking the arc is where skill and precision meet in electric welding. It marks the transition from setup to execution—the moment when the electrical circuit transforms into a controlled source of heat that fuses metal together.
For beginners, this step often feels challenging, but with the right technique and rhythm, it becomes second nature.
There are two main methods for starting the arc: the scratch start and the tap start. In the scratch method, the electrode is gently dragged across the surface of the metal, similar to striking a match, and then lifted slightly to establish a stable arc.
The tap start involves briefly touching the electrode to the workpiece and lifting it quickly to create the arc. Both require timing and consistency—too long of a contact and the rod sticks; too quick of a lift and the arc extinguishes.
Once the arc is stable, maintaining the proper arc length is crucial. The distance between the electrode tip and the molten pool should be roughly equal to the diameter of the electrode.
A long arc produces excessive spatter and weakens penetration, while a short arc risks sticking and uneven bead formation.
Next comes the travel speed and angle control. Move the electrode steadily along the joint at a consistent speed. Traveling too fast leads to shallow penetration, while moving too slow causes overheating and excessive buildup.
For most welds, hold the electrode at a 10–20° drag angle in the direction of travel to guide the molten metal effectively and allow the flux coating to shield the puddle properly.
Watching the weld puddle closely helps control bead shape and penetration. A bright, fluid puddle indicates sufficient heat, while a dull or sluggish one suggests low current or poor technique. Adjusting travel speed and amperage in real time ensures a uniform, well-fused bead.
Mastering arc striking and travel technique requires patience and repetition. With consistent practice, these movements become instinctive, resulting in cleaner welds, smoother beads, and stronger joints—hallmarks of a skilled welder.
Slag Removal & Weld Inspection
After completing a weld, one of the most overlooked yet crucial steps is slag removal and inspection. The slag, a layer of residue formed from the electrode’s flux coating, protects the molten metal during welding but must be cleaned off once the weld cools.
Proper slag removal not only reveals the quality of the weld but also ensures the next layer of weld metal bonds perfectly if multiple passes are required.
Begin by allowing the weld bead to cool slightly, but not completely, before cleaning. Use a chipping hammer to carefully strike the slag at an angle along the bead, loosening the hardened layer without damaging the metal beneath.
Follow this with a wire brush to clear fine particles and spatter, exposing the clean, shiny surface of the weld. A properly cleaned weld allows for accurate visual inspection and prepares the surface for any additional welding passes or finishing processes.
Inspection begins immediately after cleaning. Examine the bead for consistency in width, height, and ripple pattern. A smooth, uniform bead with even ripples indicates stable heat input and good technique.
Look for signs of common defects such as porosity, undercut, or lack of fusion—issues that weaken the weld and often result from incorrect current or travel speed.
For structural or load-bearing applications, go beyond visual checks and use non-destructive testing (NDT) methods such as magnetic particle inspection, dye penetrant testing, or ultrasonic scanning to detect hidden cracks or voids.
Effective slag removal and thorough inspection are essential for ensuring both the aesthetic and structural integrity of every weld. By developing the habit of cleaning and inspecting after each pass, welders guarantee stronger, more professional results that stand the test of time.
Troubleshooting Common Mistakes
Even skilled welders occasionally face problems when using an electric welding machine. The key difference between a novice and a professional lies in how quickly these issues are recognized and corrected.
Most welding defects arise from improper settings, poor technique, or lack of preparation—and each has clear warning signs that can be easily spotted with experience.
One of the most frequent problems is the electrode sticking to the workpiece. This usually occurs when amperage is too low, or the arc length is too short.
To fix it, increase the current slightly and maintain a consistent gap between the electrode and metal. Using dry, clean rods also reduces sticking, as damp flux can cause unstable arcs.
Excessive spatter and messy weld beads are often the result of too high amperage or maintaining a long arc. Lower the current and hold a steady hand to keep the arc stable.
Cleaning the metal before welding also helps minimize spatter by eliminating contaminants that interfere with the arc.
Porosity, or small holes in the weld, usually stems from moisture, dirt, or oil on the work surface or electrodes. Always clean the metal thoroughly, use dry rods, and ensure adequate ventilation.
If porosity persists, check for drafts that may disturb the shielding gas layer created by the electrode’s flux coating.
Lack of fusion and undercutting occur when the current or travel speed is incorrect. Slow down the travel speed to allow deeper penetration, or increase amperage slightly.
For undercutting, reduce heat input and maintain a consistent angle so that the arc doesn’t erode the edges of the joint.
Finally, cracking can result from improper cooling or high internal stress in the material. To avoid this, use controlled heat input, preheat thicker sections, and allow gradual cooling after welding.
By identifying and correcting these mistakes early, welders can maintain consistency, extend equipment life, and produce clean, durable welds that meet professional standards every time.
Maintenance & Calibration
Proper maintenance and calibration are what keep an electric welding machine performing like new.
Over time, internal components such as connectors, transformers, and cooling fans accumulate dust, heat stress, and wear—all of which can cause inconsistent arcs, unstable currents, or premature failure.
Regular upkeep not only improves weld quality but also extends the lifespan of the machine, ensuring it delivers accurate output every time it’s used.
Start by inspecting all external parts before each session. Check cables, electrode holders, and ground clamps for cracks, frayed insulation, or corrosion.
Damaged cables can lead to voltage drops, electric shocks, or unstable arcs, while worn clamps reduce current flow and cause erratic performance.
Keeping connections clean and tight ensures smooth energy transfer from the power source to the workpiece.
Dust and debris buildup inside the machine also hinder performance. Use compressed air to gently blow out the vents and internal components, but always disconnect power first. This step prevents overheating and protects sensitive circuits from blockage.
For heavy-duty or workshop environments, cleaning should be done weekly or biweekly, depending on usage frequency.
Calibration is equally vital. Over time, the displayed amperage on the control panel can drift from the machine’s actual output.
This inaccuracy can lead to inconsistent weld penetration and quality. Using a calibrated ammeter or multimeter, compare readings and adjust the settings to restore accuracy. Many professional workshops schedule machine calibration every three to six months.
Lastly, maintain proper storage conditions. Keep the welding machine in a dry, clean area away from moisture and direct sunlight. Avoid wrapping cables too tightly, as this can weaken the internal copper strands.
By following a disciplined maintenance and calibration routine, welders can guarantee reliability, efficiency, and safety in every operation. A well-maintained electric welding machine doesn’t just perform better—it ensures that every weld is as precise and durable as intended.
Advanced Tips & Best Practices
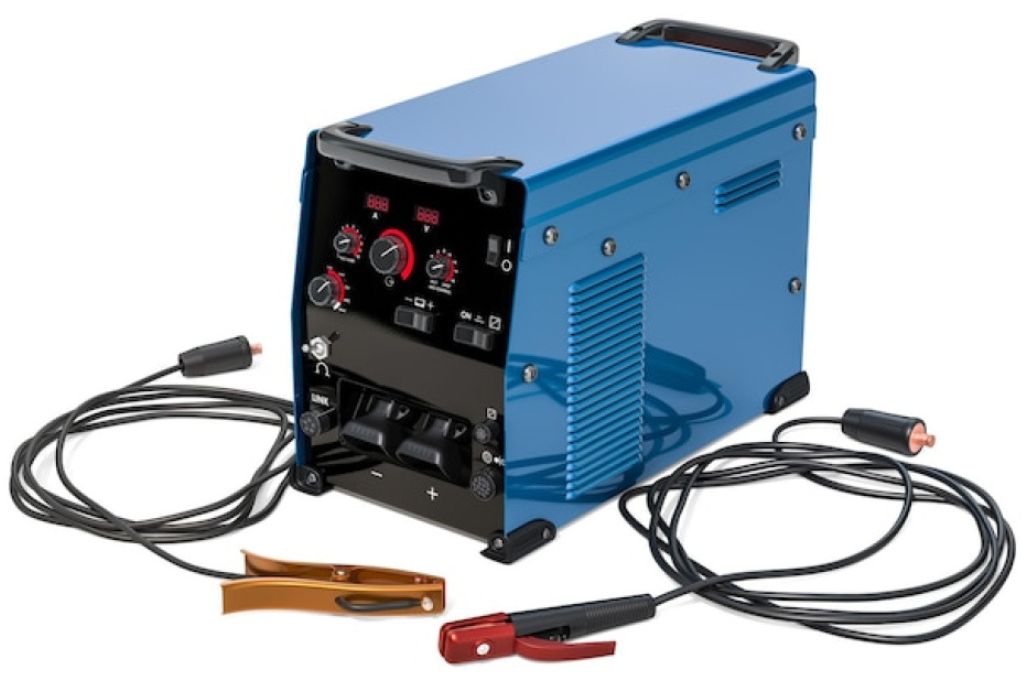
Mastering an electric welding machine involves more than just setting amperage or maintaining a steady arc—it’s about refining habits that ensure long-term success and professional-grade results.
Once the fundamentals are solid, small adjustments in technique, preparation, and consistency can dramatically improve both weld strength and appearance.
One essential technique is tack welding, which helps keep metal pieces aligned before performing a full weld.
Tack welds act as anchors, preventing distortion caused by heat expansion and contraction during welding.
For long seams or thin materials, apply multiple tack welds evenly along the joint to hold everything in place.
Multi-pass welding is another valuable practice for thicker materials. Instead of laying one large bead, multiple smaller passes allow for deeper penetration and improved bonding. Between each pass, clean off slag and inspect the bead for defects to maintain consistent quality.
Controlling heat input is critical for preventing warping, cracking, or burn-through. Use shorter welds, alternate between sides of the joint, or reduce amperage slightly to manage temperature buildup. Preheating thicker metals also helps distribute heat more evenly, reducing thermal shock and ensuring better fusion.
For precision, focus on consistent hand motion and travel speed. Slight weaving motions like the U-pattern or circular technique can help control bead width and improve coverage on wider joints. Always maintain a stable electrode angle and steady pace for uniform results.
Finally, keep a record of welding parameters such as amperage, electrode type, and travel speed for each project. This personal reference log helps replicate successful welds and fine-tune settings for different materials.
Adopting these advanced best practices transforms welding from a functional task into an art of precision and consistency. Every weld becomes stronger, cleaner, and more professional, reflecting the discipline and attention to detail that define a skilled welder.
Conclusion
Learning how to use electric welding machine correctly is more than just understanding the controls—it’s about mastering the balance between precision, consistency, and safety.
Every great weld begins long before the arc is struck, with proper preparation, correct setup, and disciplined attention to detail.
From electrode selection to current control, every step shapes the quality and durability of the finished joint.
When the right polarity, amperage, and technique are combined, the result is a smooth, strong weld with minimal defects.
Clean surfaces, accurate arc length, and controlled travel speed ensure deep penetration and professional bead appearance. Each adjustment made with care transforms an ordinary weld into one that meets industrial-grade standards.
Regular machine maintenance and calibration keep performance consistent, while advanced techniques such as tack welding, multi-pass layering, and preheating elevate craftsmanship to a higher level.
These practices not only improve efficiency but also extend equipment life and reduce rework costs.
Ultimately, knowing how to use electric welding machine without mistakes is what separates a beginner from a true professional. It’s the foundation of safety, precision, and confidence in every project.
With the right knowledge, patience, and practice, every strike of the arc becomes a reflection of skill—and every finished weld stands as proof of mastery.

I’m Darrell Julian, the founder, lead writer, and hands-on welding enthusiast behind ArcWeldingPro.com. With more than 15 years of real-world welding experience, I created this platform to share what I’ve learned in the field, in the shop, and in the heat of the arc.

