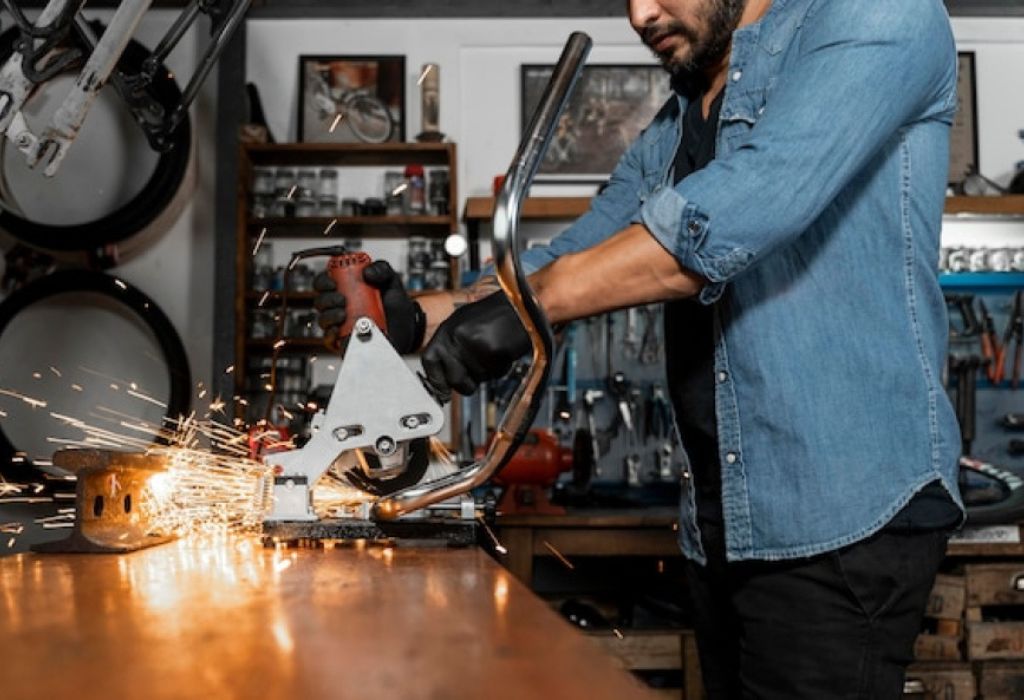
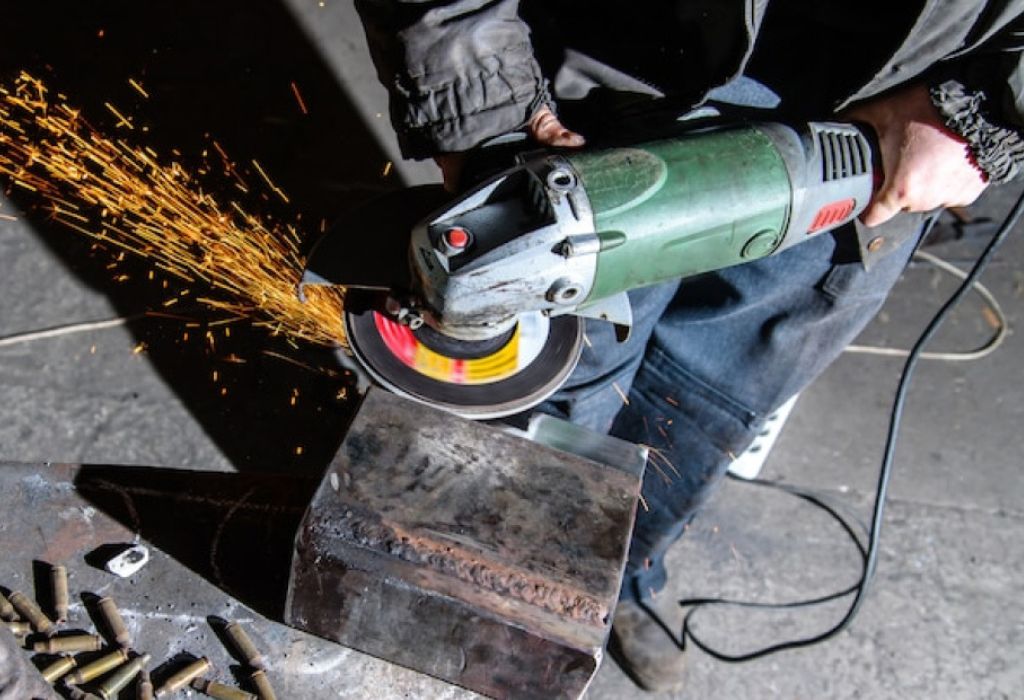
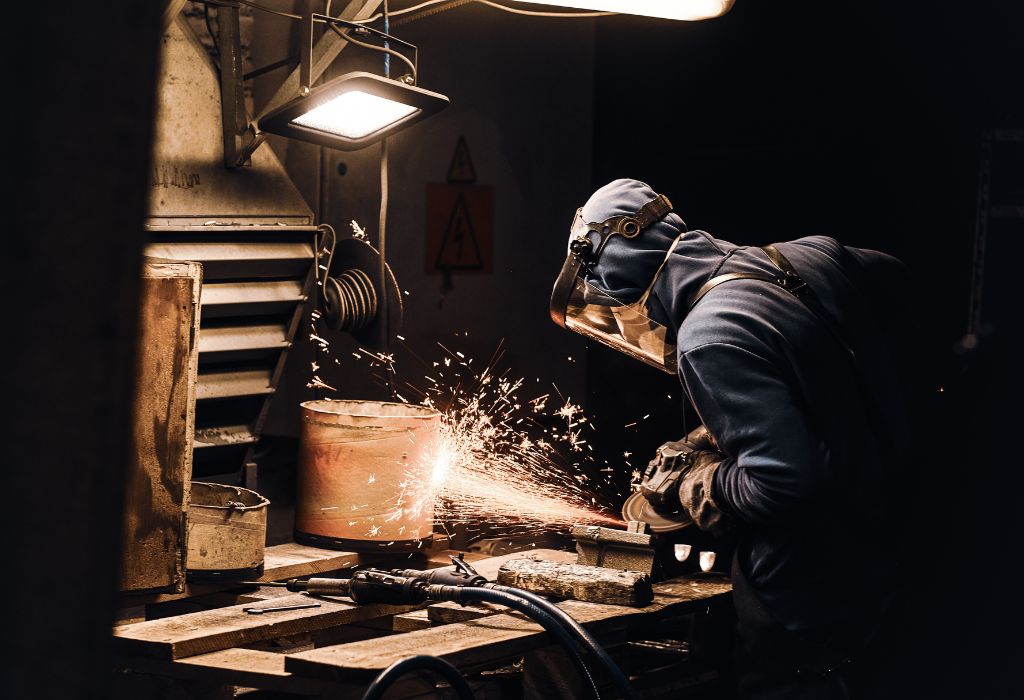
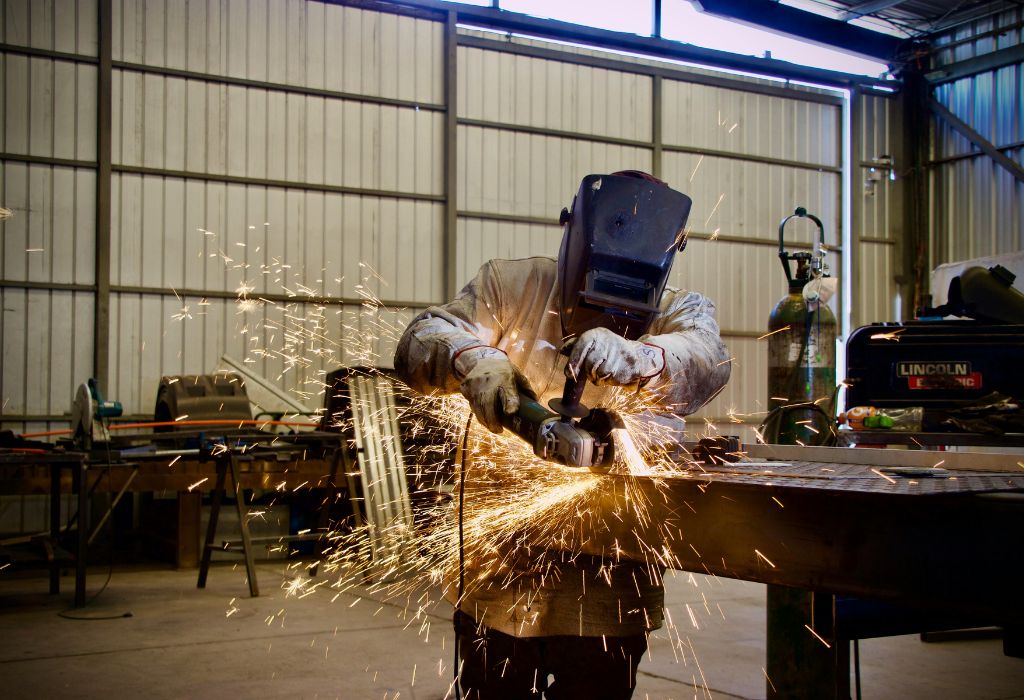
Imagine a welder in a small workshop trying to repair a steel frame. Sparks flash, the arc hums, and molten metal flows—yet when the piece cools, the joint snaps with a single tap. The issue isn’t the material; it’s an incorrect understanding of how to use handheld welding machine effectively.
Many beginners assume handheld welding is simple, but even minor errors in current setting, electrode angle, or travel speed can ruin a weld.
Studies across the welding industry show that a majority of weld defects occur due to improper preparation or lack of operator training. Precision, not power, determines the strength of every joint.
Curiosity often begins when one wonders how a small handheld device can generate enough heat to melt solid steel. The answer lies in controlled electrical energy that transforms metal surfaces at the molecular level, bonding them into one solid structure.
Learning how to use handheld welding machine is about mastering control—heat, angle, and timing—not just striking an arc. When done correctly, it produces strong, clean, and professional results that last for years.
What Is a Handheld Welding Machine?

Walk into any workshop and you’ll find a compact yet powerful device capable of melting steel in seconds.
This tool is known as a handheld welding machine, a versatile piece of equipment that allows welders to repair, fabricate, or construct metal structures with precision and control.
Despite its small size, it delivers enough current to fuse metal joints that can withstand extreme pressure and weight.
A handheld welding machine works by generating an electric arc between an electrode and the metal surface. The heat from the arc melts the base material and the filler, bonding them together as they cool.
These machines can operate using various methods such as stick welding (SMAW), MIG welding (GMAW), or TIG welding (GTAW), depending on the project requirements.
Compact in design yet robust in performance, they are essential tools for workshops, construction sites, and field repairs.
Understanding how to use a handheld welding machine is crucial for achieving consistent weld quality. Without proper knowledge of settings, electrode selection, and arc control, even the most advanced welder can produce weak or brittle joints.
Q: What exactly is a handheld welding machine?
A: It’s a portable welding device used to join metal parts by creating an electric arc that melts and fuses the material.
Q: What types of handheld welding machines are most common?
A: The most popular types are stick welders, MIG welders, and TIG welders, each designed for specific materials and projects.
Q: Why are handheld welders popular among professionals and hobbyists?
A: They are lightweight, easy to transport, and capable of delivering professional-grade results without heavy machinery.
Q: Can a handheld welder be used on all metals?
A: It depends on the model and welding process, but most can handle steel, stainless steel, and aluminum with proper setup.
Q: What makes handheld welding different from industrial automated welding?
A: Handheld welding relies on the operator’s skill and control, while automated systems follow programmed precision.
Preparing for the Weld – Machine Setup and Safety
Before learning how to use handheld welding machine, proper preparation and safety setup are essential.
Even the best welding machines cannot deliver clean, strong joints if the environment or equipment is not ready. Every successful weld begins long before the arc is struck.
The first step is ensuring a safe, clean workspace. The area should be dry, well-ventilated, and free from flammable materials. Proper lighting helps monitor the weld pool, while good airflow prevents the accumulation of harmful fumes.
Wearing certified personal protective equipment (PPE) such as a welding helmet, flame-resistant gloves, leather jacket, and safety boots is non-negotiable.
The machine setup determines weld quality and operator safety. Always inspect cables, clamps, and connectors for damage or corrosion.
Select the correct electrode or wire type based on the metal you’re welding and adjust the current (amperage) accordingly.
For inverter-based welders, double-check that polarity matches the electrode requirements. If your welder uses shielding gas, confirm the gas type and flow rate before starting.
Finally, ensure proper grounding of the workpiece to prevent electrical hazards and ensure stable current flow.
A securely clamped ground connection is key to a consistent arc. Neglecting these checks is one of the leading causes of unstable welds and machine malfunction.
Q: Why is site preparation important before welding?
A: Clean, organized workspaces reduce fire hazards and prevent contamination that can weaken the weld.
Q: What protective gear should every welder use?
A: A welding helmet, leather gloves, long-sleeved flame-resistant clothing, and closed-toe boots.
Q: How does machine setup affect weld quality?
A: Incorrect amperage or poor connections cause uneven heat, leading to weak or porous welds.
Q: Why is proper grounding necessary?
A: It completes the electrical circuit safely and helps maintain a stable, consistent arc.
Q: When should fittings and cables be checked?
A: Before every weld session to prevent voltage loss, electric shock, or equipment failure.
Executing the Weld – Step-by-Step
Now comes the most exciting and critical part of learning how to use handheld welding machine — performing the weld itself. This stage requires focus, control, and precision.
A perfect weld depends not only on the machine’s power but also on how well the operator manages the arc, movement, and heat.
Begin by setting the correct amperage or voltage based on the electrode or wire diameter and the metal’s thickness.
Connect the electrode holder or torch securely and ensure the ground clamp is firmly attached to a clean metal surface.
Once everything is set, position the welding rod or gun at the correct angle and maintain a steady stance to control movement throughout the process.
Strike the arc by gently tapping or scratching the electrode against the metal until a bright arc forms.
Maintain a short, consistent arc length — too long leads to spatter and weak penetration, while too short can cause sticking or uneven fusion.
Move the electrode steadily along the joint, maintaining a smooth motion to create a uniform bead.
After completing the weld, allow the joint to cool naturally. For stick welding, remove the slag with a chipping hammer and inspect the bead for uniformity and strength.
A clean, even surface with minimal porosity indicates a successful weld. Patience during the cooling phase ensures durability and prevents internal cracks.
Q: What is the correct angle for handheld welding?
A: Typically, 15–30 degrees for stick or MIG welding and 10–15 degrees for TIG welding, depending on position.
Q: How can a welder maintain consistent bead width?
A: By keeping a steady hand, consistent travel speed, and uniform arc length throughout the weld.
Q: What are signs of overheating the joint?
A: Excessive spatter, undercut edges, or discoloration around the weld area indicate too much heat.
Q: Should the weld be cooled quickly with water or air?
A: No. Rapid cooling can create brittleness and internal cracks in the welded metal.
Q: How can beginners practice stable arc control?
A: Start on scrap metal, focus on short arcs, and practice steady hand movements before working on critical joints.
Troubleshooting and Common Mistakes
Even experienced welders occasionally face challenges while learning how to use handheld welding machine efficiently.
A small error in setup or technique can lead to poor penetration, weak joints, or visible defects. Understanding these issues and their fixes is the key to producing consistent, high-quality welds.
One of the most common mistakes is incorrect amperage. Setting the current too low results in poor fusion, while too high can cause excessive spatter or burn-through.
Another frequent issue is neglecting to clean the metal surface before welding. Rust, paint, or oil prevent proper bonding and lead to porosity in the weld.
Arc instability is another problem that frustrates beginners. This usually happens due to a loose ground connection, worn cables, or an inconsistent arc length.
Maintaining a clean, secure setup prevents interruptions in the electrical flow. Additionally, moving the electrode too fast or too slow can distort the bead and weaken the joint.
Finally, skipping the cooling phase or handling the weld too early often causes hidden cracks. Patience is as crucial as technique. Allowing the weld to cool naturally ensures structural integrity and long-term durability.
Q: Why does the electrode stick to the metal during welding?
A: The amperage is likely too low or the arc length too short, causing the rod to fuse prematurely.
Q: What causes excessive spatter during welding?
A: High amperage, poor grounding, or incorrect arc length are the most common causes.
Q: How can porosity in the weld be avoided?
A: Always clean the workpiece, ensure dry electrodes, and maintain steady arc control.
Q: What happens if the welding speed is too fast?
A: The weld bead becomes thin, lacks penetration, and fails to bond properly with the base metal.
Q: Why is post-weld inspection important?
A: It helps detect surface cracks, undercuts, or uneven beads before the structure goes into service.
Best Practices and Future Trends

Mastering how to use handheld welding machine goes beyond learning technique—it’s about developing habits that ensure safety, consistency, and precision.
A professional welder follows proven best practices before, during, and after every weld. These small yet essential actions separate strong, long-lasting joints from weak, failure-prone ones.
The first best practice is maintaining your equipment. Regularly inspect cables, electrode holders, and connections for wear or damage.
Clean contact points and replace frayed wires to maintain a stable arc. Calibration of the machine should also be part of routine checks to ensure that current and voltage settings remain accurate.
Another key habit is practicing controlled welding techniques. Maintain a steady travel speed, correct arc length, and consistent electrode angle.
Proper body positioning and grip help reduce fatigue and improve accuracy. Always prioritize safety—use PPE, secure the workpiece, and check surroundings for flammable materials before starting the weld.
Documentation is another overlooked but vital practice. Keeping a simple log of amperage, electrode type, and results helps track performance and refine future welds. This habit builds repeatability and ensures compliance with professional standards.
Looking toward the future, handheld welding machines are evolving rapidly. Inverter technology now offers lightweight, energy-efficient designs with advanced arc control.
Some modern units feature digital displays, auto-settings, and even Bluetooth monitoring for data tracking.
As the industry shifts toward smarter, more sustainable equipment, welders who stay updated with these innovations will enjoy greater precision and productivity.
Q: Why is equipment maintenance so important?
A: Clean, well-maintained machines ensure consistent power delivery and reduce weld defects.
Q: How can welders improve accuracy and consistency?
A: By practicing steady travel speeds, correct electrode angles, and proper arc lengths regularly.
Q: What safety steps should never be skipped?
A: Wearing PPE, grounding the workpiece, and keeping the workspace free from flammable materials.
Q: How does technology improve handheld welding performance?
A: Modern inverter welders provide smoother arcs, stable currents, and digital parameter control.
Q: What is the future of handheld welding machines?
A: Expect compact, smart welders with automated settings, real-time data logging, and enhanced energy efficiency.
Conclusion
A solid understanding of how to use handheld welding machine transforms welding from a trial-and-error process into a precise, dependable skill.
Every successful weld begins with proper preparation, from cleaning the metal and calibrating the machine to setting the correct amperage and maintaining safety standards. Each step plays a vital role in ensuring strength, accuracy, and durability.
Professionals who follow these techniques consistently produce clean, uniform, and reliable welds. Skipping even a single precaution—like grounding or cooling—can compromise the entire joint.
Mastering these fundamentals not only reduces rework and material waste but also increases efficiency and confidence in every project.
With technology advancing rapidly, handheld welding machines are becoming smarter, lighter, and more efficient.
However, the core principles remain unchanged: precision, patience, and consistency. By applying the lessons in this guide, every welder—from beginner to expert—can achieve professional-grade results that stand the test of time.

I’m Darrell Julian, the founder, lead writer, and hands-on welding enthusiast behind ArcWeldingPro.com. With more than 15 years of real-world welding experience, I created this platform to share what I’ve learned in the field, in the shop, and in the heat of the arc.


