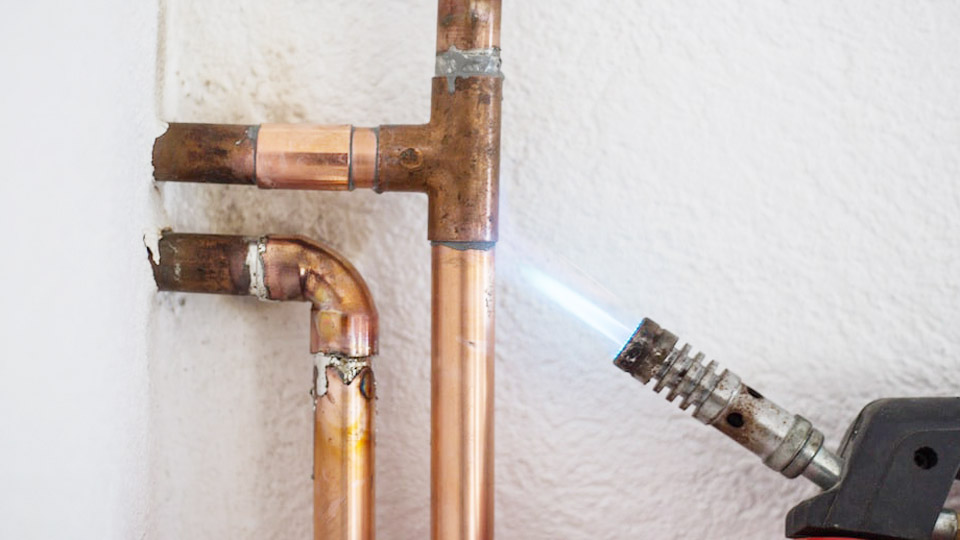
Brazing joins metals by melting a material into the joint. This material must melt at a lower point than the metals. It differs from soldering by needing higher temperatures to melt the filler metal.
Brazed joints are critical in refrigeration and HVAC systems for their strength. On the other hand, soldered joints work well in low-pressure uses, like water and some heating lines. You need much higher heat for brazing, over 842 degrees Fahrenheit, than for soldering, which only needs about 450 to 500.
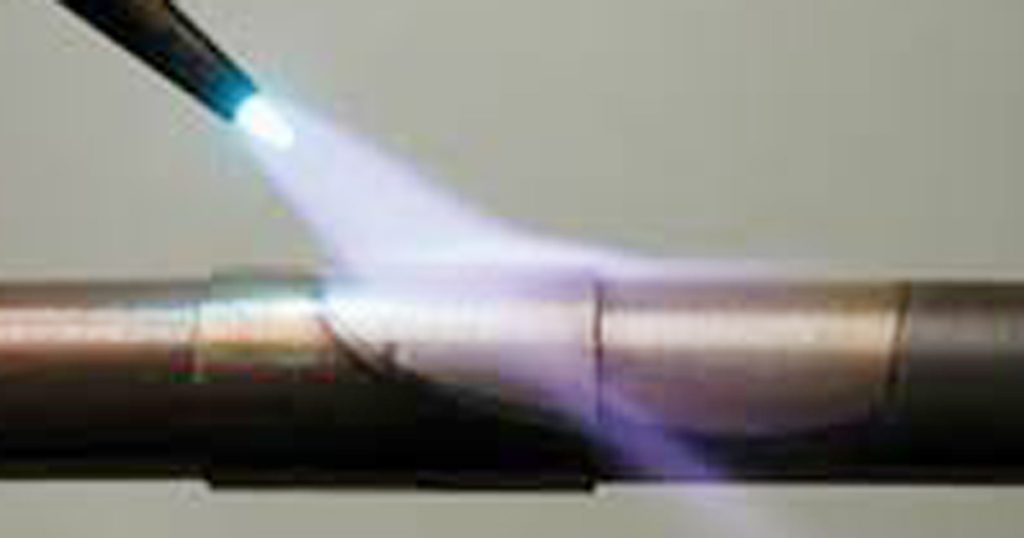
Image by selltapvs
Difference Between Brazing and Soldering
The American Welding Society (AWS) says brazing’s filler metal needs 842?F/450?C to melt. Melt it at a lower temperature, below 840?F, and you’re soldering. Brazing heats metals to over 840 degrees Fahrenheit. In contrast, soldering sticks to temperatures under 840 degrees Fahrenheit.
Brazing vs Soldering Temperature
Soldering or brazing depends on if it hits about 842?F/450?C. Most brazing alloys, for copper pipes, need 1,150?F/621?C to 1,550?F/843?C. Solder, made mostly of tin, tackles work at temperatures soldering, with tin and lead mix.
Applications of Brazed and Soldered Joints
For strong joints in high-pressure tasks (like in refrigeration or air systems), you need brazing. It’s stronger than soldering, mainly because it uses stronger metals. Plumbers, on the other hand, solder copper pipes for regular water lines or mild heating systems in homes.
How to Braze Copper Water Pipe?
Tools and Materials Required
For braze joints, you’ll use a different setup than for soldering. You’ll need an oxy/acetylene torch system. It uses a higher heat because brazing requires a much hotter flame than soldering. An oxy/acetylene torch can go up to 3500?C or 6330?F.
This method uses a special solder called Stay-Silv 15. It’s made of 80% copper, 15% silver, and 5% phosphorus. This blend makes it self-fluxing. This means you don’t need to add flux separately. You’ll also need wire brushes, an inspection mirror, and a fire extinguisher.
Choosing the Right Filler Material
Choosing the right filler material for brazing is important. Harris Products offers a guide for picking the correct brazing rod. For copper to copper joints, they recommend using rods like Stay-Silv 15 or similar. These have phosphorus and work well with copper without needing extra flux.
When you’re working with brass or bronze, you’ll need Stay-Silv white flux. For iron, steel, or ferrous metals, use Safety-Silv 45 or Safety-Silv 56. Always follow the specific recommendations to avoid any issues with the joint strength.
Setting Up the Torch
Setting up the oxy-acetylene torch properly is crucial. First, make sure the tank valves are attached without sealants. This prevents unwanted substances from entering the system. Then, attach the hoses and the torch itself.
Open the tanks and set the regulators to 5 PSI. Open the oxygen valve fully. For acetylene, just give it a quarter turn open. This small opening ensures a fast closure if needed. It also helps the tanks empty at a similar rate, saving you a refill trip.
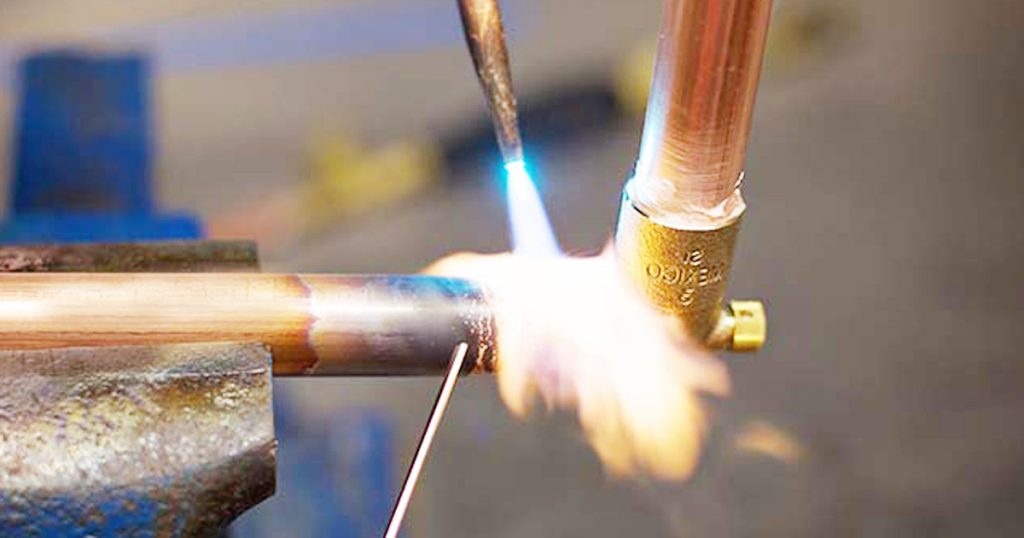
Image by achrnews
Preparing the Copper Pipes and Fittings
Cutting and Deburring
Start by cutting the copper pipe to the right size. You can use a tube cutter or a hacksaw for this. Always make sure your cuts are square by using a sawing fixture with a hacksaw. Next, get rid of any sharp edges left from cutting. Use a reamer, file, or another tool to do this. If the pipe isn’t perfectly round, you need to make it so with a sizing tool.
Cleaning the Surfaces
It’s crucial for the surfaces where joints will be to be clean. They should have no oil, grease, or oxide. To clean for brazing, you can use a stainless steel wire brush or emery cloth. If there’s oil or grease, a commercial solvent will do the trick. Finally, wipe the surface to clear away any tiny particles. The key is to have a spotless joint surface for the brazing filler to work well.
Adjusting the Flame
Getting the flame right is key when brazing copper pipes. You need to know about three types of flames: carburizing, oxidizing, and neutral. The neutral flame is the best for brazing because it doesn’t harm the metal.
Types of Flames
A carburizing flame shows three colors and can cause too much carbon on the pipe. An oxidizing flame will rust the pipe. The best is the neutral flame, which should be a beautiful clear blue. This flame has the right mix of oxygen and acetylene.
Achieving a Neutral Flame
To get a neutral flame, first turn the acetylene knob halfway and light the torch. It will start with soot and smoke, which is okay. Let that clear and then open the oxygen slowly.
In a neutral flame, you should only see clear blue. Avoid the three distinct colors that show carburizing. Keeping the flame neutral is very important. Oxidizing or carburizing flames can damage the brazing and joints.
Brazing Process
Heating the Joint
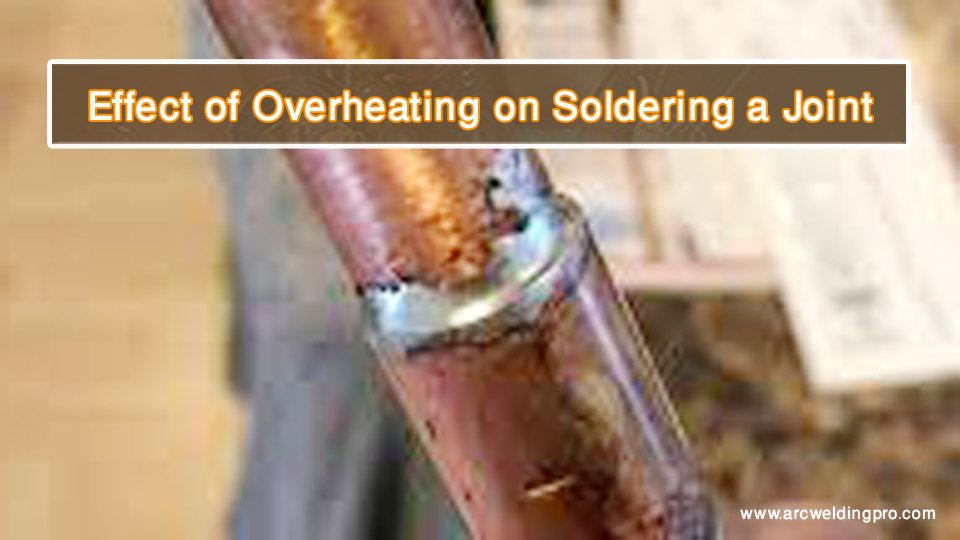
When brazing, start by heating the pipe. There’s usually air between the fitting and pipe that doesn’t let heat through well. Also, heat the fitting’s hub while moving it around. Use the filler material to check if the joint is hot enough for brazing. If it’s melting, don’t heat the filler directly. The pipe might turn red, but use only as much heat as needed. Too much heat can stop the capillary action from working.
Applying the Filler Material
Heat the base metals until they’re ready for brazing. Then, you can touch the filler tip to the hot area to start melting it. Keep heating both parts evenly. This way, the alloy goes into the joint smoothly. But once it’s filled, stop adding more alloy. Extra alloy doesn’t make the joint stronger and just wastes material.
Vertical and Horizontal Joints
For up-and-down joints, heat the tube before the fitting. This warms them up evenly. If the tube gets too hot, the alloy could flow away from the joint.
For joints that are side-by-side, warm the pipe’s outer edge first. Then warm the fitting. Choose where to add the alloy wisely, depending on the pipe’s size. For big pipes, it’s smart to start at the bottom. This helps hold the alloy in the joint later on.
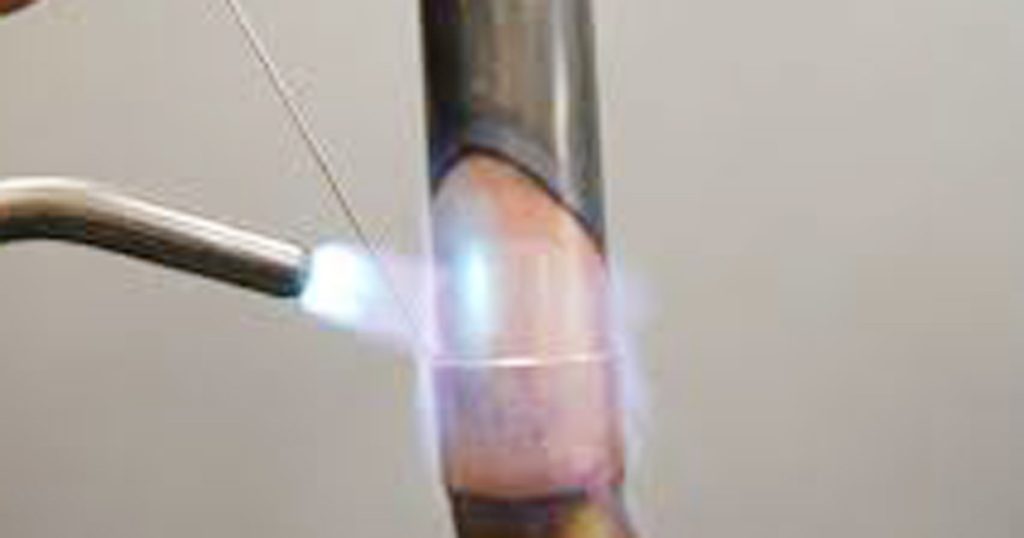
Image by industrialone
Post-Brazing Steps
Cooling and Cleaning
Once brazing is done, let the joint cool naturally. It’s bad to put water on it while hot. This could make the joint crack and leak. After cooling, clean the pipe’s surface with a wire brush. This step helps check the joint properly for any issues.
Inspecting the Joint
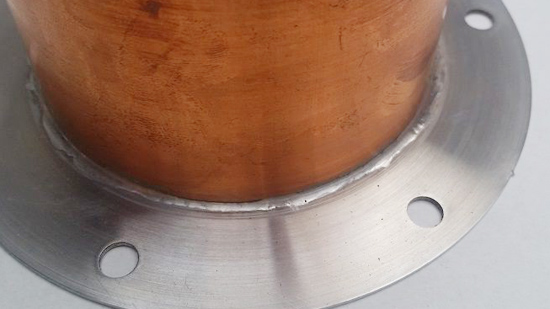
After cleaning, carefully check the joint for any problems. In tight spots, use an inspection mirror to see better. A good brazed joint has a concave fill or cap, showing a solid and leak-free connection.
Conclusion
To make strong, leak-proof connections, brazing copper water pipes is essential. First, prep the pipes and fittings. Then, get the torch’s flame right and heat the joint area evenly. Apply the filler material and cool down the joint. Inspect the joint to ensure it’s done right. By sticking to these steps, professionals can join copper pipes securely for jobs that need to handle a lot of pressure.
The gap between the parts being joined affects the joint’s strength. The best joint can stand up to 135,000 pounds of force per square inch. But even with larger gaps, joints can handle 100,000 pounds per square inch. This shows how precise the work must be to get reliable connections.
Working with the high heat needed for brazing pipes needs great care. The temperatures reach from 1150?F to 1550?F. Mastering this process helps ensure plumbers and HVAC techs create joints that are strong and meet the needs of tough, high-pressure situations.

I’m Darrell Julian, the founder, lead writer, and hands-on welding enthusiast behind ArcWeldingPro.com. With more than 15 years of real-world welding experience, I created this platform to share what I’ve learned in the field, in the shop, and in the heat of the arc.

