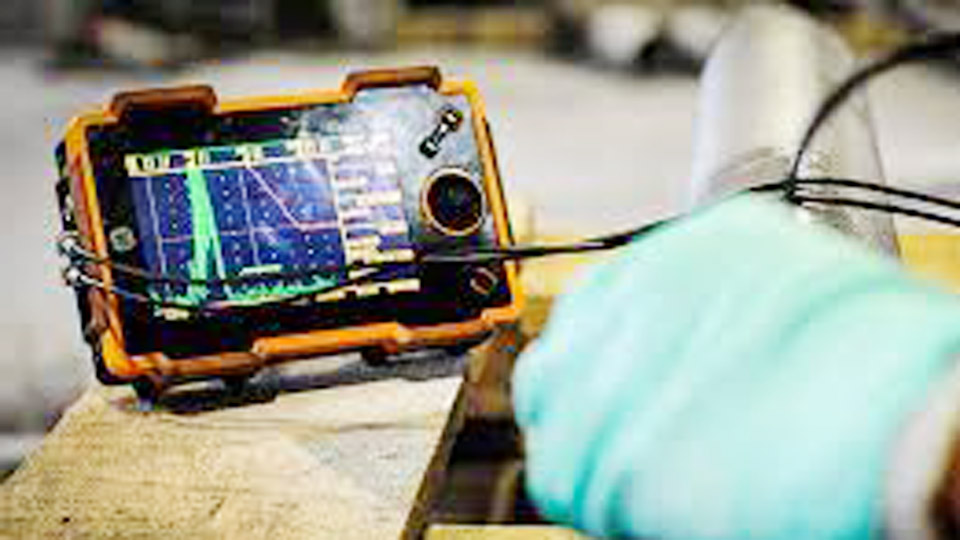
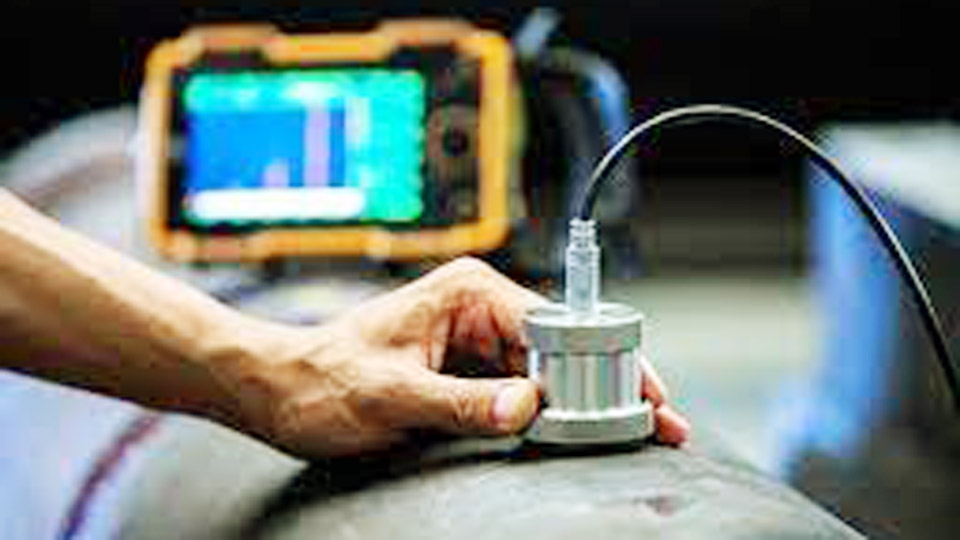
Ultrasonic testing (UT) is a highly effective non-destructive testing (NDT) method used to inspect welds for internal and surface defects. This technique employs high-frequency sound waves to detect discontinuities within the weld material, providing valuable insights into the integrity and quality of welded joints.
Ultrasonic testing is widely used across industries such as oil and gas, aerospace, automotive, and construction, where the reliability of welds is critical for safety and performance. The types of defects that ultrasonic testing can detect in welds is essential for ensuring the quality and safety of structures.

Image by equinoxaccess
Ultrasonic Testing of Welds
Ultrasonic testing of welds involves sending high-frequency sound waves into the weld and analyzing the echoes that bounce back from internal structures and flaws. This method allows inspectors to detect various types of defects without damaging the material, making it a preferred choice for quality control in manufacturing and maintenance.
Key Features of Ultrasonic Testing
- Non-Destructive: Ultrasonic testing does not alter or damage the weld, preserving the integrity of the inspected component.
- High Sensitivity: Capable of detecting very small defects, even those that are not visible to the naked eye or detectable by other methods.
- Depth Penetration: Can inspect thick welds and locate defects deep within the material.
- Real-Time Results: Provides immediate feedback, allowing for quick decision-making during inspections.
Types of Defects Detected by Ultrasonic Testing
Ultrasonic testing can detect a wide range of defects in welds, including internal and surface discontinuities. These defects can compromise the strength and durability of the weld, making their detection crucial for quality assurance.
Cracks
Cracks are one of the most critical defects that can occur in welds, as they can lead to catastrophic failures if not detected and repaired. Ultrasonic testing is highly effective at identifying various types of cracks, including:
- Longitudinal Cracks: These cracks run parallel to the weld axis and can occur due to excessive cooling rates, high residual stresses, or improper welding techniques.
- Transverse Cracks: Cracks that run perpendicular to the weld axis, often caused by external stresses or material shrinkage during cooling.
- Toe Cracks: Cracks that occur at the toe of the weld, where the weld meets the base metal. These are often caused by high residual stresses or poor welding practices.
- Crater Cracks: Small cracks that form at the end of a weld pass, typically due to improper termination of the welding process.
Porosity
Porosity refers to small gas pockets or voids trapped within the weld metal. These defects can reduce the strength and integrity of the weld. Ultrasonic testing can detect porosity clusters and individual pores, which are often caused by:
- Contaminants: Presence of oil, grease, rust, or other contaminants on the welding surface.
- Improper Welding Parameters: Incorrect welding speed, voltage, or gas flow rates.
- Inadequate Shielding: Poor shielding gas coverage that allows atmospheric gases to enter the weld pool.
Lack of Fusion
Lack of fusion is a defect where the weld metal fails to properly fuse with the base metal or previous weld passes. This creates weak spots in the weld that can lead to failure under stress. Ultrasonic testing can effectively identify lack of fusion, which can occur due to:
- Insufficient Heat: Inadequate heat input during welding, preventing proper melting and bonding.
- Improper Welding Technique: Poor manipulation of the welding torch or electrode.
- Contamination: Presence of oxides or other contaminants on the surfaces being welded.
Incomplete Penetration
Incomplete penetration occurs when the weld metal does not extend through the full thickness of the joint, leaving a gap or incomplete weld. This defect can significantly reduce the strength of the joint. Ultrasonic testing is capable of detecting incomplete penetration, which can be caused by:
- Incorrect Welding Parameters: Insufficient heat input or improper welding speed.
- Joint Misalignment: Misalignment of the joint or poor fit-up of the parts being welded.
- Improper Groove Preparation: Inadequate preparation of the joint groove, preventing full penetration.
Inclusions
Inclusions are non-metallic materials, such as slag or oxides, trapped within the weld metal. These defects can weaken the weld and create stress concentrations that lead to failure. Ultrasonic testing can identify inclusions, which are often caused by:
- Improper Cleaning: Failure to properly clean the base metal or remove slag between weld passes.
- Contaminated Filler Material: Use of filler material with impurities or contaminants.
- Incorrect Welding Technique: Poor welding technique that leads to entrapment of foreign materials.
Lamellar Tears
Lamellar tears are defects that occur in the base metal adjacent to the weld, typically in materials with a high sulfur content or a laminar structure. These tears are caused by high through-thickness stresses and can compromise the integrity of the joint. Ultrasonic testing can detect lamellar tears, which are often associated with:
- Material Properties: Presence of non-metallic inclusions or laminations in the base metal.
- High Residual Stresses: High residual stresses induced during welding or cooling.
Ultrasonic Testing Techniques for Defect Detection
Different ultrasonic testing techniques can be employed to detect specific types of defects in welds. Understanding these techniques can help in selecting the most appropriate method for a given inspection.
Pulse-Echo Technique
The pulse-echo technique is the most common ultrasonic testing method used for detecting defects in welds. In this technique, sound waves are sent into the weld, and the echoes from internal flaws are analyzed. The pulse-echo method is highly effective for detecting:
- Cracks
- Porosity
- Lack of fusion
- Inclusions
Through-Transmission Technique
The through-transmission technique involves using two transducers, one as a transmitter and the other as a receiver, placed on opposite sides of the weld. Defects are identified by a reduction in signal amplitude as the sound waves pass through the weld. This technique is useful for detecting:
- Large defects
- Gross discontinuities
- Lack of penetration
Phased Array Ultrasonic Testing (PAUT)
Phased Array Ultrasonic Testing (PAUT) is an advanced ultrasonic testing method that uses multiple transducer elements and electronic control to steer and focus the sound beam. PAUT provides a detailed cross-sectional view of the weld, allowing for accurate detection and characterization of:
- Cracks (longitudinal, transverse, and complex shapes)
- Lack of fusion
- Incomplete penetration
- Inclusions and porosity
Ultrasonic Testing with Other NDT Methods for Weld Defects
To better understand the effectiveness of ultrasonic testing for detecting weld defects, it is useful to compare it with other non-destructive testing methods, such as radiographic testing, magnetic particle testing, and dye penetrant testing.
| Feature | Ultrasonic Testing | Radiographic Testing | Magnetic Particle Testing | Dye Penetrant Testing |
|---|---|---|---|---|
| Type of Defects Detected | Internal and surface defects | Internal defects | Surface and near-surface defects | Surface defects |
| Sensitivity | High | High | Moderate | Low to moderate |
| Penetration Depth | High | High | Low | Surface only |
| Safety | Safe (no radiation) | Requires radiation safety | Safe | Safe |
| Portability | Portable equipment | Less portable (requires shielding) | Portable | Portable |
| Surface Preparation | Requires smooth, clean surface | Minimal | Requires clean surface | Requires clean surface |
| Operator Skill | High | High | Moderate | Low |
| Cost | Moderate to high | High | Low to moderate | Low |
| Applications | All materials, thick welds | All materials, thick welds | Ferromagnetic materials | Non-porous materials |
Factors Affecting the Detection of Defects in Ultrasonic Testing
Several factors can influence the effectiveness of ultrasonic testing in detecting defects within welds. Controlling these factors is essential for achieving accurate and reliable results.
Surface Condition
The surface condition of the weld significantly affects the transmission of ultrasonic waves. A clean, smooth surface allows better coupling and wave transmission, while rough or dirty surfaces can scatter the waves and reduce accuracy.
Calibration of Equipment
Proper calibration of the ultrasonic testing equipment using reference standards with known defects is crucial for accurate measurements. Calibration ensures that the equipment is set up correctly and provides reliable results.
Operator Skill and Experience
The accuracy of ultrasonic testing heavily depends on the skill and experience of the operator. Skilled operators are better able to interpret the signals and distinguish between actual defects and benign reflections or noise.
Material Properties
The properties of the material being tested, such as thickness, density, and grain structure, can affect the propagation of sound waves and the accuracy of the test results. Understanding these properties helps in setting up the test correctly.
Advantages of Using Ultrasonic Testing for Weld Defect Detection
Ultrasonic testing offers several advantages that make it a preferred method for detecting weld defects:
- High Sensitivity: Capable of detecting small and subtle defects that might not be visible with other NDT methods.
- Depth Penetration: Can inspect thick welds and locate defects deep within the material.
- Real-Time Feedback: Provides immediate results, allowing for quick analysis and corrective actions.
- Non-Destructive: Does not alter or damage the weld, preserving the integrity of the inspected component.
- Versatility: Suitable for a wide range of materials and weld configurations.
Limitations of Ultrasonic Testing for Weld Defect Detection
Despite its many benefits, ultrasonic testing also has some limitations that need to be considered:
- Surface Sensitivity: Requires a clean, smooth surface for effective transmission of sound waves.
- Operator Dependency: Accurate interpretation of results depends on the skill and experience of the operator.
- Equipment Cost: Ultrasonic testing equipment can be expensive, which may be a barrier for small-scale operations.
- Difficulty with Complex Geometries: Testing welds in complex shapes or joints can be challenging due to difficulty in positioning the transducer.
Future Trends in Ultrasonic Testing of Welds
As technology advances, ultrasonic testing continues to evolve with new innovations that enhance its capabilities and expand its applications:
- Automation and Robotics: Integration with automated systems and robotics allows for faster and more consistent inspections, reducing human error and increasing throughput.
- Advanced Data Analysis: Use of advanced software and algorithms for data analysis is improving the accuracy and reliability of ultrasonic testing results.
- Phased Array and Time-of-Flight Diffraction (TOFD): Advanced ultrasonic techniques such as Phased Array and TOFD are providing more detailed and accurate defect detection, particularly for complex weld geometries.
Conclusion
Ultrasonic testing is a powerful and versatile non-destructive testing method that plays a crucial role in the detection of defects in welds. Its ability to identify a wide range of defects, including cracks, porosity, lack of fusion, incomplete penetration, and inclusions, makes it an invaluable tool for ensuring the quality and safety of welded joints.
While ultrasonic testing has some limitations, ongoing advancements in technology are likely to further enhance its capabilities, making it an even more effective tool for weld inspection.

I’m Darrell Julian, the founder, lead writer, and hands-on welding enthusiast behind ArcWeldingPro.com. With more than 15 years of real-world welding experience, I created this platform to share what I’ve learned in the field, in the shop, and in the heat of the arc.


