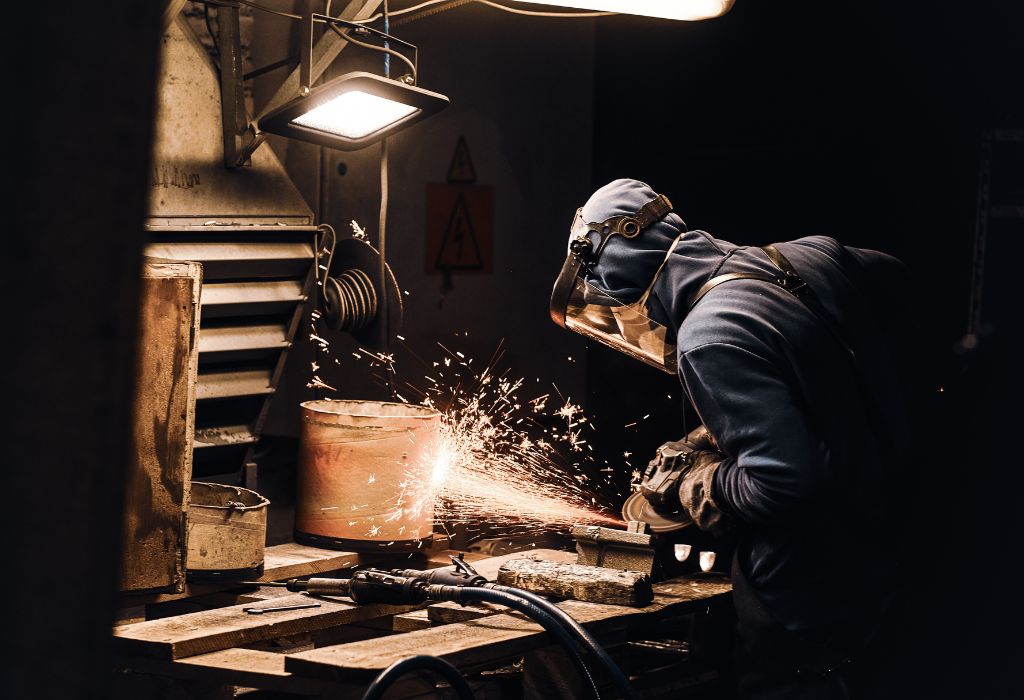
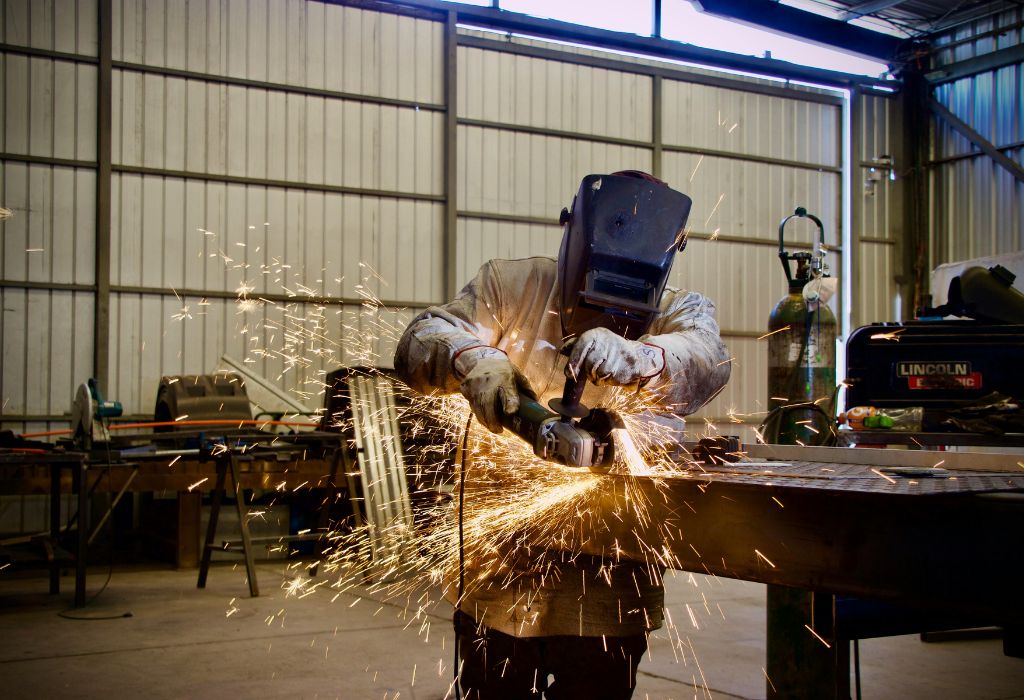
A shop owner faces surprising weld failures on a certified job. The procedures are correct, the filler and machine settings look good, yet the welds don’t pass inspection. Could the power source itself be at fault because it was never calibrated?
As quality expectations tighten, many ask: do welding machines need to be calibrated or is that overkill for a hobby or small fabrication shop? The truth is calibration ensures the machine’s displayed values match reality and supports repeatability under audit scrutiny.
In industrial settings, up to 30 % of welding failures trace back to inconsistent equipment rather than operator error. (qualitymag.com) Many OEMs and customers demand formal calibration certificates tied to ISO 17662 or IEC 60974-1 to satisfy quality systems.
Calibration goes beyond flipping a switch—it involves checking voltage, current, wire feed speed, and peripheral meters against traceable standards. When drift, repairs, or firmware updates occur, accuracy can slip subtly but critically.
What Calibration Means in Welding QA
Calibration in welding is the process of comparing a machine’s output values—such as current, voltage, and wire feed speed—to a traceable reference standard to ensure accuracy. It verifies that the displayed parameters on the welder match the actual performance delivered at the torch or electrode.
In welding quality assurance (QA), calibration supports consistency, compliance, and documentation under recognized standards like ISO 17662 and IEC 60974-1. These standards define how welding equipment should be calibrated, verified, or validated to maintain reliable and repeatable results.
A properly calibrated welding machine ensures that each setting produces the same weld quality, no matter who operates it. Without calibration, two identical machines could deliver different heat inputs even at the same numerical setting, leading to failed welds or rejected parts during inspection.
Calibration typically involves checking voltage and current outputs using traceable meters and recording deviations within defined tolerances. Even small drifts of 2–3% can cause changes in penetration, bead shape, or strength.
In short, calibration is not about perfection—it’s about maintaining predictable performance and traceability. It creates confidence that every weld, whether done manually or by automation, meets both internal specifications and customer quality requirements.
What the Standards Say (ISO, IEC, EN, AWS)
Welding calibration requirements are defined globally through several key standards. The most recognized is ISO 17662, which establishes guidelines for calibration, verification, and validation of equipment used in welding and allied processes.
Under ISO 17662, every parameter that influences welding quality—such as voltage, current, wire feed speed, or gas flow—must be checked using traceable instruments. This ensures compliance with a quality management system (QMS) and provides documented evidence during customer or regulatory audits.
The IEC 60974-1 standard focuses on the safety and performance of arc welding power sources, outlining how machines should behave electrically and mechanically. It also defines the performance classes and tolerances that determine whether a welder’s output is within acceptable limits.
Europe’s older EN 50504 standard, now replaced by ISO and IEC methods, provided specific test procedures and tolerance criteria for validation of welding equipment. Despite its withdrawal, many companies still reference it as a benchmark for consistent output accuracy.
In the United States, AWS D1.1 does not explicitly mandate calibration, but many manufacturers, aerospace firms, and nuclear facilities adopt ISO and IEC guidelines as best practices. Together, these standards form the foundation of global welding quality assurance and machine reliability.
Tolerances and Frequency: What “In Spec” Looks Like
When determining does a welding machine need to be calibrated, understanding tolerances and calibration frequency is essential. These parameters define how much deviation from true output is acceptable before the equipment becomes unreliable.
Under ISO 17662 and IEC 60974-1, welding machines are expected to maintain a voltage and current accuracy within ±5% of the set value. If the deviation exceeds this range, the power source is considered out of calibration and must be adjusted or repaired.
Calibration frequency varies depending on usage intensity, environment, and quality requirements. For general fabrication work, annual calibration is typical, while high-integrity industries like aerospace, nuclear, and pipeline welding may require it every six months.
Environmental factors such as dust, heat, or vibration can accelerate instrument drift, shortening calibration intervals. Machines exposed to harsh shop conditions or frequent transportation are especially vulnerable to performance shifts.
Some manufacturers recommend verification checks before each production cycle, especially for automated or robotic welders. These routine checks confirm that readings remain within tolerance without performing a full recalibration.
By maintaining consistent calibration frequency and tight tolerances, welding operations reduce rework, avoid costly quality failures, and maintain full compliance with both internal and external audit standards.
What Gets Checked During Calibration
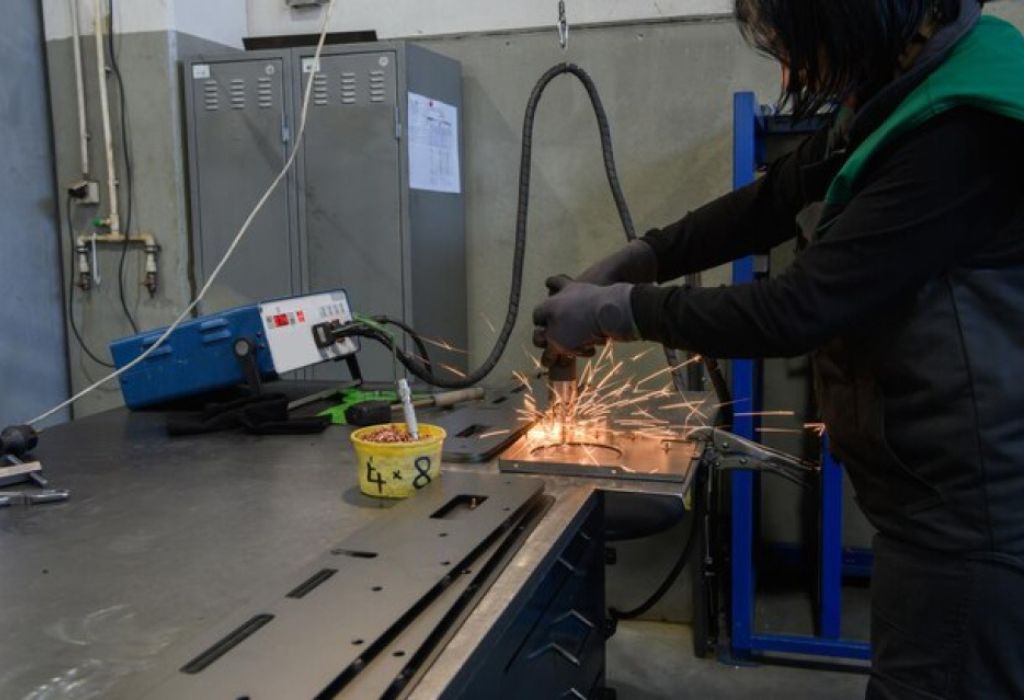
When performing welding machine calibration, every output that affects weld quality must be verified against a traceable standard. This ensures the machine delivers accurate energy input, consistent arc stability, and proper shielding conditions during operation.
The primary parameters include welding current, voltage, and polarity, which directly influence heat input and penetration depth. Each reading is compared against certified instruments such as digital clamp meters or voltage reference devices.
For wire-feed systems, the wire feed speed (WFS) must be measured using calibrated tachometers or laser systems. Even a 5% error in feed speed can alter weld bead size, causing porosity or undercut.
Gas flow meters are also checked to confirm the shielding gas delivery rate matches the specified setting. Too much or too little flow can cause oxidation, poor fusion, or spatter, all of which affect weld appearance and mechanical strength.
Peripheral devices such as remote controls, leads, and connectors are visually inspected and tested for voltage drop or damaged insulation. A small resistance loss in the cable can create measurable deviations at the arc.
Comprehensive calibration of these parameters ensures repeatable performance, verifiable results, and compliance with ISO 17662 and IEC 60974 standards for welding process accuracy.
Step-by-Step Calibration Workflow
The calibration process follows a systematic workflow to ensure accuracy, traceability, and documentation that meet international standards. It begins by preparing the welding machine and verifying that all cables, connectors, and meters are clean and undamaged.
Certified reference instruments with valid calibration certificates are connected to the power source. These instruments measure the actual current, voltage, and wire feed speed produced during test runs.
Multiple readings are taken at different setpoints across the machine’s operating range to check linearity and stability. The indicated values on the welder’s display are compared with those from the reference instruments to determine deviations.
If any measurement exceeds the permitted tolerance, the technician makes internal adjustments or records the offset for correction. This ensures all readings fall within the limits defined by ISO 17662 and IEC 60974-1.
After adjustments, a calibration certificate is issued. This document includes the machine’s serial number, test conditions, reference equipment used, results, and expiration date.
Finally, all records are archived for audit purposes and future verification cycles. Following this workflow ensures that every welding machine operates within its certified accuracy range and complies with traceable international calibration standards.
When Calibration Is Required vs. Good Practice
Whether welding machines need to be calibrated depends on the type of work, customer requirements, and governing standards. Some industries enforce calibration through strict quality systems, while others treat it as a proactive best practice.
For code-regulated environments such as aerospace, nuclear, defense, and pipeline fabrication, calibration is a mandatory requirement. These sectors follow international standards like ISO 17662, IEC 60974, and specific client specifications that demand documented calibration reports for every power source.
In contrast, small workshops or general fabrication facilities may not face legal calibration obligations. However, regular verification ensures consistent weld quality, reduces rework, and prevents costly quality failures before customer audits.
Many quality management systems such as ISO 9001 or ASME Section IX include calibration as part of preventive maintenance programs. This approach provides traceable proof that all equipment operates within specified tolerances and complies with audit expectations.
Even when not enforced, calibration remains a best practice that strengthens customer confidence and production reliability. Machines verified annually maintain steady arc performance, stable heat input, and repeatable weld quality across different operators and projects.
Ultimately, mandatory or not, consistent calibration is an investment in quality assurance and brand reputation within the welding industry.
Costs, Downtime, and ROI
Many fabricators hesitate to schedule calibration because they fear production downtime. In reality, the cost and time required for calibration are minimal compared to the potential losses from failed inspections or rework.
A typical welding machine calibration service costs between $100 and $300 per unit, depending on equipment type and the number of parameters tested. Mobile calibration providers can perform checks on-site, reducing downtime to less than one hour per machine. (ESAB Global)
Proper calibration also helps identify performance issues early, preventing weld defects that may require expensive rework or cause rejected parts.
For large-scale manufacturing, consistent calibration can reduce consumable waste and energy costs by up to 15% annually through optimized welding parameters.
Scheduling calibration alongside preventive maintenance minimizes interruptions, ensuring both mechanical and electrical systems are inspected in one session. This approach keeps machines compliant with ISO 17662 standards while improving long-term reliability.
When viewed as a quality investment rather than a regulatory burden, calibration delivers measurable ROI through reduced repair costs, higher weld consistency, and stronger customer trust.
Over time, it enhances production efficiency and strengthens competitiveness in precision-driven industries.
Common Pitfalls and How to Avoid Them
Even the best calibration program can fail if small mistakes go unnoticed. One of the most common errors is skipping equipment inspection before testing, which can lead to inaccurate readings and false results.
Dirty terminals, worn connectors, or corroded cables can increase resistance and alter current flow, creating deviations between the display and actual output. A proper calibration routine should always begin with cleaning and visual checks to eliminate physical causes of drift.
Another frequent issue is ignoring voltage drop across long leads, which can distort measured values. Measurements should always be taken as close to the arc as possible or adjusted to account for cable length and resistance.
Some technicians neglect to verify gas flow meters or wire feed units, assuming they rarely affect accuracy. In truth, these components often drift over time and contribute to inconsistent weld penetration or bead shape.
Lastly, failing to recalibrate after repairs, firmware updates, or equipment relocation is a major oversight. Each of these events can alter internal electronics or sensor performance.
Avoiding these pitfalls ensures traceability, reliability, and long-term compliance with ISO 17662 and IEC 60974 guidelines for welding equipment calibration.
Future Trends in Welding Machine Calibration
The future of welding machine calibration is shifting toward automation and data-driven accuracy. Modern inverters now feature self-diagnostic systems that continuously monitor voltage and current output in real time.
These systems alert operators when readings drift beyond tolerance, reducing the need for manual verification between scheduled calibrations.
Some advanced models even log calibration data automatically and sync it with cloud-based quality management systems (QMS).
The rise of IoT-enabled welders allows calibration reports to be stored digitally, eliminating paperwork and improving audit traceability.
By integrating machine performance data with predictive maintenance software, manufacturers can schedule calibration precisely when accuracy begins to decline.
Artificial intelligence is also enhancing predictive calibration by analyzing temperature, duty cycle, and environmental conditions that may impact accuracy. This proactive approach ensures welders remain within ISO 17662 and IEC 60974-1 compliance without unnecessary downtime.
As industry standards evolve, calibration will move from being a periodic task to a continuous, automated process. The result is higher efficiency, fewer failures, and guaranteed traceability for every weld performed.
The next generation of welding calibration combines intelligence, connectivity, and precision—ensuring every spark is backed by verified performance and documented accuracy.
Conclusion
So, do welding machines need to be calibrated? Absolutely—because accuracy, consistency, and compliance depend on it.
Calibration ensures that displayed welding parameters truly match the output delivered to the weld. Without it, even a slight deviation can lead to defects, rework, or rejected inspections.
Following standards like ISO 17662 and IEC 60974-1 guarantees that your welding equipment performs within traceable tolerances. These certifications prove to customers and auditors that every weld meets measurable quality requirements.
Regular calibration also supports better productivity and cost control. When machines operate efficiently, they consume less energy, produce fewer errors, and extend the lifespan of electrodes, torches, and consumables.
Investing in a proper calibration program—whether annual or semiannual—protects your reputation and ensures compliance across all quality audits. It’s a small effort that delivers massive benefits in reliability and long-term performance.

I’m Darrell Julian, the founder, lead writer, and hands-on welding enthusiast behind ArcWeldingPro.com. With more than 15 years of real-world welding experience, I created this platform to share what I’ve learned in the field, in the shop, and in the heat of the arc.

