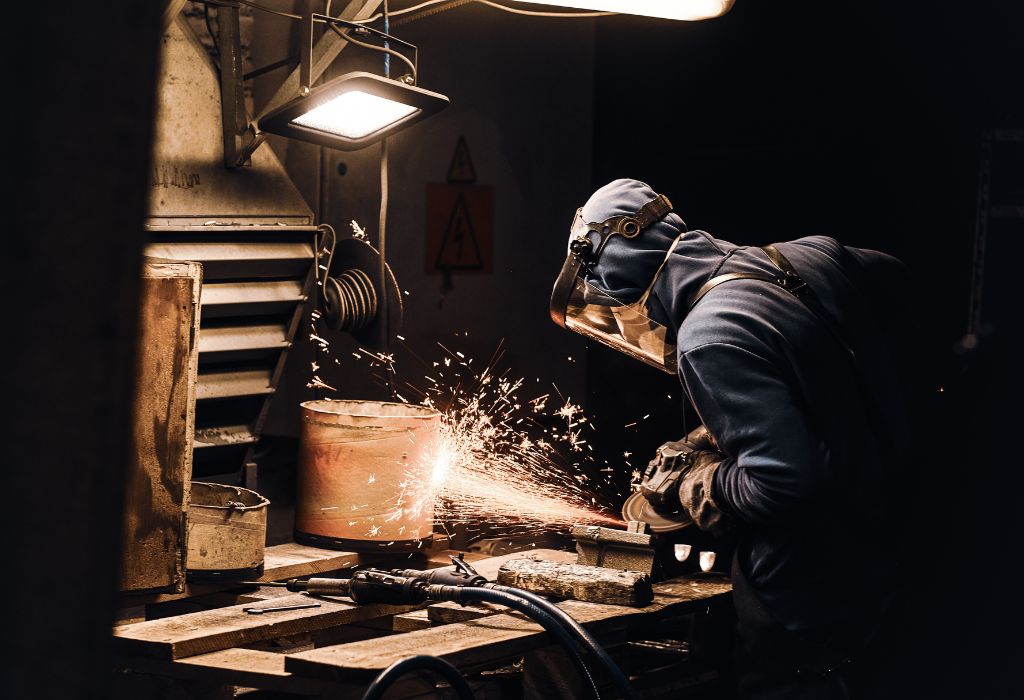
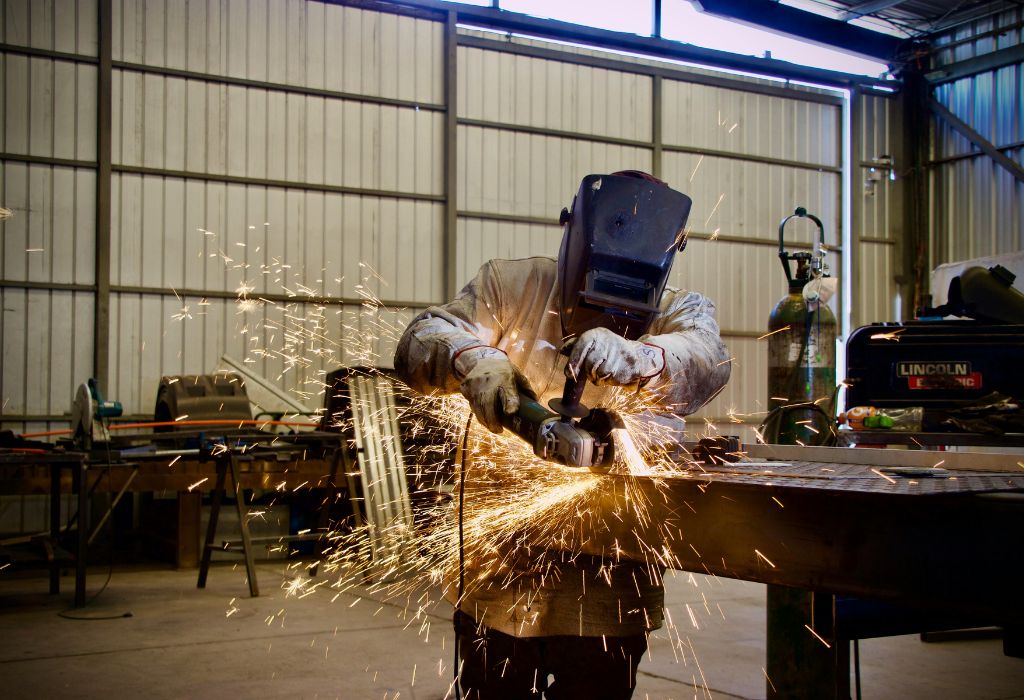
A welder strikes an arc, expecting a clean bead, but instead, the weld burns too hot and warps the metal.
Moments later, another joint comes out weak, porous, and inconsistent.
The problem isn’t always skill or technique—it’s often hidden in incorrect voltage or amperage settings.
Even a slight error in power output can make the difference between a flawless weld and a costly failure.
According to the American Welding Society, improper machine calibration and electrical inconsistencies account for nearly 20% of welding defects .
Yet, many welders overlook the simple step of verifying their machine’s volts and amps before starting work.
Imagine spending hours setting up your workspace, preparing materials, and choosing the right electrode—only to discover later that your arc voltage was off by just a few volts.
That small gap can cause unstable arcs, excess spatter, and weak penetration, especially in precision jobs.
The good news is that checking voltage and amperage isn’t complicated if you know the right method.
Understanding how to check volts and amps on a welding machine ensures consistent results and extends your machine’s lifespan.
It also prevents issues like overheating, poor fusion, and unpredictable weld quality.
With the right tools—a digital multimeter, a clamp meter, or your machine’s built-in display—you can easily confirm whether your readings match the required parameters.
Understanding Volts and Amps in Welding
Electricity is the lifeblood of every welding process.
Each weld relies on a balance between voltage and amperage to produce the right heat and penetration for the job.
Voltage, measured in volts, is the electrical force that drives current through the welding circuit.
It determines arc length and arc stability, influencing bead shape and overall weld quality.
Amperage, measured in amps, represents the flow of electrical current that generates heat at the arc.
Higher amperage means more heat and deeper penetration, while lower amperage creates a cooler, shallower weld.
Too much voltage or amperage can lead to burn-through, while too little causes weak fusion and poor bead appearance.
Understanding this balance is what separates a clean, strong weld from a defective one.
According to Welding Journal, even a 5-volt fluctuation can alter penetration depth by nearly 10% (AWS.org).
That’s why measuring volts and amps correctly ensures each weld meets quality and safety standards.
What is voltage in welding?
Voltage is the pressure that pushes current through the welding circuit and controls the arc length.
What is amperage in welding?
Amperage is the volume of current flowing through the circuit, determining the heat and penetration level.
Why does voltage drop matter?
Voltage drop across long leads or worn cables reduces the voltage available at the arc, leading to unstable welding performance.
What is open circuit voltage (OCV)?
OCV is the voltage present at the welding terminals when the circuit is open, typically ranging from 50–100 volts depending on the machine.
How does amperage affect penetration?
Higher amperage increases arc heat and penetration, while lower amperage results in shallow welds and weaker bonds.
Why It’s Critical to Check Volts and Amps
Every welding project depends on precise electrical control.
Even a minor misreading in voltage or amperage can cause unpredictable results, leading to wasted materials and time.
Incorrect power settings are one of the most common causes of weld failure.
They can produce excessive spatter, burn-through, poor penetration, or brittle joints that crack under stress.
According to Fabricator.com, inconsistent voltage and amperage can reduce weld quality by up to 30%, especially during long production runs (TheFabricator.com).
Regularly checking your readings helps maintain consistent performance across different materials and machine types.
Relying solely on the machine’s display isn’t enough.
Built-in meters can drift over time, giving readings that appear normal but deviate significantly from actual output.
That’s why verifying results with a calibrated multimeter or clamp-on ammeter is essential for both accuracy and safety.
Checking volts and amps also helps detect hidden issues like worn cables, loose terminals, or voltage drop across long leads.
By catching these early, you can prevent expensive downtime and ensure compliance with welding quality standards.
What are the risks of not checking volts and amps?
It can lead to poor fusion, structural weakness, overheating, and weld defects that compromise strength.
How often should readings be verified?
Check before critical welds, after machine maintenance, and periodically during long shifts.
Do built-in meters show accurate readings?
Not always. Built-in displays can drift, so external measurement tools help confirm precision.
Where should measurements be taken?
At or near the output terminals or as close to the welding arc as possible to account for voltage drop.
Can cable length affect readings?
Yes. Longer or thinner cables increase resistance, causing significant voltage loss between the machine and the arc.
Tools and Instruments for Measuring Volts and Amps
Accurate voltage and amperage readings start with using the right tools.
Every welding professional relies on specialized meters designed to handle high current and heat safely.
A digital multimeter (DMM) is the most common tool for measuring both volts and amps in welding.
It provides precise readings for open circuit voltage (OCV) and allows quick comparison against machine settings.
For measuring current during live welding, a clamp-on ammeter is the safest choice.
It measures amperage without breaking the circuit, using magnetic induction to detect current flow through the conductor.
Modern welding machines often come with built-in digital displays that show voltage and amperage in real time.
However, these displays may not always reflect the actual values at the arc due to cable resistance and calibration drift.
Professional welders also use calibrated meters to ensure accurate results during quality inspections or equipment maintenance.
These tools are crucial when testing machine efficiency, verifying output performance, or troubleshooting voltage drop.
According to Lincoln Electric, even a 2% deviation in amperage can alter bead width and penetration depth significantly (LincolnElectric.com).
This highlights how essential reliable instruments are for consistent welding performance.
What is a clamp-on ammeter?
A clamp-on ammeter measures current without disconnecting cables by clamping around a conductor.
Can a standard multimeter measure welding current?
Only if it’s rated for high amperage and properly configured for series measurement.
Are built-in welding machine displays reliable?
They provide quick readings but may lose calibration accuracy over time.
Why use insulated probes or leads?
To protect against electric shock and ensure safe contact with high-current circuits.
Can voltage and amperage be monitored remotely?
Yes. Many modern welding setups use wireless sensors for real-time data logging and performance tracking.
Step-by-Step Methods to Check Volts and Amps
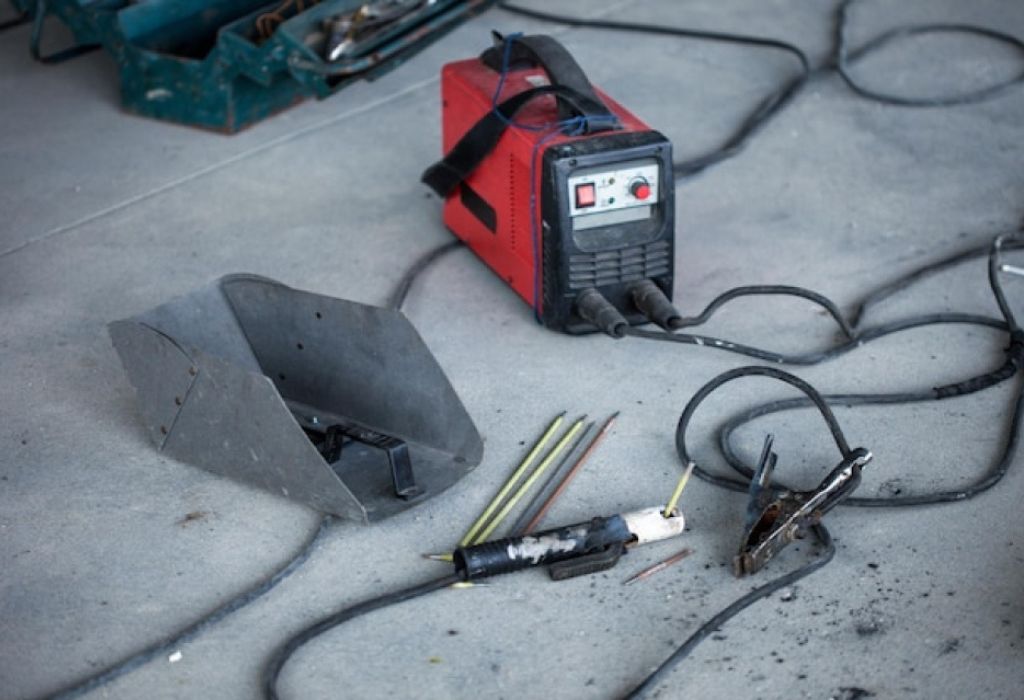
Measuring volts and amps on a welding machine is straightforward once you understand the process.
The goal is to confirm that your equipment delivers consistent, safe power for clean, strong welds.
Always begin by ensuring the welding machine is turned off before attaching any meter or probe.
Safety is the top priority when dealing with high current and voltage circuits.
Once the setup is secure, choose your measurement method based on available tools and required precision.
The steps below outline the most common and effective techniques used by professionals.
How to use the machine’s built-in display?
Power on the welder, strike an arc, and read the volts and amps displayed on the control panel. This gives a quick overview of output performance.
How to check using a clamp meter?
Clamp around the electrode or work lead while welding. The meter measures real-time current flow without interrupting the circuit.
How to use a digital multimeter?
Set the multimeter to DC voltage mode, connect it across the output terminals, and read the voltage while welding. For current, use the correct high-amperage probe.
How to measure at the output terminals?
Connect the meter’s positive and negative leads to the machine’s output lugs and observe readings during operation to detect voltage drop.
How to verify accuracy with a calibrated meter?
Compare readings from your welder’s display to those from a certified meter. Any significant difference indicates calibration drift or cable resistance losses.
Common Pitfalls and Troubleshooting
Even skilled welders can face confusing or inconsistent readings when checking volts and amps.
Understanding these common mistakes helps maintain accuracy and prevents unnecessary downtime.
One of the biggest issues is voltage drop across long or undersized cables.
When current travels through resistance, part of the voltage is lost before reaching the arc, affecting weld quality.
Loose terminals or corroded connectors also distort readings and create unstable arcs.
Always inspect your leads, clamps, and connectors before taking measurements.
Another problem occurs when using meters not rated for welding currents.
Standard household multimeters can overload or fail if exposed to high amperage, giving false readings or damaging the device.
Calibration drift is another overlooked issue.
Meters and built-in displays gradually lose accuracy, especially after heavy use or exposure to heat and vibration.
By following good troubleshooting practices, you can quickly isolate electrical inconsistencies before they impact production.
Regular testing, visual inspection, and calibration help keep every reading trustworthy.
Why do voltage or amperage readings fluctuate?
Fluctuations occur because the welding arc isn’t perfectly stable—heat, load, and electrode movement all cause temporary changes.
Why do built-in and external meters show different readings?
Differences often result from calibration drift or voltage drop between the machine and the measurement point.
What if the meter reads zero or unusually low?
Check connections, polarity, and ensure the meter is rated for welding currents. Replace worn leads or fuses if necessary.
How to reduce measurement errors?
Use short, heavy-duty cables, clean all contact points, and always verify with a calibrated meter.
Is periodic calibration necessary?
Yes. Calibration ensures your instruments provide reliable readings and comply with welding quality standards.
Interpreting and Applying the Readings
Measuring volts and amps is only half the job.
The real value comes from knowing how to interpret those numbers and adjust your welding setup for the best results.
Every welding process—MIG, TIG, Stick, or Flux-Cored—has its ideal voltage and amperage range.
These ranges depend on electrode type, material thickness, and joint design.
When readings are too low, you may see weak fusion or a narrow bead that doesn’t penetrate deeply.
If they’re too high, you risk burn-through, spatter, and metal distortion.
By comparing your readings to recommended settings from the machine’s manual or electrode chart, you can quickly fine-tune performance.
Even a small adjustment of 1–2 volts can dramatically improve arc stability and bead uniformity.
It’s also important to check voltage both at the machine output and at the arc.
Differences between these two points reveal voltage drop caused by cable resistance, damaged leads, or poor connections.
According to ESAB Welding Resources, a 10-foot increase in cable length can reduce voltage at the arc by up to 1.5 volts, which is enough to affect weld penetration (ESAB.com).
That’s why interpreting readings in context is crucial for precision welding.
What if measured voltage is lower than machine settings?
This usually indicates voltage drop due to cable resistance or poor terminal contact.
When is amperage within the correct range?
When it matches the electrode size and welding process specifications for the material thickness.
How should settings be adjusted based on readings?
Make small, gradual changes to voltage or amperage and test each adjustment with a short weld bead.
Can excessive amperage damage the machine?
Yes. Operating above rated output causes overheating and reduces the lifespan of internal components.
When should readings be rechecked?
After any adjustment, long welding sessions, or whenever weld appearance or sound changes unexpectedly.
Best Practices and Safety Considerations
Measuring volts and amps may seem routine, but it involves exposure to live electrical circuits.
Following strict safety practices ensures both accurate readings and personal protection.
Always begin by disconnecting the welding power source before attaching or removing any meters.
Even when idle, welding machines can retain residual voltage that poses a serious shock risk.
Use insulated probes and high-quality leads rated for the machine’s amperage range.
Low-grade or damaged cables can melt, short-circuit, or give false readings during testing.
Personal protective equipment (PPE) is non-negotiable.
Wear insulated gloves, a welding helmet, flame-resistant clothing, and safety boots to prevent electrical burns or arc flashes.
Keep your work area dry and free from metal clutter to minimize accidental grounding.
Standing water, metal shavings, or loose tools can easily conduct electricity and create hidden hazards.
When measuring during active welding, stay alert to the movement of cables and clamps.
Only use meters designed for live-circuit testing, such as clamp-on ammeters, to avoid breaking the circuit.
Routine inspection and maintenance of your instruments are also vital.
Check leads for cracks, ensure calibration certificates are up-to-date, and replace worn probes immediately.
Why is insulation so important when testing welding machines?
Proper insulation prevents current from leaking through the body or clothing, reducing the risk of electric shock.
Can you measure volts and amps while welding?
Yes, but only with properly rated meters designed for high-current applications like clamp meters.
How to ensure safe grounding during measurement?
Verify that the machine and workpiece share a clean, secure ground connection.
What environmental conditions should be avoided?
Never test in damp areas, near water sources, or while standing on conductive surfaces.
Should meters be serviced regularly?
Absolutely. Periodic calibration and inspection maintain accuracy and ensure long-term electrical safety.
Advanced Topics and Future Trends
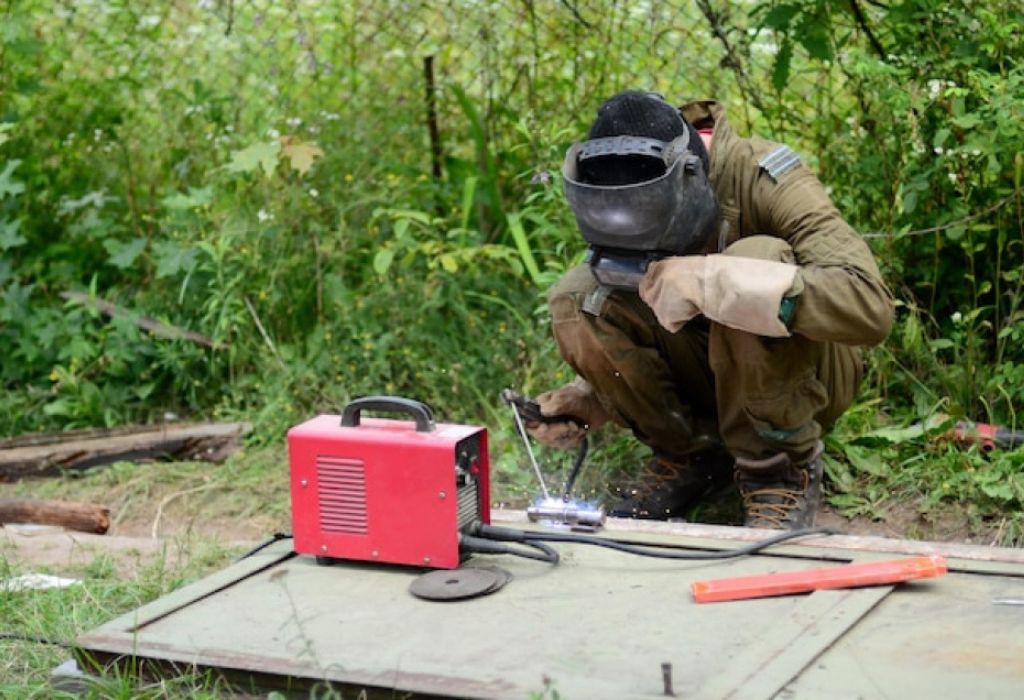
The future of welding measurement is shifting toward precision, automation, and data-driven insights.
Modern welding machines now go beyond simple voltage and amperage displays to offer real-time analytics and smart monitoring.
Digital data logging systems record every change in volts and amps during a weld.
This helps engineers analyze consistency, identify weak points, and ensure compliance with quality standards.
Many manufacturers are integrating wireless sensors directly into machines or torches.
These sensors transmit live readings to tablets or cloud dashboards, allowing supervisors to track weld parameters remotely.
Predictive maintenance is another major advancement.
By continuously monitoring voltage and current trends, systems can detect abnormalities that signal a worn cable, faulty contactor, or transformer issue before failure occurs.
Artificial intelligence (AI) and machine learning (ML) are playing a growing role in welding automation.
Some smart systems automatically adjust voltage and amperage to maintain an ideal arc length as conditions change.
According to ResearchGate, real-time monitoring and AI-assisted control can improve weld consistency by up to 25% (ResearchGate.net).
This innovation minimizes manual error and reduces the need for post-weld inspection.
As the industry evolves, welders who understand both manual and digital measurement techniques will stay ahead.
Knowing how to interpret traditional readings and apply smart tools will be a key advantage in the next generation of welding.
What is data logging in welding machines?
It’s the automatic recording of volts, amps, and time during each weld for quality control and analysis.
How do predictive maintenance systems help welders?
They identify performance issues early, preventing breakdowns and improving machine reliability.
Can wireless sensors measure volts and amps accurately?
Yes. Modern sensors provide high-precision readings and transmit data safely over Bluetooth or Wi-Fi.
Do AI systems control voltage and amperage automatically?
Advanced models can adjust power in real time to stabilize the arc and optimize results.
Are there standards for digital measurement accuracy?
Yes. Organizations like AWS and ISO are developing stricter requirements for electronic monitoring and calibration.
Conclusion
Accurate voltage and amperage readings are the foundation of every high-quality weld.
They ensure stable arcs, proper penetration, and consistent results across different projects and materials.
Learning how to check volts and amps on a welding machine is not just about using tools—it’s about understanding how electricity shapes every weld.
From built-in displays to digital multimeters and clamp meters, each method provides critical insight into machine performance.
Regular verification helps detect early signs of voltage drop, cable wear, or calibration drift before they affect weld quality.
It also improves efficiency, reduces rework, and extends the lifespan of your welding equipment.
Incorporating these checks into your routine makes your welding process more predictable and professional.
Whether working in fabrication, repair, or production, precision electrical measurement ensures every weld meets safety and performance standards.
By following the techniques and best practices covered in this guide, you’ll maintain tighter control over your machine’s output.
And when your readings are accurate, every weld you create becomes a mark of consistency, craftsmanship, and reliability.

I’m Darrell Julian, the founder, lead writer, and hands-on welding enthusiast behind ArcWeldingPro.com. With more than 15 years of real-world welding experience, I created this platform to share what I’ve learned in the field, in the shop, and in the heat of the arc.

