A beginner unpacks a shiny new MIG welding machine, eager to make their first weld.
Moments later, the wire sputters, the arc flickers, and frustration replaces excitement.
Improper connection is one of the most common mistakes in MIG welding setups.
A reversed polarity or loose ground clamp can instantly ruin weld quality or even damage the machine.
According to a Miller Electric safety report, over 30% of weld defects occur due to incorrect setup and poor electrical contact.
The wrong wire feed or gas connection can also lead to porosity, spatter, and unstable arcs.
This is why learning how to connect MIG welding machine properly is essential before striking your first arc.
It’s not just about turning knobs or feeding wire; it’s about building a foundation for clean, strong, and consistent welds.
A study by the American Welding Society found that proper setup practices reduce equipment failure and weld rework by nearly 25%.
That means fewer wasted materials and more time perfecting real welding skills.
Think of it as tuning a musical instrument before playing a song.
A welder connected incorrectly can only produce noise, while a properly connected one creates precision and strength.
What Is a MIG Welding Machine & Why Proper Connection Matters
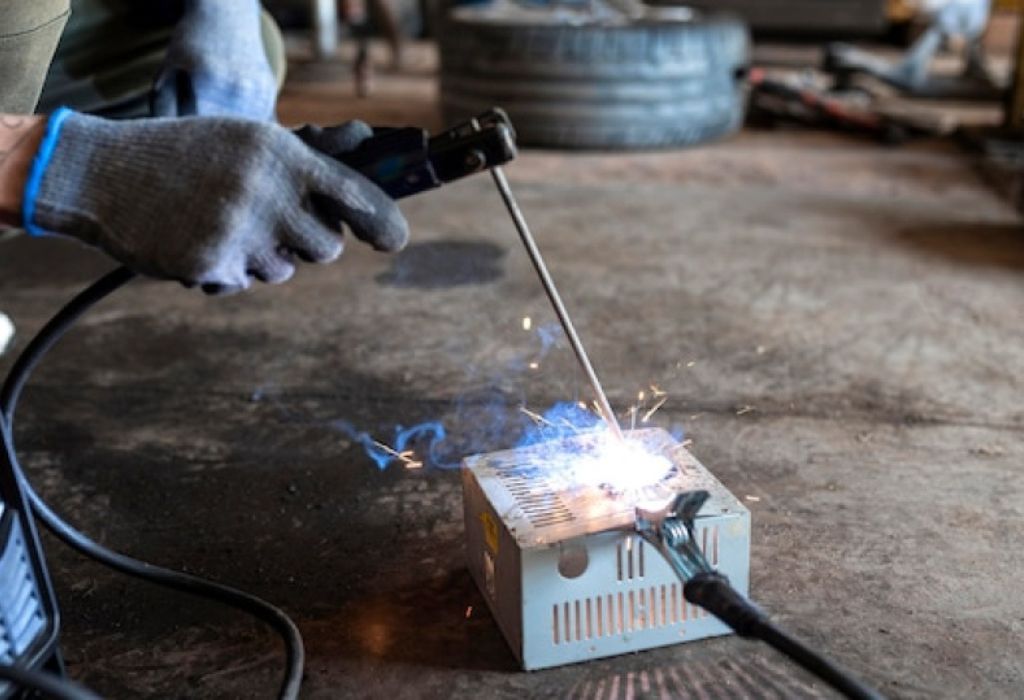
Metal Inert Gas (MIG) welding, also known as Gas Metal Arc Welding (GMAW), is one of the most widely used welding processes today.
It uses a continuous wire feed and shielding gas to create a clean, strong joint between metals.
A MIG welding machine works by feeding a consumable wire electrode through a welding gun while shielding gas protects the molten weld pool from contamination.
The balance between voltage, wire speed, and gas flow determines the strength and appearance of every weld.
However, even the best MIG welder fails to perform if it’s not connected correctly.
A loose ground clamp, incorrect polarity, or a gas leak can instantly cause spatter, weak penetration, or unstable arcs.
According to Lincoln Electric data, setup errors are responsible for nearly 40% of welding quality issues in home and workshop environments.
This highlights how critical proper connection is before striking an arc.
A correctly connected MIG welding machine ensures smooth current flow, stable arcs, and consistent bead formation.
It also protects the welder and equipment from electrical surges or overheating that can occur with poor grounding.
Imagine spending hours preparing a project only to discover the welds are brittle or uneven because the leads were reversed.
That’s a mistake most beginners make when they skip the connection basics.
By understanding how to connect MIG welding machine properly, welders can achieve professional-quality results safely at home.
What does MIG stand for?
MIG stands for Metal Inert Gas, referring to the process where a shielding gas protects the weld from air contamination.
Why is proper connection so important?
It ensures stable electrical flow, consistent arc quality, and prevents common weld defects.
What happens if the machine is connected incorrectly?
You may face excessive spatter, poor penetration, wire feed issues, or damage to the welder.
Can improper setup be dangerous?
Yes. Incorrect grounding or reversed polarity can cause shocks, overheating, or short circuits.
Who should learn MIG connection basics?
Anyone welding at home or in a workshop should master it before starting any project.
Key Components You Must Know Before Connecting
Before learning how to connect MIG welding machine, it’s crucial to understand the parts that make the system work together.
Each component — from the wire spool to the ground clamp — plays a vital role in producing a stable arc and quality welds.
A MIG welding setup includes a wire feed system, contact tip, gas nozzle, ground clamp, shielding gas, and polarity terminals.
Ignoring any of these can result in unstable arcs, poor gas coverage, or even damage to the machine.
According to The Fabricator magazine, most welding inconsistencies come from issues in the wire feed and grounding system.
That’s why understanding these parts before connecting the machine helps avoid common beginner mistakes.
Wire Spool, Drive Roller & Wire Feed System
The wire feed system is the heart of a MIG welding machine.
It controls the flow of the electrode wire that carries the current to the weld.
The wire spool holds the electrode wire and should unwind smoothly from the underside into the drive roller.
The rollers feed the wire through the liner and out through the contact tip in the welding gun.
If tension or alignment is wrong, wire jams or irregular feeding can interrupt the weld.
Clean rollers, correct groove size, and a straight liner ensure consistent performance.
Which direction should the wire unwind?
From the underside of the spool into the drive roller to maintain smooth feeding.
What happens if wire tension is too tight or loose?
Too tight causes drag; too loose leads to inconsistent wire feeding.
What is the liner’s role in wire feeding?
It guides the wire from the rollers to the gun tip with minimal friction.
How can wire jams be prevented?
Clean rollers, correct tension, and a properly aligned liner keep feeding smooth.
Contact Tip, Nozzle & Gas Nozzle
The contact tip transfers current to the wire while the nozzle directs shielding gas to protect the weld pool.
These small components are essential for arc stability and clean welds.
A worn or oversized contact tip can lead to irregular current flow or wire burn-back.
Similarly, a dirty or damaged nozzle can disturb gas flow and cause porosity in the weld.
Regular inspection, cleaning, and replacement of these parts keep the machine running efficiently.
What is a contact tip used for?
It conducts current from the gun to the wire electrode.
How often should you replace the nozzle?
Whenever it becomes clogged, warped, or shows signs of wear.
Why is gas coverage important?
It shields the molten metal from air, preventing oxidation and contamination.
Can nozzle design affect weld quality?
Yes, incorrect nozzle size or blockage can disturb gas flow and cause spatter.
Ground Clamp & Work Connection
The ground clamp completes the electrical circuit between the machine and the workpiece.
Without a solid ground connection, the arc becomes unstable and the weld quality drops dramatically.
Attach the clamp directly to clean, bare metal as close to the weld zone as possible.
Avoid painted or rusty surfaces that increase resistance and reduce current flow.
Where should the ground clamp be attached?
On clean metal near the weld area for best conductivity.
What happens if the clamp is too far away?
It causes voltage drop, poor arc stability, and weak welds.
Why avoid painted or corroded areas?
They block current and create inconsistent welding performance.
Can a damaged clamp cause issues?
Yes, worn jaws or loose cables increase resistance and overheat.
Shielding Gas, Regulator & Gas Hose
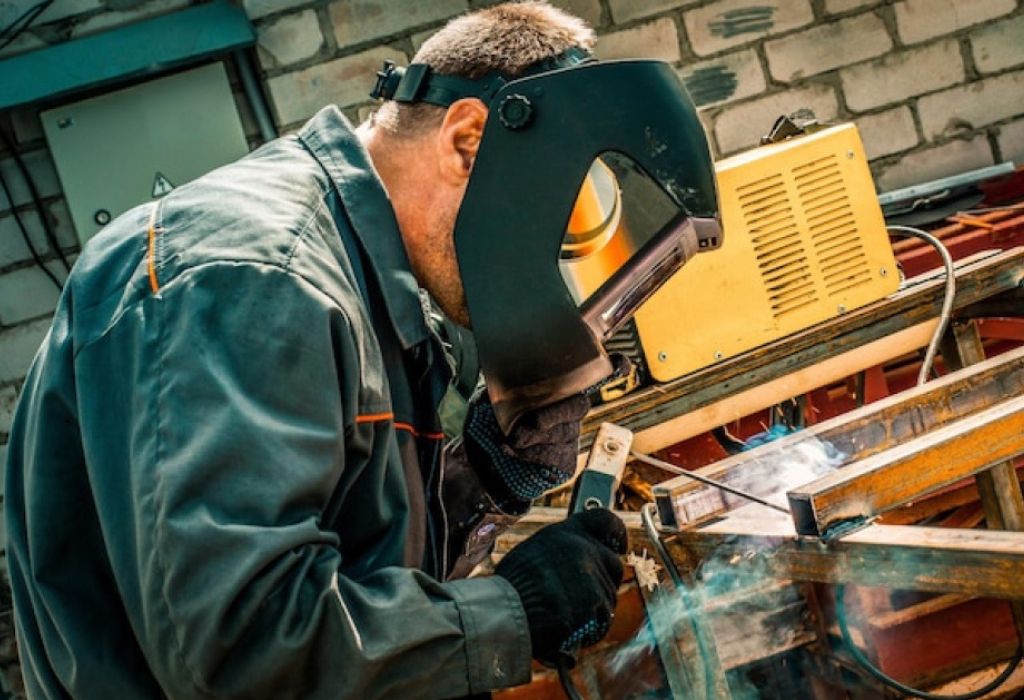
The shielding gas protects the molten weld from oxygen and nitrogen in the air.
Common gases include Argon, CO₂, or a mix like 75% Argon and 25% CO₂ for mild steel.
Attach the gas cylinder to a regulator, then connect the hose securely to the machine.
Before welding, always check for leaks and set gas flow between 15–25 CFH for proper coverage.
Q&A Section
Why is shielding gas important in MIG welding?
It prevents oxidation and keeps the weld surface clean and strong.
What gas mix is best for mild steel?
A 75/25 Argon-CO₂ blend gives smooth, low-spatter results.
How to check for leaks in the gas system?
Apply soap solution to joints and look for bubbles.
What happens if gas flow is too high?
Turbulence pulls air into the weld zone, causing porosity.
Polarity & Power Output
MIG welding typically uses DCEP (Direct Current Electrode Positive) polarity.
This directs more heat to the workpiece, resulting in deep penetration and a clean weld.
If the polarity is reversed to DCEN (used for flux-cored wire), it can cause spatter and weak bonding in solid-wire MIG.
Check your machine’s terminal markings and connect the leads according to the wire type you’re using.
Which polarity should be used for MIG welding?
DCEP (electrode positive) is the standard for solid-wire MIG.
When to use DCEN polarity?
Only when welding with flux-cored wire that requires it.
What are signs of incorrect polarity?
Excessive spatter, poor penetration, and unstable arc.
Can polarity affect gas coverage?
Yes, wrong polarity can change arc shape and disturb shielding efficiency.
Step-by-Step: How to Connect MIG Welding Machine
Before powering on your welder, it’s crucial to follow each setup step carefully.
Every connection — from wire spool placement to gas setup — influences arc stability and weld quality.
A MIG machine that’s connected incorrectly can lead to irregular wire feeding, voltage drops, or even electrical hazards.
By following this step-by-step process, you can ensure a smooth, safe, and efficient welding experience.
Prepare the Machine and Power
Always begin with the machine unplugged and powered off.
This ensures complete safety while installing internal components.
Open the welder housing, mount the wire spool on its hub, and ensure it unwinds from the underside.
Select the correct drive roller groove that matches your wire size and material type.
Thread the wire through the inlet guide, drive rollers, and liner, making sure there are no kinks or bends.
Proper wire alignment prevents feed interruptions and helps maintain a steady arc.
Should the welder be unplugged during setup?
Yes, always disconnect power before handling internal parts.
Which way should the wire spool unwind?
From the underside into the drive roller for a consistent feed.
What causes wire feeding issues?
Incorrect tension, misaligned rollers, or a blocked liner.
How do you pick the right roller groove?
Match it to the wire diameter printed on the spool or user guide.
Thread the Wire Through to the MIG Gun
Once the wire reaches the liner, gently feed it into the MIG gun.
Secure the gun connection and tighten the drive roller tension slightly to grip the wire.
Activate the wire feed using the jog function or pull the trigger to push the wire out of the nozzle.
Feed just enough wire so that it extends slightly beyond the contact tip.
What if the wire doesn’t come out of the nozzle?
Check for a kinked liner or blocked contact tip.
How much wire should extend from the tip?
Around 10–12 mm, enough for striking an arc easily.
Should tension be too tight or loose?
Neither — firm enough to feed smoothly without flattening the wire.
Can old wire cause feeding problems?
Yes, rusted or dirty wire often jams in the liner.
Connect the Ground Clamp to the Workpiece
The ground clamp ensures proper current flow during welding.
Attach it to clean, bare metal close to the weld area to reduce voltage loss.
Avoid rusty, painted, or oily surfaces that restrict conductivity.
If needed, use a wire brush or grinder to clean the contact point.
Where is the best spot to attach the ground clamp?
On clean, unpainted metal close to the weld joint.
Can a weak ground cause welding issues?
Yes, it creates unstable arcs, weak penetration, and excess spatter.
What should be done if the clamp overheats?
Tighten the jaws or replace it to ensure better contact.
Can an extension cable reduce efficiency?
Yes, long or thin cables increase resistance and voltage drop.
Connect Shielding Gas and Regulate Flow
Attach the gas regulator to the cylinder using a wrench and ensure it’s tightly sealed.
Connect the gas hose from the regulator to the welder’s gas inlet port.
Open the cylinder valve slowly to prevent pressure shock, then set the flow between 15–25 CFH.
Spray soapy water on fittings to check for leaks before welding.
What gas should be used for MIG welding mild steel?
A 75% Argon and 25% CO₂ blend provides stable arcs and smooth beads.
Why is leak testing important?
Gas leaks waste resources and compromise weld quality.
How to adjust gas flow accurately?
Turn the regulator knob while watching the flow gauge in CFH.
What happens if flow rate is too high?
It creates turbulence that pulls air into the weld zone.
Set Polarity, Voltage, and Wire Speed
Polarity defines the direction of current flow and directly affects penetration.
For solid-wire MIG, use DCEP (electrode positive); for flux-cored wire, switch to DCEN.
Adjust the DINSE connectors according to your wire type and double-check the user manual for polarity guidance.
Then, set voltage and wire feed speed based on metal thickness — most welders provide a reference chart.
What happens with wrong polarity?
You’ll experience excess spatter and poor weld fusion.
How do you know correct voltage settings?
Refer to the chart inside the welder’s cover or use test welds on scrap metal.
Can wire speed affect penetration?
Yes, too slow burns through, too fast causes piling and spatter.
When should settings be adjusted?
After short test welds to match the metal’s thickness and joint type.
Final Checks and Power On
Ensure all connections — wire, clamp, gas, and polarity — are secure.
Close the machine housing and keep cables neatly arranged to prevent tangles or arcing.
Plug in the welder and switch it on.
Run a short test bead on scrap metal to check for arc stability, smooth feeding, and clean weld formation.
Should the cover be closed before starting?
Yes, it prevents dust, debris, or loose wire from interfering.
How to test the setup before real welding?
Perform a short weld bead on scrap to fine-tune wire speed and voltage.
What does a healthy arc sound like?
A steady buzzing or sizzling sound, not popping or crackling.
When is the machine ready for real welding?
Once the arc burns steadily, gas flow is smooth, and no wire jams occur.
Conclusion
Connecting a MIG welding machine may seem straightforward, but every detail matters when it comes to safety and weld quality.
A single mistake — whether a loose ground clamp or reversed polarity — can lead to poor penetration, spatter, or even equipment damage.
Understanding how to connect MIG welding machine properly ensures that every part, from the wire spool to the gas setup, works in perfect balance.
It’s the difference between an unstable, erratic arc and a clean, professional-grade weld.
Proper connection also protects both the operator and the machine from overheating, electrical surges, and costly rework.
When setup is done right, the welder produces consistent, reliable arcs that deliver strong and visually appealing joints.
Take the time to check each connection carefully before striking an arc.
Always verify polarity, gas flow, and grounding, and test your setup on scrap metal before starting a real project.
By applying these steps consistently, you’ll master the fundamentals of MIG welding connection.
Each weld will not only look better but also last longer — proving that precision and preparation are just as important as skill.

I’m Darrell Julian, the founder, lead writer, and hands-on welding enthusiast behind ArcWeldingPro.com. With more than 15 years of real-world welding experience, I created this platform to share what I’ve learned in the field, in the shop, and in the heat of the arc.

