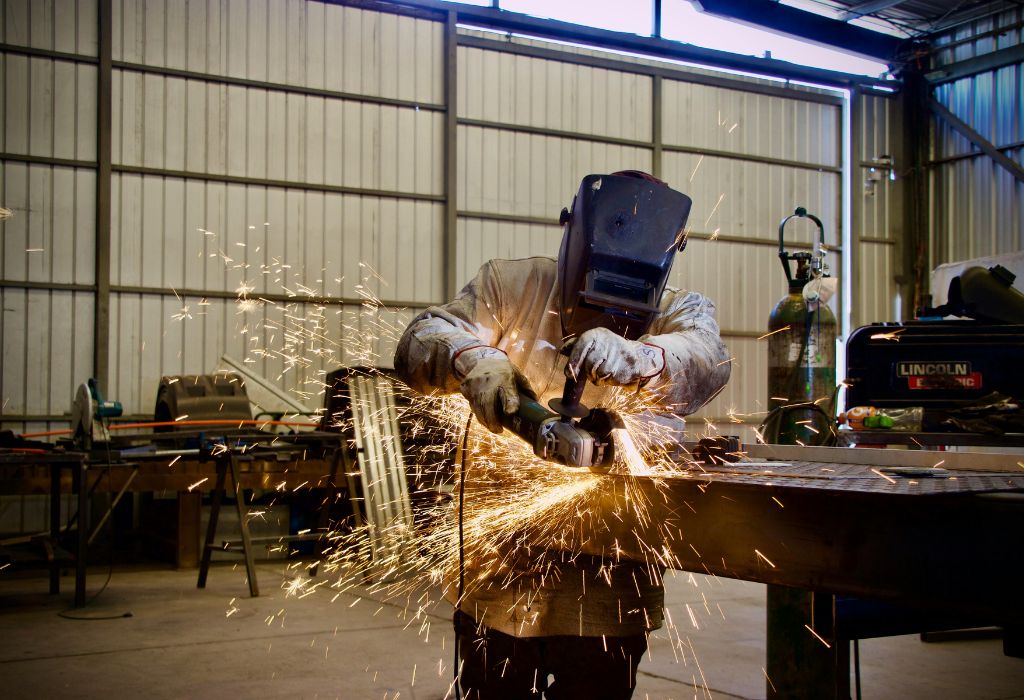
A welding job starts like any other day, but the machine suddenly stops producing an arc.
The fan spins, lights flicker, yet the electrode refuses to spark.
For many welders, this moment marks the beginning of frustration, wasted time, and uncertain troubleshooting.
The reality is that even the most reliable welding machines fail without warning.
Sometimes it’s a worn cable, a loose ground clamp, or a tiny blown fuse hidden inside the case.
Understanding how to fix a welding machine efficiently can mean the difference between losing hours of production and getting back to work within minutes.
According to The Fabricator, electrical and mechanical faults cause nearly 40% of welding downtime in workshops worldwide.
Most of these issues are minor and can be corrected with basic inspection, safe testing, and proper setup verification.
Yet many operators skip this process and rush into repairs, risking further damage to internal components.
Welding machines are complex systems of power circuits, rectifiers, gas regulators, and cooling fans.
When one part fails, the entire system’s performance drops, affecting arc stability, penetration, and weld quality.
A systematic approach to diagnosing and fixing these problems not only restores functionality but also prevents future breakdowns.
Safety First Before Any Fix
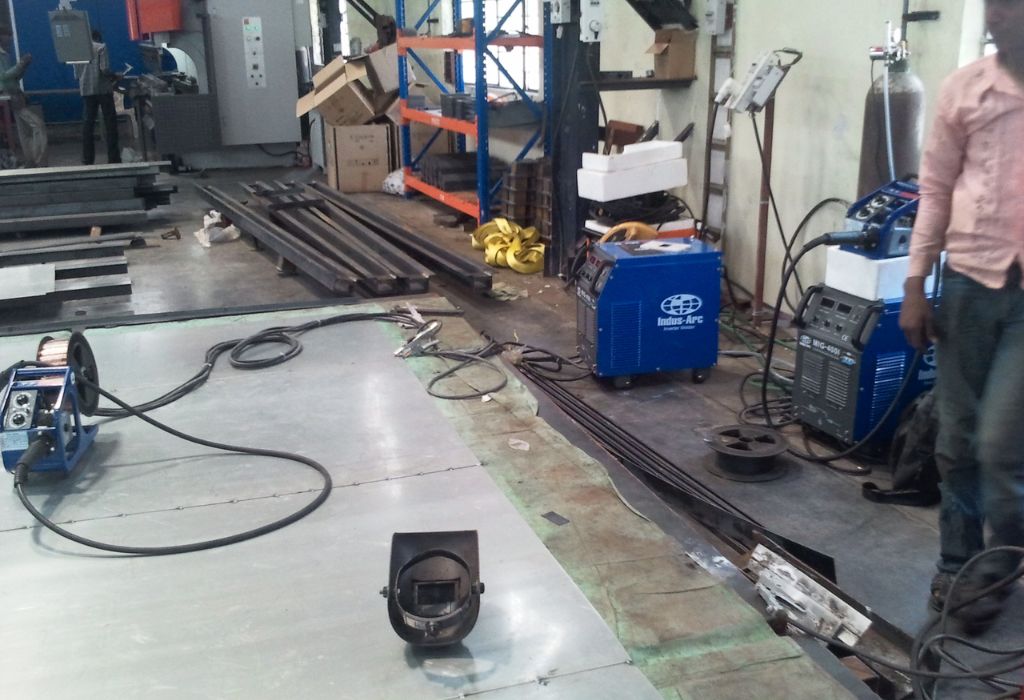
Before attempting to fix a welding machine, safety must come before every action.
Even a quick diagnostic check can turn dangerous if the equipment is live or improperly grounded.
Always begin by disconnecting the power supply from the wall outlet or breaker.
Residual electricity stored in capacitors can still shock or burn if the system hasn’t been discharged.
Allow the machine a few minutes to fully release stored energy before opening any panels.
Next, inspect the surrounding work area.
Ensure the floor is dry, well-lit, and free from oil, water, or conductive debris.
A clean workspace prevents accidental slips or electrical contact that could lead to injury.
Proper personal protective equipment (PPE) is essential.
Insulated gloves, flame-resistant clothing, and closed-toe boots protect against electrical hazards and hot components.
Welders should also wear safety glasses or a helmet when testing arcs or live outputs.
Before touching any internal part, review the machine’s user manual.
Each model has unique pin layouts, wire paths, and internal circuitry.
Following the manufacturer’s guidance ensures accurate repairs and avoids warranty violations.
Lastly, inspect the power cords and plugs for cracks, cuts, or exposed wires.
A damaged power line can create short circuits, leading to severe shock or equipment failure.
Replace faulty cords immediately instead of attempting temporary fixes with tape or splices.
Taking these safety measures builds the foundation for professional-level troubleshooting.
A careful, prepared welder is not only more effective but far less likely to face costly or dangerous mistakes.
Why is it important to disconnect power before starting repairs?
Live voltage can cause electric shock or damage internal circuits during inspection.
What safety gear should always be worn when fixing a welding machine?
Use insulated gloves, eye protection, flame-resistant clothing, and rubber-soled boots.
Can stored energy in capacitors be dangerous after turning off the machine?
Yes. Capacitors retain charge for several minutes and must discharge before touching any components.
Why should the user manual be reviewed before troubleshooting?
It provides specific wiring diagrams, pin details, and recommended diagnostic steps for the exact model.
What should be done if a power cord shows exposed wires or burns?
Replace it immediately with a manufacturer-approved cable instead of using tape or temporary fixes.
Quick Checks That Fix Most Issues
Many welding machine problems have simple causes that can be fixed within minutes.
Before diving into complex repairs, performing a few quick checks can often restore function immediately.
Start by inspecting the ground clamp and cable.
A loose or dirty connection prevents current from completing the circuit, causing weak or no arc output.
Clean the clamp jaws and ensure they’re tightly secured to bare metal, not painted or rusty surfaces.
Next, verify the polarity settings on the front panel.
Incorrect polarity is one of the most common reasons for unstable arcs and excessive spatter.
For most Stick and TIG applications, DCEN (Direct Current Electrode Negative) is standard, while certain materials like aluminum require AC.
Check the electrode holder and torch connections for wear, debris, or looseness.
A frayed cable or burnt connector increases resistance, which can reduce voltage and cause overheating.
Replacing damaged connectors ensures consistent power flow to the arc.
Then, inspect the gas supply and regulator.
A blocked nozzle, empty cylinder, or leaking hose can lead to porosity or poor shielding.
Set the correct flow rate—typically between 15 and 20 cubic feet per hour (CFH)—and listen for smooth gas movement through the torch.
Finally, perform a simple reset of the machine.
Power it down completely, unplug it for a few minutes, then restart to clear minor electronic glitches.
Many inverter welders respond well to this method when sensors or displays freeze.
These quick checks often resolve 70–80% of basic welding machine issues without tools or advanced diagnostics.
Consistent inspection before every weld session helps maintain long-term stability and prevents larger repairs later.
Why is the ground clamp so important for stable welding?
It completes the circuit and ensures full current flow between the welder and the workpiece.
How can incorrect polarity affect weld quality?
Wrong polarity causes excessive spatter, unstable arcs, and weak penetration.
What’s a common sign of a damaged cable or connector?
Overheating, flickering arc, or visible burn marks near the terminals.
Why does gas flow matter in troubleshooting?
Improper gas coverage leads to contamination and porosity in welds.
Can resetting the welding machine actually fix problems?
Yes, a reset clears temporary electrical faults or system lockups, especially in inverter models.
Input Side Diagnostics: Power, Cords, and Receptacles
If the welding machine still fails after quick checks, the next step is to examine the input power side.
Every welder relies on a stable, uninterrupted flow of electricity from the wall outlet or generator.
Fluctuations or faults in this area often lead to total power loss, flickering displays, or weak arc output.
Start by verifying that the power source matches the machine’s requirements.
Check the voltage and phase listed on the machine’s nameplate—most portable units run on single-phase 120V or 240V, while industrial welders require three-phase input.
Using an incorrect supply can blow fuses or damage sensitive inverter components.
Inspect the power cord and plug for damage.
Frayed insulation, melted connectors, or loose pins interrupt current flow and cause overheating.
If the plug feels hot after a short period of use, it likely indicates a poor internal connection or undersized wiring.
Next, test the outlet and breaker using a multimeter.
Confirm the correct voltage output and check that the breaker hasn’t tripped due to overload or short circuit.
If the voltage drops significantly under load, the problem may lie in the power source, not the welding machine itself.
Examine the main power switch and internal fuses.
A broken switch or blown fuse can block power even when the display lights up.
Replace faulty fuses only with ones of the same rating to avoid overloading internal circuits.
Finally, inspect the power input terminals inside the welder.
Loose lugs or corroded connectors can cause voltage drop or intermittent operation.
Tighten all terminal screws and clean contact points for optimal conductivity.
Addressing these power-related issues ensures the machine receives the correct current and voltage it needs.
A solid power foundation eliminates erratic behavior and protects against premature component failure.
What happens if a welder runs on the wrong voltage?
It may power on briefly but can overheat, trip breakers, or permanently damage electronic parts.
Why does my plug or cable feel hot during use?
This indicates a loose or corroded connection creating resistance and heat buildup.
How do I check if my breaker is overloaded?
Reset the breaker and monitor if it trips again; frequent trips suggest the circuit is under-rated for the welder.
Can low input voltage affect weld performance?
Yes, it reduces arc strength and stability, leading to poor penetration and sputtering.
When should I replace the power cord?
Replace it immediately if insulation cracks, burns appear, or metal conductors are visible.
Output Side Checks: Ground, Leads, Polarity, and Connectors
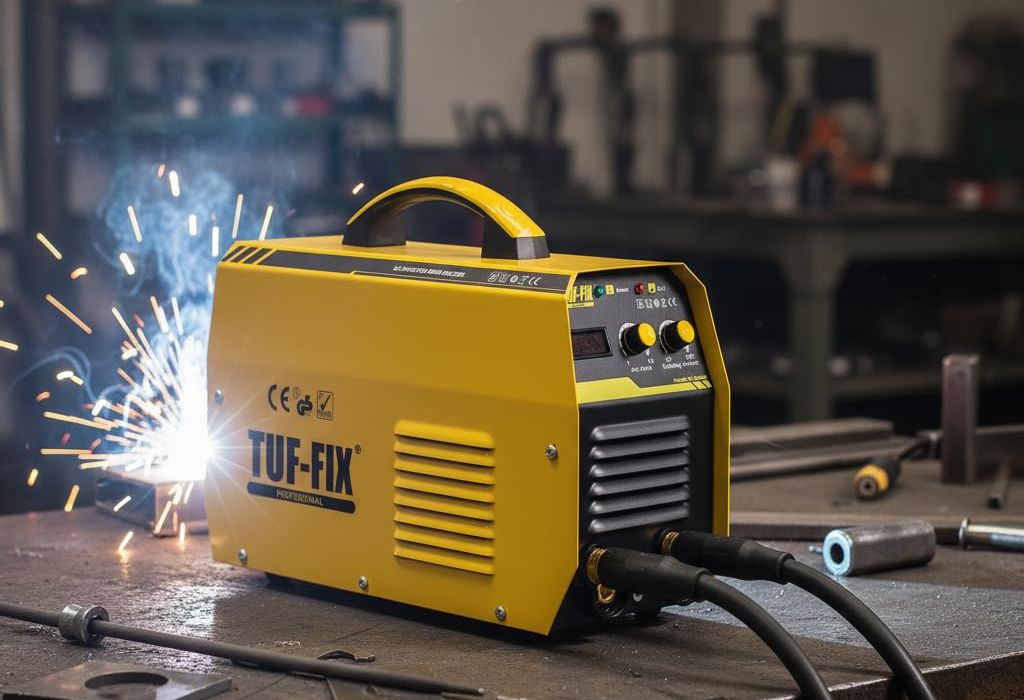
If your welding machine powers on but produces weak or unstable arcs, the issue often lies on the output side.
This part of the setup handles the flow of current between the machine, the electrode, and the workpiece—any fault here disrupts arc stability and welding quality.
Begin by checking the ground or work clamp.
It’s one of the most critical components in completing the electrical circuit.
Ensure the clamp is firmly attached to clean, bare metal and not on rust, paint, or oily surfaces.
A weak ground connection can cause low penetration, excessive spatter, or intermittent arc strikes.
Next, inspect the welding leads for wear, breaks, or melted insulation.
Over time, cables can degrade from heat exposure or kinks, creating high resistance and power loss.
Replace any damaged sections and ensure all lugs and terminals are tight.
Polarity setup is another key factor.
Most stick and TIG welding processes use DCEN (Direct Current Electrode Negative), while MIG often requires DCEP (Direct Current Electrode Positive).
Using the wrong polarity leads to unstable arcs, poor bead formation, and potential electrode overheating.
Examine all DINSE or Euro connectors for corrosion or loose fittings.
Even slight oxidation can create voltage drops and inconsistent current flow.
Clean connectors with a wire brush and apply contact grease if recommended by the manufacturer.
Finally, confirm that all terminal screws are tightened and that there’s no arcing around connectors during use.
A clean, well-secured output connection ensures the welder delivers consistent amperage for a smooth and reliable arc.
Why is a strong ground connection so important?
It completes the welding circuit and ensures stable current flow for consistent arc performance.
Can worn welding leads affect machine output?
Yes, damaged or overheated cables increase resistance, weakening the arc and reducing voltage.
What happens if polarity is set incorrectly?
The arc becomes unstable, and the weld bead shows excessive spatter or poor penetration.
How can I tell if connectors need cleaning?
Look for discoloration, pitting, or blackened contact surfaces that indicate oxidation buildup.
Should connectors be lubricated?
Use only manufacturer-approved conductive grease to prevent corrosion and maintain solid electrical contact.
Wire-Feed and Torch Path Inspection
When the machine powers on and the input and output sides are stable, the next area to check is the wire-feed and torch assembly.
These components are vital in maintaining steady wire delivery and smooth arc performance, especially in MIG and flux-cored processes.
Start with the wire spool.
Ensure it’s correctly seated on the spindle and spins freely without excess tension.
If the spool is too tight, wire feeding becomes jerky and causes irregular weld beads.
If it’s too loose, the wire may unspool or tangle inside the case.
Inspect the drive rolls and liner next.
Drive rolls should match the wire diameter and type, whether solid or flux-cored.
A worn or mismatched roller can slip, creating inconsistent wire feed speed.
The liner inside the cable must be clean and free from metal shavings or rust dust, which restrict movement and increase drag.
Check the contact tip and nozzle.
The contact tip transfers current to the wire, so even slight wear or spatter buildup can cause arc interruptions.
Replace the tip if it’s oversized, burnt, or deformed.
Clean the nozzle regularly to prevent spatter accumulation that blocks gas flow.
Ensure the torch trigger and cable connections are working correctly.
If the trigger feels sticky or doesn’t activate the wire feed motor, the switch may be failing or disconnected internally.
Proper torch and feed system maintenance keeps wire delivery consistent and ensures stable arcs with minimal spatter or porosity.
Ignoring this step leads to uneven welds, birdnesting, or complete wire feed failure.
Why is my wire feeding uneven or jerky?
It’s often caused by worn drive rolls, clogged liners, or incorrect spool tension.
What happens if the contact tip is too large?
The arc becomes unstable because of poor electrical transfer between the tip and the wire.
Why does the wire stop feeding mid-weld?
Check for tangles, crushed liners, or a failing trigger switch in the torch.
Can dirt in the liner cause voltage drop?
Yes, buildup inside the liner increases resistance, leading to inconsistent current flow.
How often should the contact tip and nozzle be cleaned or replaced?
Clean after every session and replace whenever the tip hole widens or the nozzle shows excessive spatter buildup.
TIG-Specific Troubles: Arc Start, Tungsten, and Gas Coverage
TIG welding offers precision and clean finishes, but it also demands flawless setup and control.
When a TIG machine malfunctions, the cause often lies in the arc start system, tungsten condition, or shielding gas flow.
Start with the high-frequency (HF) start system.
If the arc refuses to start or flickers inconsistently, check that the HF switch is turned on and functioning properly.
Dust or metal debris inside the HF box can disrupt spark generation.
Cleaning and tightening the contacts often restores consistent arc ignition.
Inspect the tungsten electrode carefully.
A contaminated or incorrectly ground tungsten tip is a leading cause of unstable arcs and poor penetration.
For DC welding, sharpen the tungsten to a fine point; for AC welding, form a smooth, balled tip.
Always use the correct diameter tungsten for your amperage range—too small, and it overheats; too large, and it struggles to initiate an arc.
Next, verify gas coverage and flow rate.
A steady supply of clean argon is essential to protect the molten puddle from contamination.
Leaks in hoses, a cracked regulator, or low flow (below 10–20 CFH) can cause oxidation and porosity in the weld bead.
Check the torch assembly and gas lens as well.
Spatter buildup or a blocked gas diffuser can disturb laminar gas flow.
Regular cleaning ensures smooth coverage and reduces tungsten contamination.
Finally, confirm correct polarity and grounding—TIG aluminum requires AC, while steel needs DCEN.
Incorrect settings often mimic electrical faults but are simple to fix once identified.
Why won’t my TIG welder start an arc?
The HF start system may be disabled, dirty, or misaligned, preventing spark generation.
Why does my tungsten electrode keep burning or turning black?
Contaminated tungsten or reversed polarity can cause overheating and oxidation.
How can gas flow affect arc quality?
Low or uneven flow leads to oxygen contamination, resulting in porous or dull welds.
Why is the arc wandering instead of staying stable?
Improper tungsten grinding angle or turbulent gas flow can cause the arc to drift.
What’s the ideal argon flow rate for TIG welding?
Typically between 10–20 CFH, depending on torch size and environmental conditions.
Gas Delivery: Regulators, Hoses, Leaks, and Flowmeters
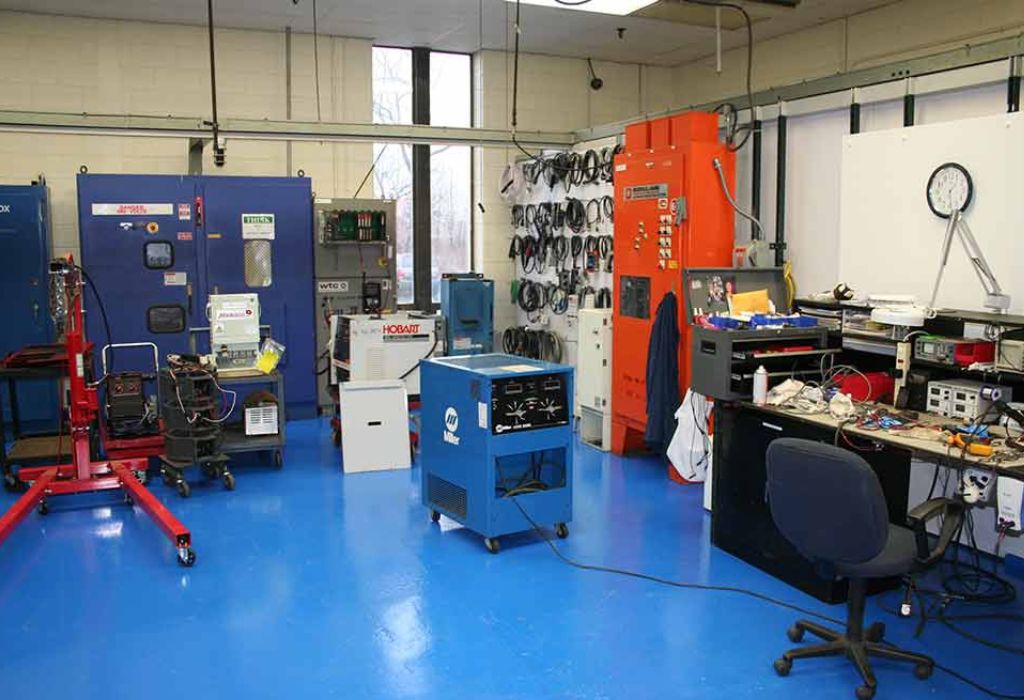
A welding machine can appear perfectly functional yet still produce weak or porous welds due to gas delivery issues.
The shielding gas system plays a crucial role in protecting the molten weld pool from air contamination and oxidation.
If there’s any leak, blockage, or inconsistent flow, even a powerful welder will produce unsatisfactory results.
Begin by inspecting the gas cylinder and regulator.
Make sure the cylinder contains the correct shielding gas for your welding process—argon for TIG, or an argon-CO₂ mix for MIG.
Check that the regulator is securely attached and that the O-ring or sealing washer is intact.
A worn O-ring can cause small leaks that are hard to detect but enough to ruin weld quality.
Next, check the gas hose from the cylinder to the welder.
Look for cracks, kinks, or cuts along its length.
Run a soapy water test along all connections while the gas is on; bubbles indicate escaping gas that needs tightening or replacement.
Monitor the flowmeter or gauge closely.
If the needle fluctuates wildly, it may indicate a partially blocked hose or faulty regulator.
Maintain a stable flow rate between 15 and 20 CFH for most standard applications.
Inspect the torch nozzle and diffuser for spatter buildup or blockage.
Even minor obstructions can disturb gas distribution, causing uneven coverage over the weld pool.
Regular cleaning and nozzle replacement ensure consistent shielding.
A stable and leak-free gas delivery system guarantees clean welds, fewer defects, and longer tungsten or contact tip life.
Without it, even the best machine settings can’t prevent contamination or oxidation.
Why is shielding gas so important in welding?
It protects the molten metal from oxygen and nitrogen, preventing porosity and weak welds.
What causes a regulator to leak gas?
Damaged O-rings, worn seals, or overtightened fittings can lead to leaks.
How can I detect gas leaks safely?
Apply a soapy water solution to connections—bubbles will form where gas escapes.
Why does my gas flow fluctuate during welding?
A faulty regulator or blocked hose restricts consistent gas pressure.
Can too much gas flow cause defects?
Yes, excessive flow creates turbulence, pulling air into the weld zone and causing contamination.
Inside the Box: Rectifiers, Diodes, Boards, and Fans
When the exterior connections check out but the welder still fails to produce output, the fault likely lies inside the machine.
The internal electrical components—rectifiers, inverter boards, cooling fans, and diodes—are responsible for converting and stabilizing power for welding operations.
Begin with the rectifier section, where AC input is converted to DC.
If weld output is low or non-existent, check the rectifier bridge for burnt terminals, cracked solder joints, or blown diodes.
A shorted diode often shows black burn marks or smells of overheating.
Replacing these components with OEM-rated parts is crucial for safety and performance.
Inspect the inverter board next.
Modern welding machines use inverter technology to control current more efficiently, but these boards are sensitive to dust and heat.
Use compressed air to remove debris and check for bulging capacitors or scorched areas on the circuit board.
If visible damage exists, professional servicing is recommended to avoid further harm.
Cooling also plays a key role.
Blocked or non-functioning fans cause heat buildup, triggering thermal protection or permanent damage.
Spin each fan manually to ensure it moves freely and clean out accumulated dust using low-pressure air.
Tighten all internal connectors and verify insulation sleeves are intact.
Loose connections can arc under high load, leaving tiny burn spots that worsen over time.
A properly cleaned and tightened interior ensures efficient current flow and extends machine life.
After reassembly, perform a low-amperage test weld to confirm smooth output and stable arc behavior.
If the issue persists, it may involve microprocessor or sensor faults requiring a service technician.
Why check rectifiers first when the welder has no output?
They convert AC to DC; a failed diode or rectifier prevents current from reaching the electrode.
What are signs of a bad inverter board?
Burnt odor, bulging capacitors, or inconsistent digital readings on the display.
Why is cooling fan maintenance so important?
A blocked fan causes overheating, leading to thermal shutdowns or component failure.
Can loose internal connectors affect performance?
Yes, poor internal contacts create arcing, voltage loss, and intermittent power.
Should welders open the inverter board themselves?
Only if trained and safe; otherwise, consult an authorized technician to avoid electrical hazards.
, worn seals, or overtightened fittings can lead to leaks.
How can I detect gas leaks safely?
Apply a soapy water solution to connections—bubbles will form where gas escapes.
Why does my gas flow fluctuate during welding?
A faulty regulator or blocked hose restricts consistent gas pressure.
Can too much gas flow cause defects?
Yes, excessive flow creates turbulence, pulling air into the weld zone and causing contamination.
Conclusion
Fixing a welding machine isn’t just about repairing parts—it’s about understanding how each component contributes to performance, safety, and reliability.
From inspecting power sources and ground clamps to testing rectifiers, gas flow, and torch assemblies, every step plays a vital role in restoring full function.
A professional approach to troubleshooting begins with safety.
Disconnect power, wear protective gear, and follow the manufacturer’s wiring guide before touching any component.
Skipping these precautions can turn a minor issue into a serious hazard.
Consistent maintenance and quick visual checks prevent many common problems.
Cleaning connectors, tightening terminals, checking gas flow, and ensuring proper polarity can eliminate most performance issues before they start.
According to Lincoln Electric, welders who perform routine inspections reduce unexpected machine downtime by up to 40% (LincolnElectric.com).
Learning how to fix a welding machine also develops a deeper understanding of how welding systems operate.
It allows professionals to identify small irregularities—like voltage drops or airflow inconsistencies—before they lead to equipment failure.
Every successful repair reinforces one truth: preventive care is more effective than emergency fixes.
By keeping your welder clean, properly grounded, and well-ventilated, you’ll ensure consistent output and extend its service life for years.

I’m Darrell Julian, the founder, lead writer, and hands-on welding enthusiast behind ArcWeldingPro.com. With more than 15 years of real-world welding experience, I created this platform to share what I’ve learned in the field, in the shop, and in the heat of the arc.

