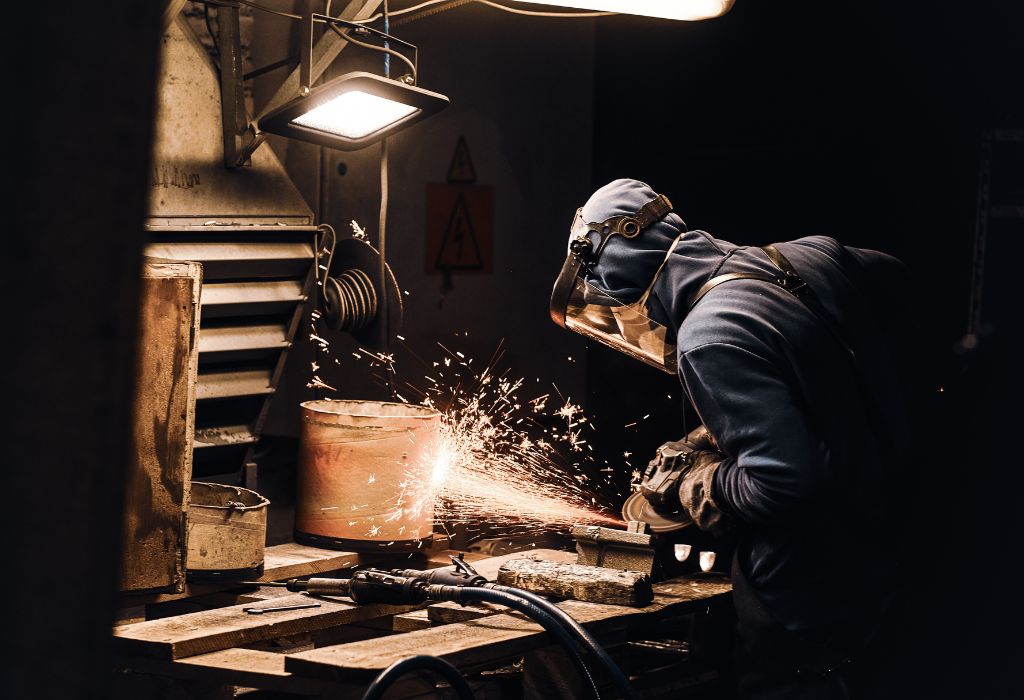
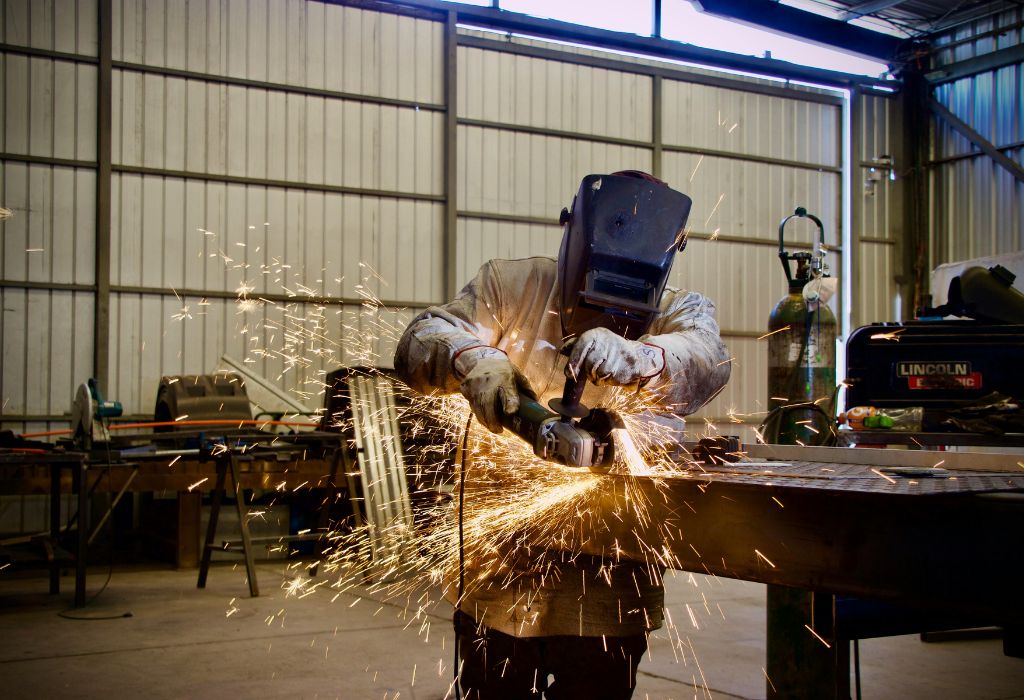
Setting up a stick welding machine may seem simple, yet it’s the most common reason beginners struggle with weak welds and excessive spatter.
Many new welders jump straight into striking an arc without realizing that a single mistake in setup can ruin the weld quality and even damage the machine.
Imagine spending hours preparing a workpiece only to watch the electrode stick, the arc flicker, and the bead look messy.
This frustration usually has nothing to do with skill but everything to do with how the stick welding machine was configured before the first spark.
According to a Miller Electric study, improper amperage and polarity settings are responsible for over 30% of stick welding defects.
Another report by Fabricating & Metalworking notes that correct machine calibration can improve weld penetration and consistency by more than 40%.
For anyone learning how to set up stick welding machine, understanding polarity, amperage, and electrode choice is far more valuable than simply learning how to hold the rod.
A proper setup determines arc stability, penetration depth, and how clean the finished weld appears.
What Is Stick Welding (SMAW) & Why Setup Matters
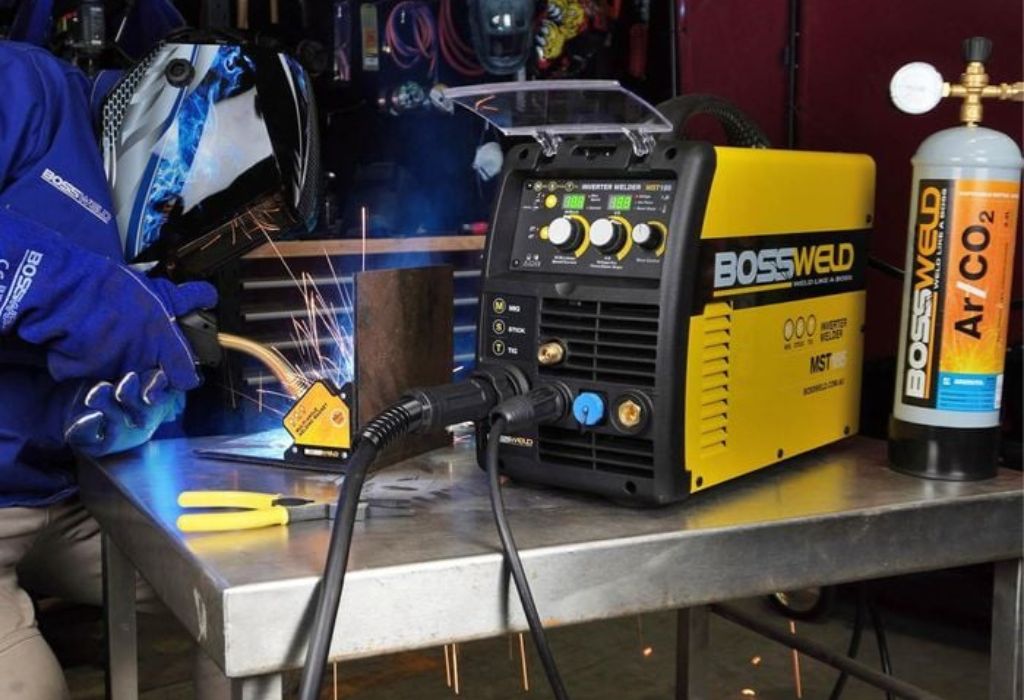
Stick welding, also known as Shielded Metal Arc Welding (SMAW), is one of the most widely used welding processes across industries like construction, shipbuilding, and repair work.
It’s valued for its simplicity, affordability, and ability to perform in outdoor or windy conditions where other methods like MIG or TIG may fail.
Unlike gas-shielded welding, stick welding uses a flux-coated electrode that produces its own shielding gas, protecting the molten metal from contamination and oxidation.
However, what separates a clean, durable weld from a weak or porous one often comes down to how well the machine is set up before the first strike of the arc. Factors like amperage, polarity, and electrode type directly influence arc stability, penetration, and bead appearance.
A small mismatch between these settings can cause undercutting, spatter, or poor fusion—defects that compromise the integrity of the weld.
According to The Welding Institute (TWI), incorrect setup parameters account for nearly 35% of welding failures reported in industrial audits. This statistic highlights how critical proper configuration is before any welding begins.
For beginners, learning how to set up stick welding machine correctly not only improves results but also builds foundational skills essential for mastering advanced welding techniques later on.
Proper setup ensures consistent current flow, optimal electrode performance, and uniform heat distribution, which are the building blocks of every strong weld.
It transforms a frustrating trial-and-error experience into a predictable, controlled process—laying the groundwork for clean, professional results every time.
Safety & Equipment Checklist Before Setup
Before powering on the welding machine, safety must come first. Stick welding involves high temperatures, ultraviolet light, and molten metal, which can cause severe burns or eye damage if precautions are ignored.
Proper protective gear and a well-prepared workspace create the foundation for a safe and efficient welding session.
A welder’s safety setup begins with the right personal protective equipment (PPE). This includes a welding helmet with an auto-darkening lens, heavy-duty leather gloves, a long-sleeve flame-resistant jacket, and closed-toe boots.
A helmet shields the eyes and face from the intense UV radiation and sparks, while gloves and jackets protect the skin from burns and hot slag.
According to the Occupational Safety and Health Administration (OSHA), improper PPE use is one of the top causes of welding-related injuries each year.
Equally important is ventilation. Stick welding produces fumes and gases that can irritate the lungs or lead to long-term health risks.
Welding in a well-ventilated area or using an exhaust fan reduces exposure to harmful particulates. Additionally, maintaining a clutter-free workspace ensures that cables, clamps, and tools are easily accessible and not tangled, minimizing tripping or fire hazards.
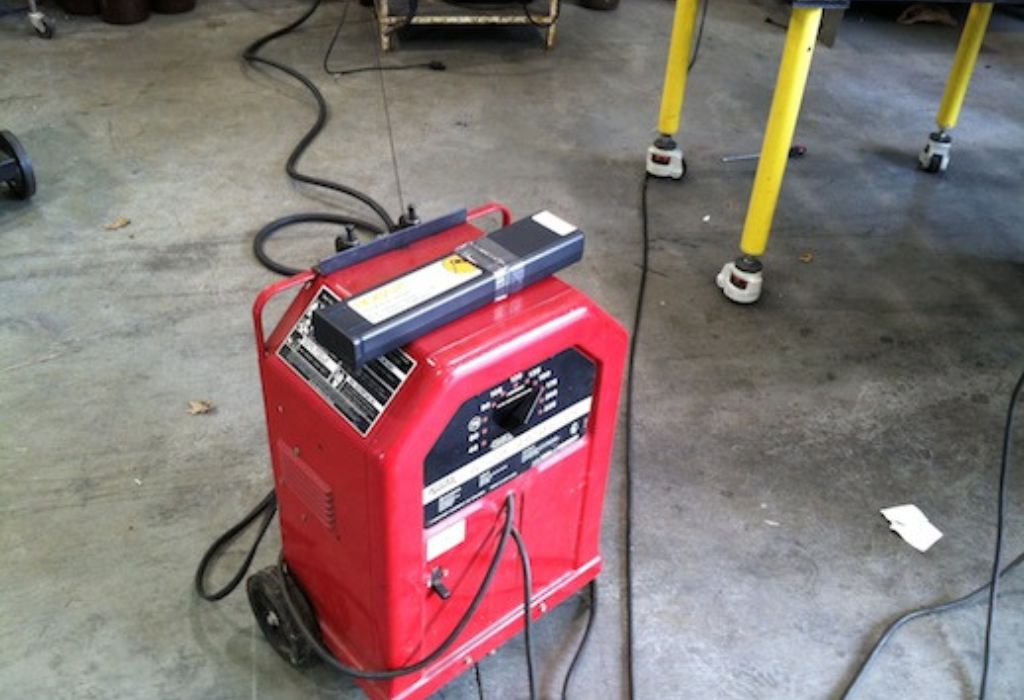
Next comes the essential equipment checklist. You’ll need the stick welding machine, electrode holder, ground clamp (also known as an earth clamp), high-quality welding cables, and a sturdy workbench or metal surface.
The ground clamp must attach to clean, bare metal to complete the circuit properly. A loose or dirty connection can lead to arc instability, causing the electrode to stick or the weld bead to appear inconsistent.
Finally, surface preparation is key. Dirt, paint, oil, or rust on the base metal interferes with the electrical flow and prevents proper fusion. Cleaning the workpiece with a wire brush or grinder before welding drastically improves weld quality.
This simple habit ensures better penetration and reduces defects, setting the stage for a flawless setup in the next steps.
Step-by-Step Setup: How to Set Up Stick Welding Machine
Setting up a stick welding machine properly is the difference between a smooth, strong weld and a frustrating mess of spatter and electrode sticking.
Each component — from the power source to the electrode — plays a vital role in achieving arc stability and clean fusion.
Understanding the sequence of setup steps ensures consistent results, especially for beginners aiming to master the basics.
Start by placing your stick welding machine on a stable surface near a grounded power outlet. Before connecting anything, ensure the machine is turned off.
Plug in the welding power cord and inspect the electrode holder and ground clamp cables for any visible damage. A damaged cable can cause voltage loss, inconsistent current flow, or even electric shock.
Next, attach the electrode holder and ground clamp to the correct terminals. Most machines are labeled positive (+) and negative (−).
The electrode holder cable typically connects to the positive terminal for DCEP (Direct Current Electrode Positive) polarity, while the ground clamp connects to the negative side.
However, depending on the electrode type, this configuration may change. For instance, certain rods like E6011 or E6010 can run effectively on both DCEP and DCEN (Direct Current Electrode Negative). Always verify the manufacturer’s recommendations printed on the electrode packaging.
Once the cables are secured, position the ground clamp close to the work area. The clamp should bite onto clean, bare metal, not painted or rusted surfaces. A solid electrical connection ensures steady arc performance and prevents flickering or sticking.
After confirming polarity, set the correct amperage. The amperage setting determines how hot the weld pool becomes.
If it’s too high, the metal may burn through; if too low, the electrode will stick and the weld won’t penetrate deeply. The general rule of thumb is to set 30–40 amps per millimeter of electrode diameter.
For example, a 3/32-inch (2.4 mm) electrode runs best between 70–100 amps. You can also refer to a Miller Welding Calculator for precise guidance.
The next step is electrode selection. Choose an electrode suitable for your project’s metal type and thickness.
E6013 rods are beginner-friendly and ideal for mild steel and light fabrication, while E7018 rods deliver deeper penetration and stronger welds for structural steel.
For outdoor or dirty surfaces, E6011 electrodes perform best because they tolerate rust and contaminants better.
Before welding, always perform a test run on a scrap piece of similar metal. Strike the arc using the “scratch” or “tap” technique — similar to lighting a match — and maintain a steady arc length equal to the rod’s diameter.
Observe the puddle behavior; if it’s sluggish or splattering excessively, adjust the amperage or arc length slightly.
Finally, keep cables untangled and maintain proper cable distance from the heat source. This prevents premature wear and ensures current flows efficiently.
A well-set machine not only produces cleaner welds but also extends the lifespan of the welder and consumables. When done correctly, the setup process transforms welding from a guessing game into a precise, controlled craft ready for consistent professional results.
Welding Technique & Best Practices
Once the stick welding machine is properly set up, the next step is mastering the welding technique itself. The setup may determine the machine’s performance, but technique determines the quality of the final weld.
Understanding electrode control, arc length, travel speed, and body positioning helps maintain consistency and reduces weld defects.
Begin by holding the electrode at a slight angle, roughly 10–15 degrees away from the direction of travel. This position allows molten metal to flow smoothly behind the arc, forming a stable weld puddle.
Maintaining a consistent arc length—about equal to the electrode’s diameter—is equally important. A shorter arc may cause the rod to stick, while a longer one increases spatter and weakens penetration.
Travel speed directly affects weld penetration and bead appearance. Moving too fast leads to shallow welds and undercuts, while going too slow can cause excessive buildup or burn-through.
As a rule of thumb, aim for a steady, controlled motion that keeps the weld puddle uniform in size and shape. Watching the puddle carefully and adjusting based on its behavior helps achieve smoother, more even beads.
Welding position also influences results. Flat and horizontal positions are easiest for beginners, while vertical and overhead require better control and experience. Practicing in various positions builds flexibility and confidence over time.
Finally, monitor your environment. Stick welding outdoors can expose the arc to wind, which disrupts shielding and creates porosity. Using screens or welding in sheltered areas helps maintain weld quality.
Combining correct setup with precise technique ensures consistent results and sets the foundation for professional-grade welding performance.
Post-Weld: Slag Removal & Inspection
After completing a weld, the job isn’t finished until the slag is removed and the weld bead is properly inspected.
Every stick welding process leaves behind a layer of flux residue known as slag, formed from the electrode coating as it burns and protects the molten pool from oxidation.
While slag is essential during welding, it must be cleared away once the weld cools to reveal the true quality beneath.
Begin by letting the weld cool naturally. Cooling too quickly, such as by quenching in water, can cause cracking due to thermal shock. Once the metal reaches a safe temperature to handle, use a chipping hammer to gently break away the hardened slag.
Follow up with a wire brush to clean the bead surface thoroughly. This exposes the metallic finish of the weld and makes it easier to identify imperfections like porosity, undercutting, or incomplete fusion.
Clean welds not only look professional but also ensure better performance when multiple passes are needed. For multi-pass welding, all slag must be removed between layers; failing to do so traps contaminants that weaken the bond of subsequent welds.
According to The Fabricator, neglecting slag removal is among the top causes of weld defects in structural work.
Once clean, inspect the weld closely. Look for uniform bead width, consistent ripples, and even penetration. Small surface pores or rough textures indicate incorrect amperage or arc length during welding.
For critical jobs, nondestructive testing methods such as dye penetrant or ultrasonic inspection may be used to confirm weld integrity.
Finally, store your tools properly after cleaning. Keep the chipping hammer, wire brush, and welding machine free from dust and moisture.
Consistent cleaning and inspection habits improve not only weld appearance but also structural reliability—making each weld safer, stronger, and built to last.
Troubleshooting Common Problems
Even with a perfect setup, stick welding can still present challenges. Common issues like electrode sticking, excessive spatter, and poor penetration often frustrate beginners, but each problem has a clear cause and solution.
Understanding these early on saves time, reduces wasted materials, and improves weld quality dramatically.
One of the most frequent issues is the electrode sticking to the workpiece. This happens when amperage is too low or the arc length is too short. Increasing the current slightly and maintaining a steady arc distance typically solves the problem.
Keeping electrodes dry also helps, as moisture can make them sticky and unstable when heated.
Excessive spatter is another common issue, often caused by high amperage or holding the arc too long. Adjusting amperage within the recommended range and shortening the arc length usually minimizes this mess.
Cleaning the work surface and ensuring proper grounding can further reduce random sparks and metal splatter.
If the welds show signs of poor penetration or weak bonding, the amperage is likely too low or the travel speed too fast. Penetration depends heavily on both heat input and motion control.
Slower movement and correct polarity settings—typically DCEP for most electrodes—ensure deeper fusion between metals.
Porosity, or tiny holes in the weld, usually stems from surface contamination or poor shielding. Always clean rust, oil, or paint from the metal before welding, and avoid drafts or wind that might disturb the gas shield formed by the electrode flux.
Another frequent issue is inconsistent bead appearance. This can result from unsteady hand motion or irregular arc length. Practicing smooth, controlled movements and focusing on maintaining a consistent puddle shape will lead to cleaner, uniform welds.
According to Lincoln Electric, nearly 60% of welding defects originate from improper technique or setup adjustments. Troubleshooting should therefore become a natural part of every welder’s workflow.
Learning to read the weld puddle, adjust settings in real time, and identify visual signs of problems builds confidence and prevents repeated mistakes.
Tips for Beginners & Pro Advice
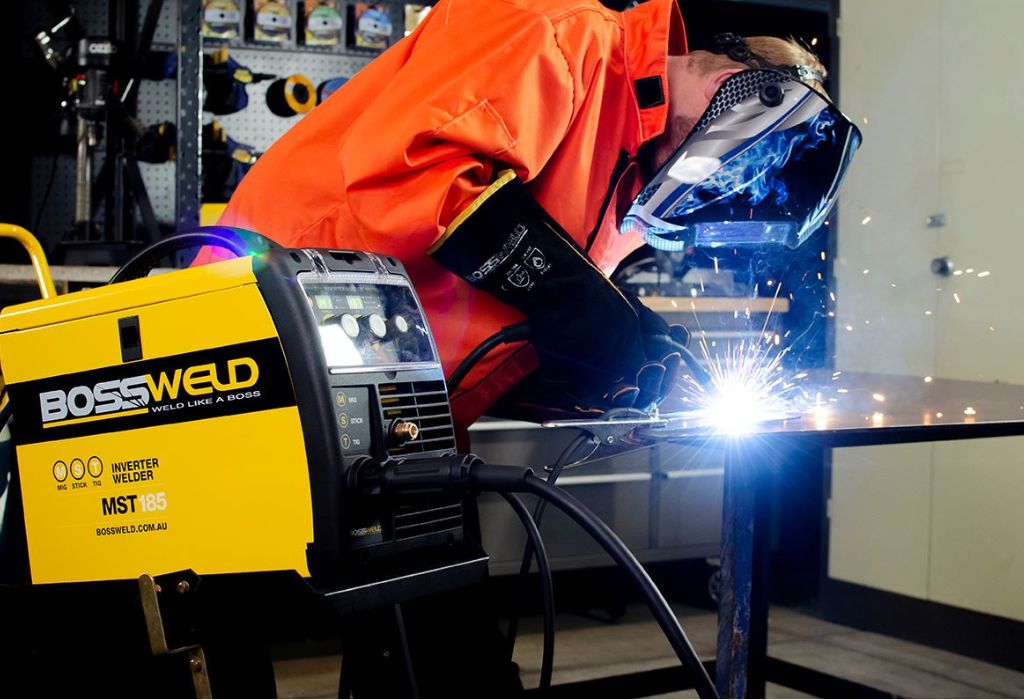
For anyone learning how to set up stick welding machine, consistent improvement comes from applying a few professional habits early on.
The right mindset and preparation make the difference between unpredictable results and smooth, controlled welds that look and perform like professional work.
Start by practicing on scrap metal before tackling any project piece. Working on spare materials lets you fine-tune your amperage, travel speed, and electrode angle without wasting valuable parts.
Keep track of your machine settings, electrode type, and results in a small notebook. Over time, this welding log becomes a personal reference guide that helps you recall which combinations work best for specific metals and thicknesses.
Choose forgiving electrodes such as E6013 or E7018 for your early practice sessions. These rods offer smoother arcs, less spatter, and easier slag removal—making them ideal for beginners who are still developing hand control.
Also, keep your electrodes dry and stored in airtight containers or rod ovens. Moisture causes hydrogen contamination, leading to cracking or porosity in the weld.
Next, focus on your welding posture and comfort. A stable stance and a well-positioned workpiece reduce fatigue and help maintain consistent movement.
Beginners often underestimate the importance of ergonomics, but proper body positioning is key to controlling the arc length and bead pattern.
Inspect your setup regularly. Loose connections, worn cables, or rust on clamps can degrade performance and cause unstable arcs. Clean your equipment after each use, and replace consumables like cables and connectors when needed.
Finally, remember that every mistake is part of the learning process. Review your welds, identify issues, and adjust one variable at a time.
As skills grow, you’ll start recognizing how minor changes in amperage or arc angle transform your results.
Patience and consistency, combined with proper setup, turn an ordinary beginner into a confident, skilled welder ready for professional work.
Conclusion
Setting up a stick welding machine the right way is more than just connecting cables and striking an arc—it’s about creating the perfect foundation for every successful weld.
From choosing the correct polarity and amperage to selecting the right electrode and preparing a clean surface, each step plays a critical role in determining weld strength, penetration, and appearance.
Skipping even one detail can result in weak joints, excess spatter, or inconsistent results that compromise the integrity of your work.
The entire process begins with safety and careful preparation. Proper gear, ventilation, and workspace organization keep you protected and efficient.
Once the setup is in place, controlling arc length, maintaining steady travel speed, and cleaning slag after each pass ensure the final weld is both strong and professional-looking.
Over time, these habits transform the learning curve into a predictable routine that consistently delivers quality results.
According to the American Welding Society, mastering setup fundamentals accounts for over 70% of welding success. This means that a welder who understands their machine settings, electrode behavior, and metal response is already far ahead of the curve.
In the end, learning how to set up stick welding machine properly isn’t just about producing neat welds—it’s about developing a deeper connection with the craft.
Every adjustment teaches precision, every test run builds confidence, and every clean weld becomes proof that attention to detail pays off. For anyone starting their welding journey, correct setup is not just the first step; it’s the one that determines everything that follows.

I’m Darrell Julian, the founder, lead writer, and hands-on welding enthusiast behind ArcWeldingPro.com. With more than 15 years of real-world welding experience, I created this platform to share what I’ve learned in the field, in the shop, and in the heat of the arc.

