If you’ve ever tackled a refrigeration system or wondered how to braze HVAC copper lines, you’re in for a practical lesson. I’ve spent years in shops and on job sites brazing copper lines for air conditioners, heat pumps, and chillers, and I can tell you it’s a skill worth mastering.
Brazing creates strong, leak-proof joints that keep HVAC systems running smoothly, whether you’re a DIYer fixing a home AC unit, a hobbyist building a custom cooling system, or a pro installing commercial refrigeration. This guide will walk you through the process, tools, and tricks I’ve learned to get those copper lines sealed tight.
Why does this matter? A bad braze can lead to refrigerant leaks, system failures, or even safety hazards like flammable gas escapes. Proper brazing ensures weld integrity, meets US codes like ASME B31.5, and saves you from costly repairs. Let’s dive into how to braze HVAC copper lines like a seasoned tech, with real-world tips and step-by-step know-how.

Why Brazing HVAC Copper Lines Matters
Brazing HVAC copper lines isn’t just about joining pipes—it’s about creating a reliable, leak-free system that can handle high-pressure refrigerants and temperature swings. In HVAC, copper is the go-to material because it’s corrosion-resistant, conducts heat well, and is easy to work with. But a weak braze can cause refrigerant leaks, which not only hurt system efficiency but can also release harmful gases into the environment, violating EPA regulations.
I once helped a friend fix a leaky AC line set in his house. A shoddy braze from a previous tech had caused the system to lose refrigerant, spiking his energy bills. A proper braze fixed it for good, saving him from a full system replacement. Safety, cost efficiency, and compliance with standards like ASHRAE and EPA Section 608 make brazing a critical skill for anyone working on HVAC systems.
What Is Brazing and How Is It Different from Welding?
Brazing is a joining process that uses a filler metal with a lower melting point than the base metal (copper, in this case) to create a strong bond. Unlike welding, which melts the base metal, brazing relies on capillary action to draw the molten filler into the joint, forming a leak-proof seal. For HVAC copper lines, brazing typically uses a phosphorus-copper-silver alloy (like BCuP-5) and an oxy-acetylene torch.
Why braze instead of weld? Brazing is easier on copper’s thin walls, requires less heat, and is faster for HVAC applications. I’ve tried TIG welding copper lines before, but it’s overkill for most HVAC jobs—brazing gets the job done cleaner and quicker. The key is proper prep and heat control to avoid burning through or weakening the copper.
Tools and Materials for Brazing HVAC Copper Lines
Before you start, gather the right gear. Here’s what I use for HVAC brazing, based on years of trial and error:
- Oxy-Acetylene Torch: A turbo torch with oxygen and acetylene tanks provides precise heat control. MAPP gas works for smaller lines but lacks the punch for larger pipes.
- Filler Rods: Use BCuP-5 (5% silver) or BCuP-2 (0% silver) for copper-to-copper joints. For copper-to-brass, use a silver-based rod like Harris Safety-Silv 45 with flux.
- Flux: Needed for copper-to-brass or dissimilar metal joints to prevent oxidation. I like Harris Stay-Silv white flux.
- Pipe Cutter: A tubing cutter ensures clean, square cuts without burrs.
- Deburring Tool: Removes sharp edges for a tight fit.
- Wire Brush or Emery Cloth: Cleans copper to a shiny finish for better filler flow.
- Nitrogen Tank and Regulator: Purges the line to prevent oxidation inside the pipe.
- Safety Gear: Welding goggles (shade 3-5), flame-resistant gloves, and a leather apron.
- Leak Detector: A soap bubble solution or electronic detector to test joints.
I once skimped on a proper pipe cutter and used a hacksaw—big mistake. The uneven cut caused a weak joint that leaked under pressure. Invest in quality tools, and your brazes will hold up.
Best Practices for Brazing HVAC Copper Lines
Brazing HVAC copper lines requires precision and patience. Here are the key practices I follow to ensure strong, leak-free joints.
Proper Joint Preparation
Clean, square joints are non-negotiable. Cut the copper tubing with a pipe cutter for a straight edge, then deburr the inside and outside with a deburring tool. Clean the pipe and fitting with a wire brush or emery cloth until they shine. Any dirt, grease, or oxides will block the filler metal’s flow, leading to leaks.
I learned this the hard way early on. I rushed prep on a chiller line set, and the braze was full of voids. A thorough cleaning would’ve saved me hours of rework. For fittings, ensure a tight fit—gaps larger than 0.002-0.006 inches can weaken the joint.
Nitrogen Purging
Purging the line with nitrogen prevents oxidation (black scale) inside the pipe, which can contaminate the refrigerant and clog the system. Connect a nitrogen tank to one end of the line, set the flow to 2-5 CFH, and let it flow while brazing. Tape the other end loosely to allow gas to escape.
I once skipped purging on a small residential job, thinking it wasn’t a big deal. The scale buildup caused a TXV to fail months later. Now, I never braze without nitrogen—it’s a small step that prevents big problems.
Heat Control and Torch Technique
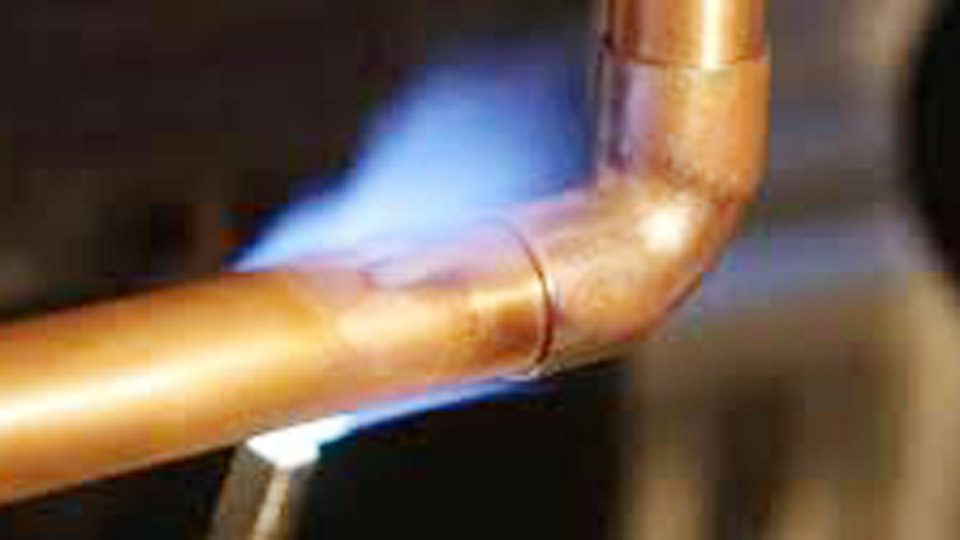
Too much heat can burn through copper or burn off the filler’s alloying elements, weakening the joint. Use a neutral flame (equal parts oxygen and acetylene) for most jobs. Heat the fitting first, then the pipe, moving the flame evenly to avoid hot spots. The copper should turn a dull red before applying the filler rod.
I’ve seen newbies blast the joint with a huge flame, thinking more heat is better. It’s not—patience and a steady hand create a smooth, silver-colored braze. If the copper turns bright red or starts sagging, back off the torch.
Filler Application
For copper-to-copper joints, touch the BCuP rod to the joint once the copper is hot enough (around 1100-1500°F). The filler should flow into the joint via capillary action—don’t melt it directly with the torch. For copper-to-brass, apply flux to the joint first, then use a silver-based rod and heat carefully.
A common mistake I made early on was overusing filler. A thin, even bead is stronger than a globby mess. If the filler doesn’t flow smoothly, the joint isn’t hot enough or isn’t clean enough.
Step-by-Step Guide to Brazing HVAC Copper Lines
Ready to braze? Here’s a detailed guide for brazing copper-to-copper HVAC lines, the most common scenario in residential and commercial systems.
Step 1: Shut Down and Prep the System
Turn off the HVAC system and recover any refrigerant per EPA Section 608 rules. Use a recovery machine to avoid illegal venting. Identify the joint location (e.g., a line set or evaporator coil connection) and ensure the area is clear of flammable materials.
I once brazed near a foam-insulated wall without covering it—sparks started smoldering. Now, I always use a fire-resistant blanket to protect nearby surfaces.
Step 2: Cut and Clean the Copper
Use a tubing cutter to cut the copper line squarely where you’ll make the joint. Remove burrs with a deburring tool. Clean the pipe and fitting with a wire brush or emery cloth until they’re shiny. For a coupling or elbow, ensure the pipe slides in snugly with no wobble.
Pro Tip: Dry-fit the joint to check alignment. A misaligned joint will leak under pressure.
Step 3: Set Up Nitrogen Purge
Connect a nitrogen tank to one end of the line with a regulator set to 2-5 CFH. Let nitrogen flow gently through the pipe to displace oxygen. Tape the other end loosely to maintain slight positive pressure. This prevents scale buildup inside the pipe.
Step 4: Set Up Your Torch
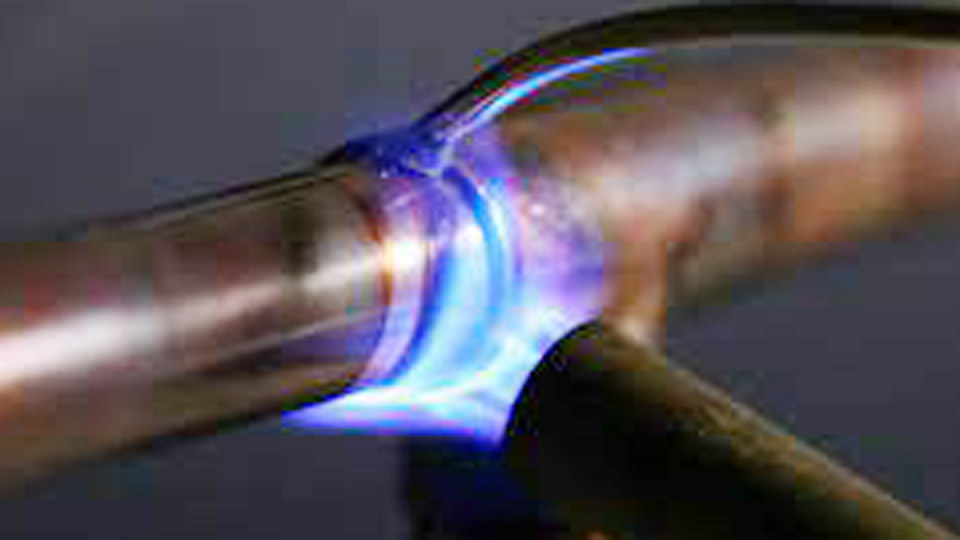
Adjust your oxy-acetylene torch to a neutral flame—a sharp blue inner cone with a soft outer envelope. For MAPP gas, use a swirl-tip torch for even heat. Test the flame on a scrap piece of copper to ensure it’s not too hot or too weak.
Machine Setting Tip: For 3/8” copper lines, start with a small flame (1/4” inner cone). For 3/4” or larger, use a slightly larger flame but keep it controlled.
Step 5: Braze the Joint
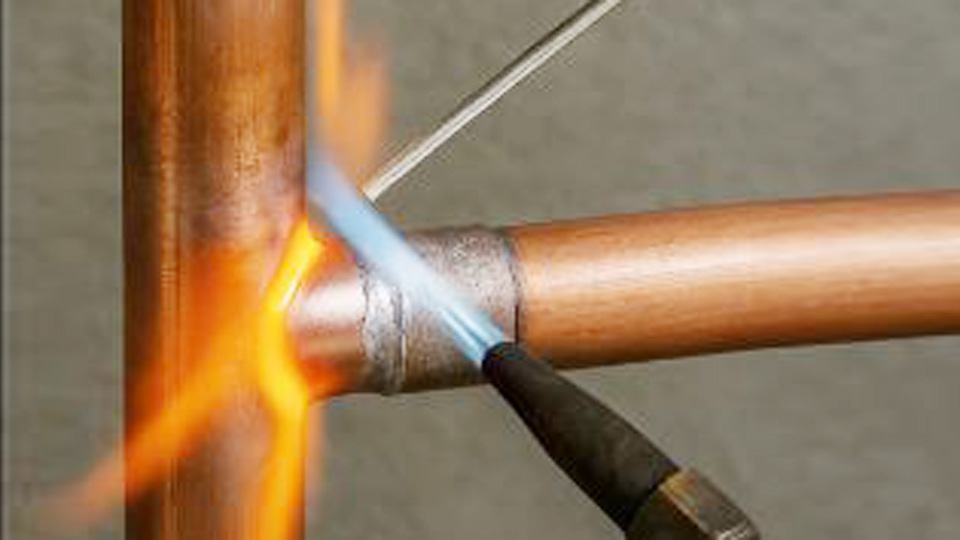
Heat the fitting first, moving the flame around its circumference to distribute heat evenly. Once the fitting is a dull red, shift the flame to the pipe where it enters the fitting. When the joint reaches 1100-1200°F (dull red), touch the BCuP-5 rod to the seam. The filler should flow smoothly into the joint.
If the filler balls up or doesn’t flow, the joint isn’t hot enough—heat it more evenly. Once the filler forms a complete ring around the joint, remove the torch. Let the joint cool naturally—don’t quench with water, as it can cause cracks.
Mistake to Avoid: Don’t overfill the joint. Excess filler can drip inside the pipe, restricting refrigerant flow.
Step 6: Inspect and Test
Check the braze for a smooth, silver-colored ring with no gaps or voids. Clean off any flux residue with a damp cloth if used. Pressure-test the system with nitrogen (typically 300-400 psi for R-410A systems) and check for leaks using a soap bubble solution or electronic detector. If it holds, evacuate the system with a vacuum pump and recharge with refrigerant.
I once skipped a pressure test on a rush job, and the joint leaked after charging. Now, I always test thoroughly—it’s worth the extra time.
Comparing Brazing vs. Other Joining Methods
Here’s a table to help you understand why brazing is preferred for HVAC copper lines, compared to alternatives like soldering or flaring.
| Method | Best For | Pros | Cons | Cost |
|---|---|---|---|---|
| Brazing | HVAC copper lines | Strong, leak-proof, high-pressure capable | Requires skill, torch setup | $200-$1,000 (torch kit) |
| Soldering | Low-pressure plumbing | Easier, lower heat | Weaker, not for high-pressure refrigerants | $50-$100 (torch, solder) |
| Flaring | Temporary connections | No heat, quick | Prone to leaks, not permanent | $20-$50 (flaring tool) |
When to Choose Brazing: Brazing is the gold standard for HVAC copper lines due to its strength and ability to handle high-pressure refrigerants like R-410A or R-32. Soldering is too weak for most HVAC applications, and flaring is better for temporary or low-pressure setups.
Practical Tips for Success
Here are some hard-earned tips from my years of brazing HVAC lines:
Keep Copper Clean: Store cut pipes in a sealed bag to prevent oxidation before brazing. A dirty pipe means a weak joint.
Use a Heat Sink: For brazing near sensitive components like TXVs, wrap them with a wet rag or use a heat-blocking gel to prevent damage.
Check Filler Alloy: For R-410A systems, use at least 5% silver (BCuP-5) for stronger joints. Cheaper 0% silver rods (BCuP-2) work but are less ductile.
Practice on Scrap: Braze a few test joints on spare copper to perfect your heat control and filler flow before tackling the real job.
Follow Codes: Ensure your brazes meet ASME B31.5 or local HVAC codes, especially for commercial jobs. Inspectors don’t mess around with refrigerant lines.
Safety Considerations
Brazing HVAC copper lines is safe if you take precautions, but open flames and refrigerants come with risks:
Ventilation: Braze in a well-ventilated area to avoid inhaling flux fumes or acetylene. For indoor jobs, use a fume extractor.
PPE: Wear shade 3-5 goggles, flame-resistant gloves, and a leather apron. I’ve got a scar from a stray spark—don’t skip the gear.
Fire Safety: Keep a fire extinguisher nearby and cover flammable materials with a fire-resistant blanket. Check for insulation or wood near the joint.
Refrigerant Safety: Never braze a line with refrigerant inside—it can explode or release toxic gases. Always recover refrigerant per EPA rules.
Gas Cylinder Safety: Secure oxygen and acetylene tanks upright and check for leaks with soapy water before lighting the torch.
Real-World Applications in the USA
Brazing HVAC copper lines is critical across various settings:
- Residential HVAC: Joining line sets for split AC units or heat pumps in homes.
- Commercial Refrigeration: Installing copper lines for walk-in coolers, chillers, or supermarket refrigeration systems.
- Industrial Systems: Brazing high-pressure lines for ammonia-based chillers in factories or data centers.
- DIY Projects: Building custom cooling systems for workshops or repairing portable AC units.
- HVAC Training: Students learning brazing for certifications like NATE or EPA Section 608 often practice on copper line sets.
I’ve brazed lines for everything from a rooftop commercial unit to a DIY glycol chiller for a home brewery. Mastering this skill opens doors to high-demand HVAC and refrigeration jobs.
Conclusion
Knowing how to braze HVAC copper lines equips you to handle everything from a home AC repair to a commercial chiller installation. With the right tools, proper prep, and techniques like nitrogen purging and heat control, you can create strong, leak-proof joints that meet industry standards.
You now understand how to choose the right filler, set up your torch, and avoid common mistakes like poor cleaning or overheating. Whether you’re a DIYer saving on repair costs, a hobbyist experimenting with cooling systems, or a pro meeting ASME codes, you’re ready to braze with confidence.
FAQ
What’s the difference between brazing and soldering HVAC copper lines?
Brazing uses higher temperatures (1100-1500°F) and stronger filler metals (like BCuP-5) for leak-proof, high-pressure joints in HVAC systems. Soldering uses lower temperatures (below 840°F) and is weaker, suitable for low-pressure plumbing but not refrigerants.
Do I need flux for brazing copper-to-copper HVAC lines?
No, for copper-to-copper joints, phosphorus-based fillers like BCuP-5 are self-fluxing. Use flux (like Harris Stay-Silv) for copper-to-brass or dissimilar metal joints to prevent oxidation.
What torch is best for brazing HVAC copper lines?
An oxy-acetylene torch with a neutral flame is best for precise heat control on copper lines. MAPP gas torches work for smaller lines (up to 3/8”) but are slower on larger pipes.
Can I braze HVAC lines without nitrogen?
You can, but it’s not recommended. Nitrogen purging prevents oxidation inside the pipe, which can contaminate the refrigerant and clog components like TXVs. Always purge for professional results.
How do I test a brazed HVAC joint for leaks?
Pressure-test the system with nitrogen at 300-400 psi and check for leaks using a soap bubble solution or an electronic detector. Hold the pressure for 15-30 minutes to ensure the joint is sound.

I’m Darrell Julian, the founder, lead writer, and hands-on welding enthusiast behind ArcWeldingPro.com. With more than 15 years of real-world welding experience, I created this platform to share what I’ve learned in the field, in the shop, and in the heat of the arc.


