The first time the arc flashes, it feels like daylight exploded in front of your face.
That instant glow is beautiful for a second — until the eyes start to sting.
Many welders remember that moment.
The light, the heat, the blur — all because the helmet wasn’t the right one.
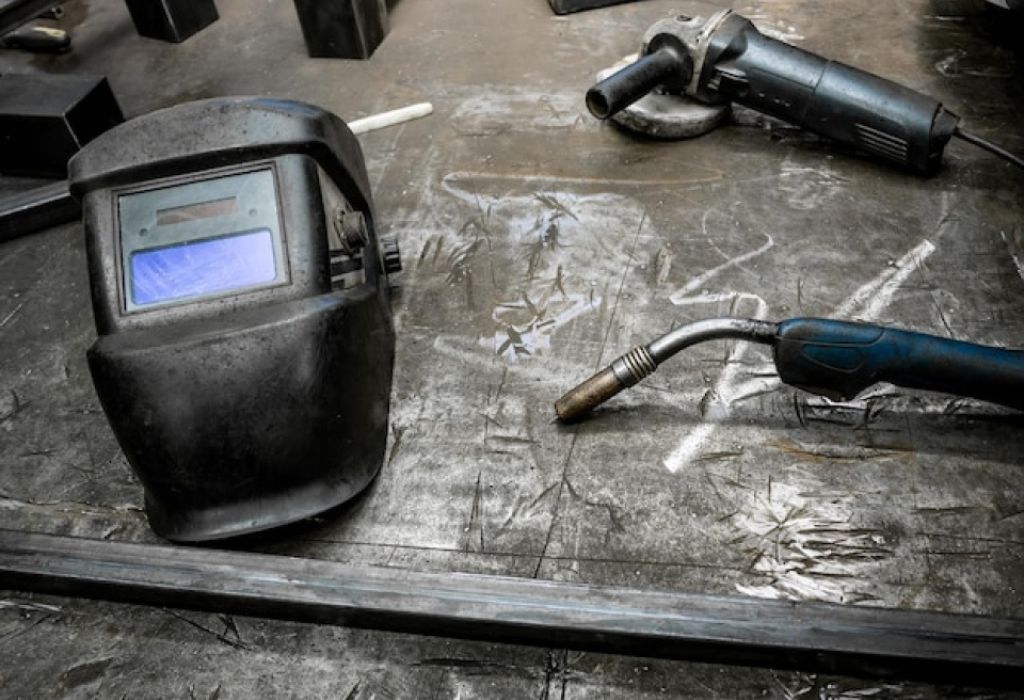
A welding helmet is more than a piece of safety gear.
It’s your shield, your clarity, and your comfort rolled into one.
If you’ve ever wondered how to choose a welding helmet that protects your eyes and helps you weld better, this guide is your roadmap.
Let’s make sure your next weld looks perfect — and your eyes stay safe.
Why Choosing the Right Welding Helmet Matters

A wrong helmet does more than make you squint.
It can cause long-term eye damage, headaches, and even skin burns.
According to NIOSH, nearly 2,000 workers suffer eye injuries every single day in the United States.
Most of them could have been avoided with proper protection.
A good helmet shields you from UV and IR radiation, filters glare, and lets you see the weld puddle clearly.
It’s not just about style — it’s about survival.
Think of it this way.
If a guitar player needs perfect tuning to make music, a welder needs perfect visibility to make clean joints.
Step 1: Start with Safety Standards
Before worrying about design or color, look for the safety mark.
It’s the foundation of every trusted helmet.
What standard should you look for?
In the U.S., it’s ANSI Z87.1.
In Europe, it’s EN379.
These prove the helmet was tested for optical clarity, impact resistance, and light protection.
Why does it matter?
Without that certification, you’re guessing about protection.
And guessing with your eyesight isn’t worth the risk.
Do certified helmets protect even when not darkened?
Yes.
Certified helmets block UV and IR rays even when the lens is inactive.
If your helmet doesn’t have these markings, it’s time to upgrade.
A certified shield is the minimum requirement for safe welding.
Step 2: Decide Between Auto-Darkening and Passive
Every welder has a preference.
Some trust the old-school fixed lens, while others prefer the convenience of auto-darkening.
Auto-Darkening Helmets
These react instantly when the arc strikes.
The lens darkens automatically, saving you from flipping the hood up and down.
They’re ideal for multi-position work, frequent tacking, or when switching between processes.
Less neck strain, more control.
Passive Helmets
These stay at one fixed shade, often level 10 or 11.
Simple, reliable, and nearly indestructible.
They’re great for consistent, repetitive jobs with the same amperage.
No batteries, no sensors, just protection that never fails.
Which is better?
For most modern welders, auto-darkening wins on convenience.
But passive helmets are unbeatable for old-school durability.
The key is understanding your workflow.
If you move around, switch processes, or weld in tight spaces, go auto-darkening.
If you do high-volume, consistent work, a passive lens can still be your best friend.
Step 3: Understand Lens Shades and What They Mean
Shade numbers are like sunglasses for your welding lens.
They control how much light passes through.
The higher the number, the darker the lens.
That means better protection at higher amperage.
| Welding Process | Typical Shade Range |
| MIG / MAG | 8–10 |
| TIG | 7–10 |
| Stick | 10–12 |
| Plasma Cutting | 8–10 |
| Grinding | 2–3 |
Start on the darker side and slowly step down until you can see the puddle clearly.
Never go lighter than recommended.
Why does shade matter so much?
Too dark and you can’t see your work.
Too light and you risk “arc eye” — a painful flash burn that feels like sand in your eyes.
Can one helmet work for all processes?
Yes, if it has a variable shade range (like 8–13).
That flexibility lets you handle multiple welding types with one tool.
Think of shade numbers as your welding visibility dial.
Get that right, and the rest becomes easier.
Step 4: Clarity Is Everything

Ever tried to weld with fogged safety glasses?
That’s what a low-clarity lens feels like.
Optical Clarity Rating: 1/1/1/1
This rating is the gold standard under EN379.
It measures distortion, diffusion, shade consistency, and viewing angle.
The closer to all ones, the clearer your view.
It’s like switching from a smudged window to crystal glass.
How big should your viewing area be?
That depends on your work.
For tight spaces, a small window is fine.
For large projects or overhead welding, a bigger window gives better visibility.
Are true-color lenses worth it?
Yes.
They remove the green tint and show natural tones — you can see metal color and puddle shape more accurately.
A clear view makes every weld smoother.
You see better, react faster, and work safer.
Step 5: Comfort and Fit — The Unsung Heroes
You can have the best helmet in the world, but if it hurts to wear, it won’t matter.
Comfort is productivity.
What makes a helmet comfortable?
Lightweight shells, adjustable headgear, and balanced weight distribution.
Good padding also helps reduce pressure points.
How tight should it fit?
Snug but not suffocating.
You shouldn’t feel the helmet sliding, but it shouldn’t pinch either.
What about airflow and heat?
Ventilation makes a huge difference.
Some helmets have built-in airflow channels to keep you cool and reduce fogging.
Can you add magnifiers?
Yes.
“Cheater lenses” help see detail work clearly, especially for TIG welding.
Why is balance important?
A balanced helmet stays steady without straining your neck.
That means longer welding sessions and fewer headaches.
A comfortable helmet isn’t a luxury — it’s a tool that keeps you sharp through the day.
Step 6: Power Options and Durability
Auto-darkening helmets rely on power.
How that power is managed determines reliability.
What’s better — battery or solar assist?
The best helmets use both.
Solar assists recharge batteries during use, while replaceable batteries ensure uptime indoors.
How fast should switching speed be?
The faster, the better.
Anything around 1/20,000 of a second or quicker keeps your eyes safe from flash.
Do cheaper helmets react slower?
Usually, yes.
Budget helmets often have fewer sensors and slower trigger times.
Why do shell materials matter?
High-impact nylon or polyamide shells resist heat, spatter, and cracking.
Durability means safety when sparks start flying.
A helmet should last for years, not months.
Always choose one that’s easy to maintain and has replaceable lenses and batteries.
Step 7: Budget and Quality — Find Your Balance
Welding helmets come in every price range imaginable.
But the cheapest one isn’t always the best deal.
Entry Level (Under $100)
Basic auto-darkening, 2 sensors, fixed shade, smaller view.
Good for hobbyists or light work.
Mid-Range ($150–300)
Variable shade, 3–4 sensors, grind mode, better clarity, larger lens.
A solid choice for regular welders.
Professional ($300+)
Top optical clarity, wide view, premium headgear, fast switching, and advanced modes.
Ideal for full-time welders or those seeking ultimate comfort.
Where should you invest first?
Always in optical safety and clarity.
It’s your vision — not the place to save $50.
A well-made mid-range helmet often outperforms cheap ones in every meaningful way.
If you weld often, it pays for itself in comfort and performance.
Step 8: Real-World Scenarios — Matching Helmet to Work Type

Not every welder works in the same setting.
The right helmet depends on what and where you weld.
Garage and DIY welders
Go for mid-range auto-darkening helmets.
They’re flexible, light, and fit multiple welding types.
Professional fabricators
Need large viewports, 4 sensors, and fast switching.
A shade range of 8–13 handles multiple amps and materials.
Outdoor or mobile welders
Choose solar-powered helmets with electromagnetic “X-Mode.”
It prevents sunlight from triggering the sensors.
Precision TIG welders
Look for excellent low-amp sensitivity and true-color lenses.
Small details make a big difference in TIG welding.
Your working conditions define your ideal helmet.
Match features to your reality, not someone else’s.
Step 9: Maintenance — Protecting Your Investment
Even the best helmet needs care.
A dirty or damaged lens ruins visibility and safety.
How often should you replace the cover lens?
Whenever it’s scratched or cloudy.
It’s the cheapest way to extend your helmet’s life.
How should you clean the lens?
Use a soft microfiber cloth and lens cleaner.
Never use solvents or abrasive materials.
How do you store your helmet?
Keep it dry, cool, and away from direct sunlight.
Use a helmet bag if possible.
Regular maintenance keeps your gear reliable and your vision clear.
It’s a five-minute habit that prevents costly mistakes.
Step 10: Quick Recap — The 5-Second Buyer’s Checklist
- Look for ANSI Z87.1 or EN379 certification.
- Pick auto-darkening if you weld often or switch processes.
- Choose a shade range of 8–13 for flexibility.
- Check for 1/1/1/1 optical clarity for the sharpest view.
- Prioritize comfort, replaceable parts, and balance.
If your helmet checks these five boxes, it’s a solid choice.
Your eyes — and your welds — will thank you.
Safety and Confidence — The Final Word
The right welding helmet makes every spark feel safe and every weld precise.
It’s the silent partner standing between you and thousands of degrees of light and heat.
Never underestimate what a clear lens and a balanced fit can do.
They transform welding from a chore into an art.
So next time you wonder how to choose a welding helmet, think of it as choosing your sight.
Because every perfect weld starts with what you can see.

I’m Darrell Julian, the founder, lead writer, and hands-on welding enthusiast behind ArcWeldingPro.com. With more than 15 years of real-world welding experience, I created this platform to share what I’ve learned in the field, in the shop, and in the heat of the arc.


