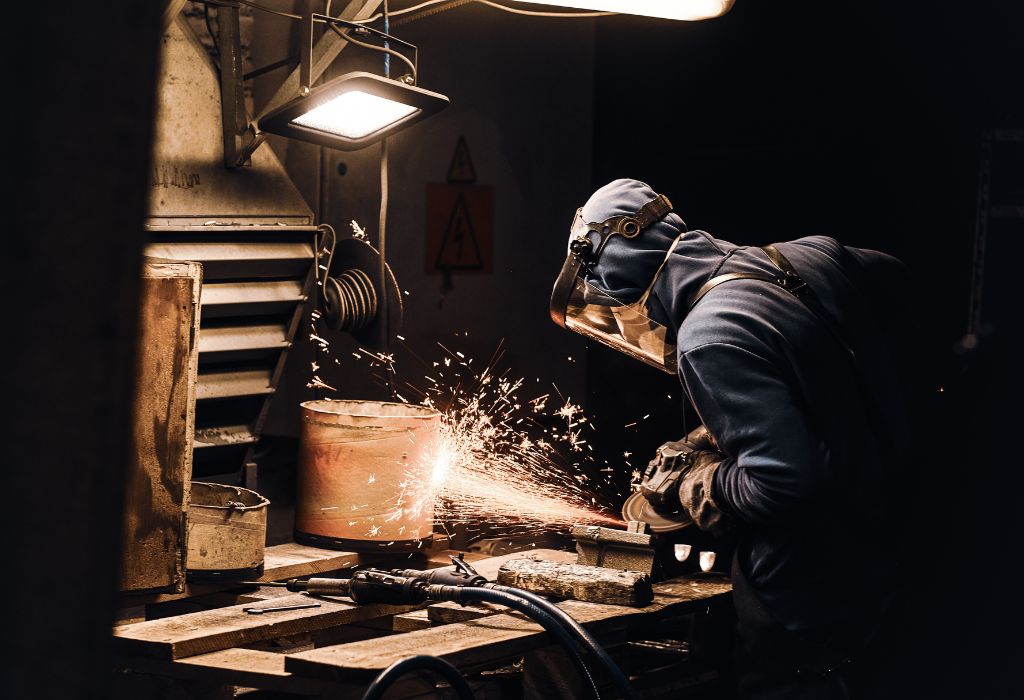
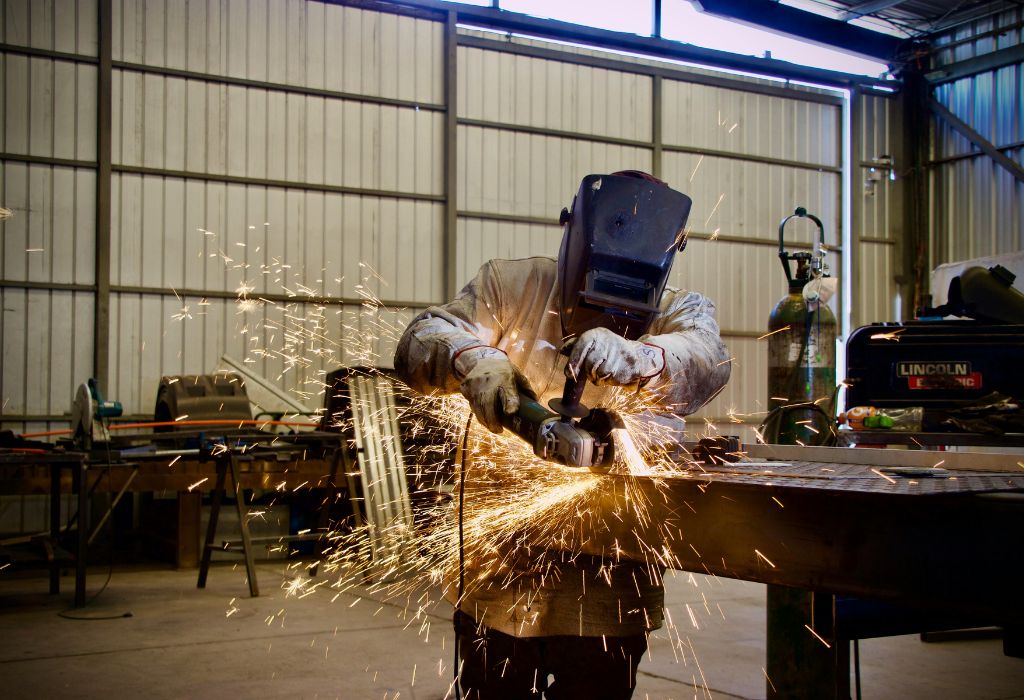
A faint hiss fills the air as the argon gas flows through the torch, creating an invisible shield that protects molten metal from the atmosphere.
One wrong setting, however, and that flawless silver bead turns dull, porous, and brittle.
Many beginners face the same issue — clean welds seem impossible even when the technique feels right.
What they often miss is how crucial setup and precision are in argon welding.
Argon welding, often known as TIG welding, is one of the cleanest and most controlled welding methods.
It allows for strong, aesthetically smooth welds, especially on stainless steel and aluminum.
Yet this precision comes with a price: even a minor mistake in gas flow, polarity, or torch angle can ruin the result.
Learning how to use an argon welding machine correctly turns frustration into mastery.
Proper setup and control not only improve weld quality but also extend equipment life and reduce rework.
According to professional welding educators, up to half of welding defects occur due to incorrect shielding gas setup or electrode contamination.
Understanding each component — from tungsten selection to gas flow rate — eliminates these problems and builds consistency.
What Is Argon Welding & Why It’s Used
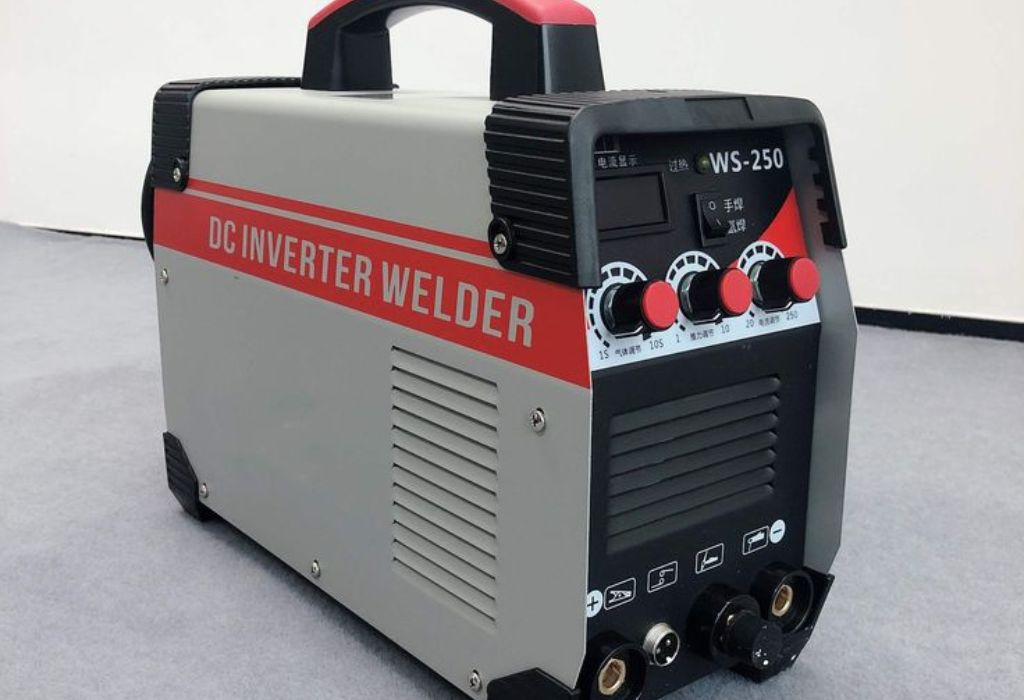
Argon welding is a process that uses argon gas as a shielding gas to protect the molten weld pool from reacting with the atmosphere.
Without this protection, oxygen and nitrogen in the air can contaminate the weld, leading to porosity, cracks, and discoloration.
This technique is most often associated with TIG (Tungsten Inert Gas) welding, also known as GTAW (Gas Tungsten Arc Welding).
In this process, a tungsten electrode creates the arc while the argon gas forms a stable, inert environment around the weld zone.
Argon’s inert nature makes it ideal for producing clean, precise, and high-quality welds.
It doesn’t react with the metal or the arc, which allows the welder to focus entirely on controlling heat, filler material, and travel speed.
Unlike CO₂ or mixed gases, argon provides a smoother and more stable arc.
This results in minimal spatter, less post-weld cleaning, and a visually appealing bead finish.
Argon welding is used across industries such as automotive, aerospace, and fabrication — anywhere strength and appearance both matter.
It’s also perfect for delicate metals like aluminum, stainless steel, and titanium, where precision and control are essential.
Understanding this process is the foundation of learning how to use an argon welding machine effectively.
Once you grasp the role of shielding gas and its impact on weld quality, every adjustment you make becomes deliberate and predictable.
What is argon welding in simple terms?
It’s a welding process that uses argon gas to shield the molten metal from air contamination.
Why is argon gas used in welding?
Because it’s inert and prevents oxidation, porosity, and contamination of the weld.
Which welding method uses argon gas most commonly?
TIG or GTAW welding relies primarily on argon for clean, precise welds.
What are the benefits of argon welding?
Stronger joints, smooth beads, minimal spatter, and excellent appearance.
Can argon be mixed with other gases?
Yes, but pure argon is best for TIG welding; helium or CO₂ blends are used for specific applications.
Safety & Preparation Before Using an Argon Welding Machine
Before powering on an argon welding machine, preparation and safety come first.
Argon welding involves high temperatures, intense ultraviolet light, and pressurized gas, which can be dangerous without the right precautions.
A proper setup begins with a clean and organized workspace.
Remove flammable materials like rags, paper, and oil from the area, and ensure that ventilation is adequate to avoid gas buildup or metal fume inhalation.
Every welder should wear complete personal protective equipment (PPE).
This includes a flame-resistant jacket, heat-resistant gloves, leather boots, a welding apron, and an auto-darkening helmet with a shade level suitable for the welding current.
Even brief exposure to the arc without protection can cause burns or “arc eye.”
Check the argon cylinder for secure placement before opening the valve.
It must stand upright, strapped or chained to a solid surface to prevent tipping.
Inspect the regulator, hoses, and fittings for cracks, leaks, or wear before connecting.
Grounding the workpiece correctly is another crucial step.
Attach the ground clamp firmly to a clean, bare metal section near the welding area.
A weak or corroded ground connection can cause erratic arcs or even electrical shocks.
Before starting, review all machine settings and cables.
Ensure the torch, tungsten, and gas flow are properly connected and test the pedal or trigger function.
Preparation ensures that once you strike the arc, every part of the system performs safely and consistently.
A careful setup doesn’t just protect the welder — it also guarantees a more stable arc, cleaner beads, and fewer interruptions during the process.
What PPE is required for argon welding?
A welding helmet, gloves, jacket, boots, and respirator for fumes or poor ventilation.
How should an argon cylinder be positioned?
Always upright and securely fastened to a wall or stand to prevent falling.
Why is grounding important in welding?
It completes the electrical circuit safely and stabilizes the arc for smooth performance.
How often should cables and hoses be inspected?
Before every session to detect leaks, cracks, or loose fittings.
Why is ventilation necessary in argon welding?
To prevent gas accumulation and remove metal fumes from the breathing zone.
Equipment & Machine Setup
Before learning how to use an argon welding machine, understanding its setup is essential.
A precise configuration determines whether your welds will be strong, clean, and free from defects.
Start with the argon cylinder.
Attach the regulator securely to the cylinder valve and tighten the fittings with a proper wrench — never over-tighten.
Slowly open the main valve and check the pressure gauge to confirm adequate gas supply.
Next, connect the gas hose from the regulator to the welding machine’s gas inlet.
Inspect the hose for cracks or leaks before use.
A simple soap solution test can help detect tiny leaks around the fittings.
Install the tungsten electrode into the torch.
Ensure the tungsten is properly ground to a point for DC welding or slightly balled for AC, depending on the material.
The tip should extend about 1/8 inch from the nozzle for optimal gas coverage.
Now, attach the ground clamp to a clean metal surface near your weld area.
Poor grounding causes unstable arcs, inconsistent penetration, and increased spatter.
Choose the correct polarity setting.
For TIG welding with argon on steel, use DCEN (Direct Current Electrode Negative).
For aluminum or magnesium, switch to AC (Alternating Current) to balance penetration and cleaning action.
Finally, verify that the torch switch or foot pedal is working correctly to control amperage during welding.
Once every connection is secure and gas flow is steady, the setup is complete and ready for operation.
Proper setup minimizes arc instability, prevents gas loss, and ensures perfect shielding for smooth, consistent welds.
How do you connect an argon regulator safely?
Tighten connections gently, open the valve slowly, and check for leaks using a soap solution.
Why is tungsten tip shape important?
It controls arc stability — pointed for DC, rounded for AC welding.
What polarity is best for argon welding?
DCEN for steel, AC for aluminum and magnesium.
How far should tungsten stick out from the nozzle?
About 1/8 inch for proper gas shielding and arc focus.
Why is grounding crucial for setup?
It prevents erratic arcs and electrical hazards while maintaining consistent current flow.
Setting Gas Flow & Shielding Parameters
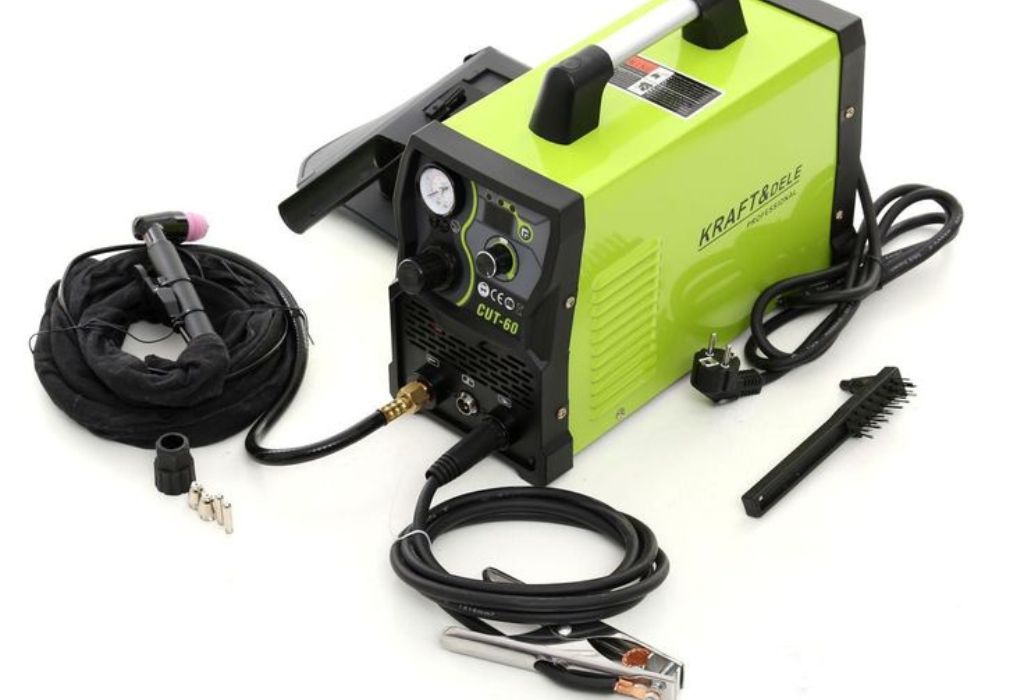
Once your machine is set up, the next vital step is adjusting argon gas flow and shielding parameters.
This directly determines how clean and strong your welds will be, as the gas protects the molten metal from oxidation and contamination.
Start by setting the gas flow rate on the regulator or flowmeter.
A standard flow range is between 10–25 cubic feet per hour (CFH), depending on the welding environment and material thickness.
Indoor welding typically requires less gas flow, while outdoor work or drafts may need slightly higher rates.
Too little gas leads to porosity and oxidation, leaving black, brittle welds.
Too much flow causes turbulence, which pulls air into the weld zone and ruins the shielding effect.
Always aim for a smooth, steady stream rather than forceful pressure.
Use a gas lens or diffuser on your torch for a more uniform gas spread.
This improves shielding coverage, especially when welding around corners or tight spaces.
The nozzle or cup size also affects gas efficiency.
A larger cup (size 8–12) provides broader coverage, while smaller cups work best for fine, narrow joints.
Keep the nozzle clean and free from metal spatter to maintain consistent flow.
Finally, allow the gas to flow for 1–2 seconds before striking the arc and continue for a brief moment after finishing the weld.
This pre- and post-flow shields the tungsten and weld pool from air exposure, ensuring clean starts and smooth finishes.
Perfecting gas control is one of the biggest secrets to mastering how to use an argon welding machine for flawless, mirror-smooth beads.
What is the ideal argon flow rate for TIG welding?
Usually between 10–25 CFH, depending on material and conditions.
What happens if the gas flow is too low?
The weld becomes porous and oxidized due to insufficient shielding.
Why is too much gas flow also bad?
Excessive pressure creates turbulence that draws air into the weld.
What does a gas lens do?
It smooths the gas flow, providing better shielding and more consistent arc stability.
How long should gas flow after welding?
Allow 2–3 seconds of post-flow to protect the cooling tungsten and weld pool.
Selecting Tungsten, Filler, and Polarity
Choosing the correct tungsten electrode, filler material, and polarity setting is critical for achieving strong, clean welds.
These three factors determine arc stability, bead appearance, and penetration depth.
Start with tungsten selection.
For argon welding, 2% thoriated or lanthanated tungsten is commonly used for DC welding on steel, while pure tungsten or zirconiated tungsten works best for AC welding on aluminum.
Each type handles current differently and influences how the arc behaves.
Tungsten size also matters.
Use 1/16 inch for thin metals and 3/32 inch for thicker materials.
Larger electrodes handle higher amperage but require more precision in arc control.
Next, focus on the filler metal.
Choose a filler rod that matches your base material — for example, ER70S-6 for mild steel, ER308L for stainless steel, and ER4043 or ER5356 for aluminum.
Using mismatched filler weakens the weld joint and causes cracking or discoloration.
Polarity is another crucial element.
For most argon welding applications on steel or stainless steel, use DCEN (Direct Current Electrode Negative) for deep penetration and minimal tungsten wear.
For aluminum or magnesium, switch to AC (Alternating Current) to balance cleaning action with proper fusion.
Maintaining the correct electrode tip shape ensures consistent arc control.
A sharp point is ideal for DC welding, while a small balled tip provides a stable arc on AC.
Always grind the tungsten lengthwise, not sideways, to avoid erratic arcs.
Proper selection of tungsten, filler, and polarity brings together the foundation of every perfect weld.
Mastering these details is what separates a rough bead from a smooth, professional finish.
Which tungsten type is best for argon welding steel?
2% thoriated or lanthanated tungsten provides excellent arc stability and durability.
What tungsten should be used for aluminum?
Pure or zirconiated tungsten with AC polarity ensures proper cleaning and smooth arcs.
How to choose the correct filler rod?
Match it to your base metal — steel with ER70S-6, stainless with ER308L, aluminum with ER4043 or ER5356.
What polarity should be used for argon welding?
DCEN for steel and stainless, AC for aluminum and magnesium.
Why does tungsten tip shape matter?
It affects arc precision — pointed tips give control, while balled tips create smooth arcs on AC welding.
Setting Initial Electrical Parameters
After selecting tungsten and filler, the next key step is adjusting your electrical parameters.
Proper settings for amperage, voltage, and arc length directly control penetration, bead shape, and weld quality.
Start with amperage — the amount of current flowing through your electrode.
A good rule of thumb is to use 1 amp for every 0.001 inch of metal thickness.
For example, welding a 1/8-inch (0.125″) steel plate typically requires around 125 amps for a balanced weld.
Next, fine-tune the voltage or arc length.
The arc length should equal the diameter of the tungsten electrode to maintain a stable, focused arc.
Too short an arc causes the tungsten to stick or contaminate the weld, while too long a gap leads to spatter and poor penetration.
Adjust the travel speed based on the metal type and thickness.
Moving too fast causes a narrow, underfilled bead, while moving too slowly can lead to excessive buildup or burn-through.
Your goal is to keep the molten pool smooth and evenly sized.
For machines equipped with foot pedals or hand controls, use them to manage heat more precisely.
This feature allows better control when welding thin metals, where too much heat can easily cause warping.
Keep an eye on duty cycle — running the machine above its limit can cause overheating and reduce equipment lifespan.
Always allow brief cooling periods during extended welding sessions to protect internal components.
Once amperage, voltage, and travel speed are dialed in, the weld will look uniform with steady ripples and clean edges.
These settings form the technical backbone of learning how to use an argon welding machine like a professional.
How to determine correct amperage?
Use the 1 amp per 0.001-inch rule and adjust slightly based on metal and position.
Why is arc length important?
It affects heat concentration — too short causes sticking, too long weakens penetration.
What happens if travel speed is too fast?
The weld becomes narrow and underfilled, leading to weak joints.
Why use a foot pedal for TIG welding?
It gives precise heat control, especially for thin or delicate materials.
What does duty cycle mean?
It’s the percentage of time a welder can run before needing to cool down to prevent damage.
Welding Technique & Bead Formation
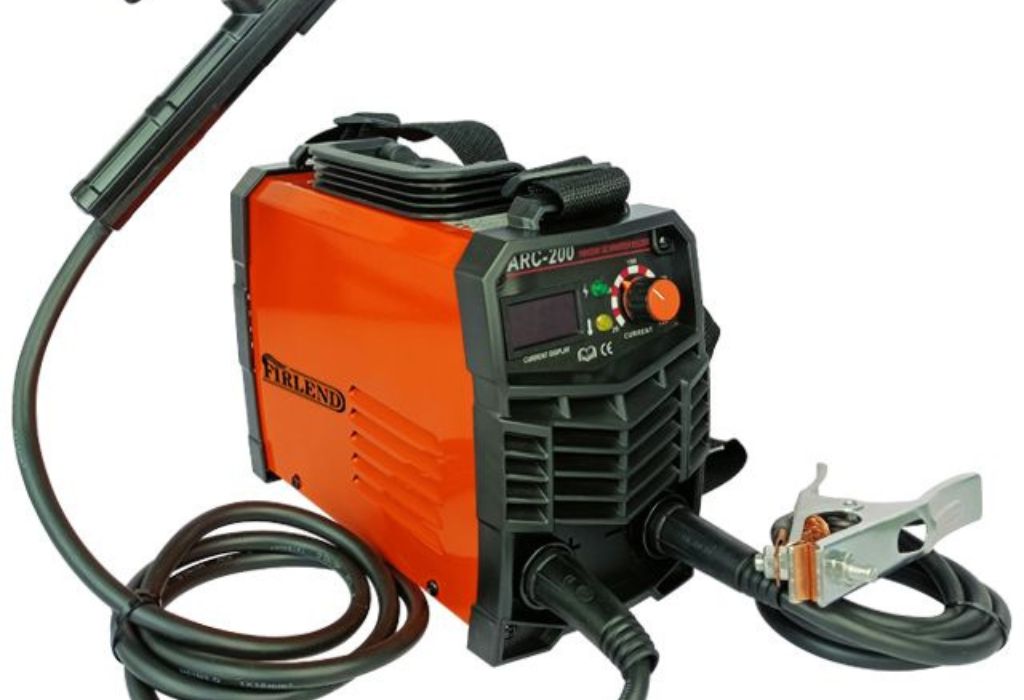
Now that the setup and parameters are ready, it’s time to master the actual welding technique.
This is the stage where precision, rhythm, and control turn basic setup into professional-quality welds.
Begin by positioning yourself comfortably with both hands stable.
Your torch hand controls the arc, while your other hand feeds the filler rod smoothly into the weld pool.
Keep your body aligned so you can move naturally along the joint without strain.
When striking the arc, use either a high-frequency start or a lift start depending on your machine type.
Once the arc ignites, maintain a short, consistent arc length equal to your tungsten diameter.
An uneven arc distance causes fluctuations in heat and weakens the bead.
The torch angle should remain around 10–15 degrees from vertical, pointing in the direction of travel.
Too steep an angle reduces gas coverage, while too shallow can overheat the tungsten.
Control the filler rod by feeding it gently into the front edge of the molten puddle.
Avoid dipping the filler directly into the tungsten or dragging it through the arc.
Small, rhythmic movements create even, clean ripples that define a professional-looking weld bead.
Maintain a steady travel speed — not too fast to avoid lack of fusion, and not too slow to prevent burn-through.
Watch the weld puddle closely; its size and movement reveal whether the settings are correct.
The puddle should flow smoothly and cool evenly, leaving a bright, shiny finish without discoloration.
Perfecting this motion is what separates an average weld from a flawless one.
Consistent practice builds the muscle memory needed to create uniform, smooth, and durable beads every time.
What is the correct torch angle for argon welding?
Keep the torch tilted 10–15 degrees in the direction of travel for proper gas coverage.
How should filler wire be fed into the weld pool?
Feed it gently at the front edge of the puddle in small, steady movements.
Why does arc length matter during welding?
Too long an arc weakens penetration; too short can contaminate the tungsten.
What is the best travel speed for clean welds?
Move steadily to keep the puddle consistent — avoid rushing or pausing too long.
How can you tell a good weld from a poor one?
A good weld has even ripples, clean edges, no spatter, and a uniform, glossy appearance.
Conclusion
Learning how to use an argon welding machine is a combination of science, skill, and patience.
Every perfect weld comes from understanding how each element — gas flow, amperage, electrode choice, and technique — works together to create a clean, strong bond.
A well-prepared workspace, correct safety gear, and precise setup ensure not only excellent results but also safe operation.
Proper gas control, tungsten selection, and steady hand coordination are what transform a beginner’s weld into a professional finish.
Argon welding may seem complex at first, but once the process is broken down step by step, it becomes methodical and predictable.
The more time spent practicing control, heat management, and movement, the more consistent your welds will become.
Mastering these fundamentals allows you to produce flawless beads with minimal cleanup and maximum strength.
Whether you’re repairing equipment, fabricating custom parts, or working on detailed metal art, precision welding begins here.
So, take your time, trust the process, and let each arc teach you something new.
With discipline and the right setup, anyone can master the art of argon welding and produce smooth, durable, and professional-quality results every time.

I’m Darrell Julian, the founder, lead writer, and hands-on welding enthusiast behind ArcWeldingPro.com. With more than 15 years of real-world welding experience, I created this platform to share what I’ve learned in the field, in the shop, and in the heat of the arc.

