Metal Inert Gas (MIG) welding is a popular and versatile welding technique used in various industries and by DIY enthusiasts. However, like any mechanical process, MIG welding can sometimes encounter issues. One common problem that welders face is when their MIG welder keeps feeding wire, even when it shouldn’t.
This continuous wire feed can be frustrating, wasteful, and potentially dangerous if not addressed promptly. In this comprehensive guide, we’ll explore the causes of this issue, provide troubleshooting steps, and offer preventive measures to keep your MIG welder running smoothly.

Understanding MIG Welding Basics
Before we dive into the specifics of the wire feeding problem, let’s briefly review the basics of MIG welding to ensure we’re all on the same page.
What is MIG Welding?
MIG welding, also known as Gas Metal Arc Welding (GMAW), is a welding process that uses a continuously feeding wire electrode and a shielding gas to join metals. The process involves creating an electric arc between the wire electrode and the workpiece, which melts both the wire and the base metal, forming a strong weld.
Key Components of a MIG Welder
- Power source
- Wire feed system
- MIG gun (welding torch)
- Ground clamp
- Shielding gas supply
- Control panel
The Wire Feed System
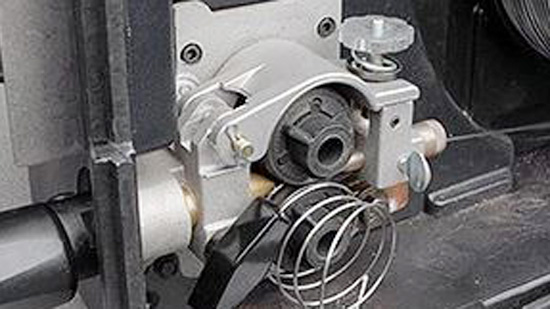
The wire feed system is crucial to MIG welding. It consists of:
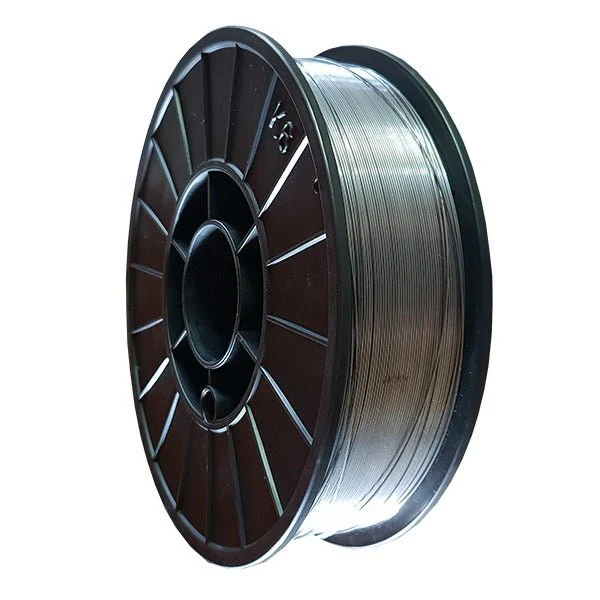
- Wire spool
- Drive rolls
- Wire liner
- Contact tip
Understanding these components is essential when troubleshooting wire feeding issues.
Common Causes of Continuous Wire Feeding
When a MIG welder keeps feeding wire, it can be due to various reasons. Let’s explore the most common causes:
Faulty Trigger Switch
A stuck or malfunctioning trigger switch on the MIG gun is often the culprit behind continuous wire feeding. If the switch is stuck in the “on” position, it will keep sending the signal to feed wire even when you’re not pressing the trigger.
Damaged Control Circuit
Issues with the welder’s control circuit can cause the wire feed motor to run continuously. This could be due to a faulty relay, damaged wiring, or a problem with the control board.
Incorrect Wire Feed Speed Settings
If the wire feed speed is set too high, it may appear as if the wire is feeding continuously, even when it’s not. This is especially noticeable when you release the trigger, as the wire may continue to feed for a short while due to inertia.
Worn Out or Damaged Drive Rolls
Drive rolls that are worn, damaged, or incorrectly tensioned can cause irregular wire feeding, which might be mistaken for continuous feeding in some cases.
Kinked or Obstructed Wire Liner
A kinked, dirty, or obstructed wire liner can cause the wire to feed erratically or continuously as it tries to push through the obstruction.
Improper Ground Connection
While less common, a poor ground connection can sometimes cause electrical issues that may affect the wire feed system.
Troubleshooting Steps for Continuous Wire Feeding
Now that we’ve identified the potential causes, let’s go through a step-by-step troubleshooting process to diagnose and fix the issue.
Step 1: Check the Trigger Switch
- Inspect the trigger switch for visible damage or debris.
- Test the switch by disconnecting it from the welder and using a multimeter to check for continuity.
- If faulty, replace the trigger switch or the entire MIG gun if necessary.
Step 2: Examine the Control Circuit
- Inspect all visible wiring for signs of damage or loose connections.
- Check the relay and control board for any visible issues.
- If you’re comfortable with electronics, use a multimeter to test the continuity of wires and components.
- For complex issues, consult a professional welder repair service.
Step 3: Adjust Wire Feed Speed Settings
- Review your welder’s manual for recommended wire feed speeds based on material thickness and wire diameter.
- Adjust the wire feed speed to an appropriate setting.
- Test the welder to see if the issue persists.
Step 4: Inspect and Replace Drive Rolls if Necessary
- Remove the drive rolls and inspect them for wear or damage.
- Ensure the drive rolls are the correct size and type for your wire.
- Replace worn or damaged drive rolls.
- Adjust the tension on the drive rolls according to the manufacturer’s recommendations.
Step 5: Check and Clean the Wire Liner
- Remove the wire liner from the MIG gun.
- Inspect it for kinks, blockages, or signs of wear.
- Clean the liner with compressed air or replace it if damaged.
- When reinstalling, ensure the liner is seated properly and cut to the correct length.
Step 6: Verify Proper Ground Connection
- Check the ground clamp for damage or wear.
- Ensure the ground clamp is securely attached to clean, bare metal on your workpiece.
- Inspect the ground cable for any signs of damage or loose connections.
Preventive Measures to Avoid Wire Feeding Issues
Prevention is always better than cure. Here are some preventive measures you can take to minimize the risk of wire feeding problems:
Regular Maintenance
- Clean your MIG welder regularly, paying special attention to the wire feed system.
- Inspect and replace consumables (contact tips, nozzles) as needed.
- Keep the wire liner clean and replace it periodically.

Image by pond5
Proper Storage and Handling
- Store your welder in a clean, dry environment.
- Handle the MIG gun and cable carefully to avoid kinks or damage.
- Keep wire spools clean and protected from dust and moisture.
Use High-Quality Consumables and Wire
- Invest in high-quality contact tips, nozzles, and liners.
- Use clean, high-quality welding wire appropriate for your application.
Correct Setup and Operation
- Always follow the manufacturer’s guidelines for setup and operation.
- Use the correct drive roll size and type for your wire.
- Set proper wire feed speed and voltage for your welding application.
Regular Inspections
- Periodically check all components of the wire feed system for wear or damage.
- Inspect electrical connections and wiring for signs of wear or looseness.
- Test the trigger switch functionality regularly.
Advanced Troubleshooting Techniques
For more experienced welders or those comfortable with electronics, here are some advanced troubleshooting techniques:
Voltage Drop Testing
Use a voltmeter to check for voltage drops across various components of the wire feed system. This can help identify resistance issues that may be causing erratic wire feeding.
Control Board Diagnostics
Some modern MIG welders have built-in diagnostic features. Consult your welder’s manual to access these diagnostics and interpret the results.
Oscilloscope Analysis
For very precise troubleshooting, an oscilloscope can be used to analyze the electrical signals in the control circuit. This is typically done by professional technicians.
When to Seek Professional Help
While many wire feeding issues can be resolved with DIY troubleshooting, there are times when it’s best to seek professional assistance:
- If you’re uncomfortable working with electrical components
- When the issue persists after trying all troubleshooting steps
- If you notice any burning smells or see smoke coming from the welder
- When dealing with industrial-grade welding equipment
Professional welding equipment technicians have the expertise and specialized tools to diagnose and repair complex issues safely and effectively.
Impact of Continuous Wire Feeding on Welding Quality
Continuous wire feeding doesn’t just waste wire; it can also significantly impact your welding quality:
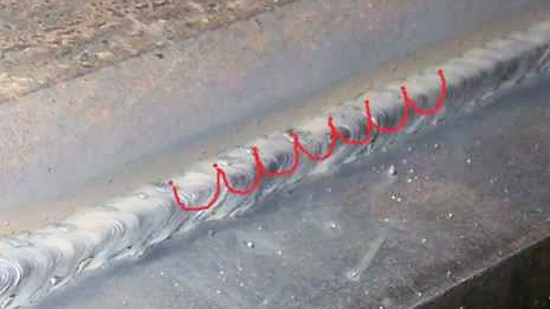
Inconsistent Weld Beads
Erratic wire feeding can lead to inconsistent weld beads, affecting both the appearance and strength of the weld.
Increased Spatter
When wire feeds at the wrong speed or continues feeding after the arc is broken, it can cause increased spatter, requiring more post-weld cleanup.
Burn-Through on Thin Materials
Continuous wire feeding can cause burn-through on thin materials if the welder doesn’t react quickly enough to release the trigger.
Poor Penetration
Inconsistent wire feed can result in poor penetration, especially if the wire speed doesn’t match the set voltage and travel speed.
Conclusion
A MIG welder that keeps feeding wire can be a frustrating problem, but with the right knowledge and approach, it’s often a solvable issue. By understanding the common causes, following a systematic troubleshooting process, and implementing preventive measures, you can keep your MIG welder running smoothly and produce high-quality welds consistently.
Regular maintenance and proper operation are key to preventing many welding issues. Always prioritize safety when working with welding equipment, and don’t hesitate to seek professional help for complex problems or if you’re unsure about any repair procedures.
By taking good care of your MIG welder and addressing issues promptly, you’ll ensure that your welding projects are successful, efficient, and enjoyable.

I’m Darrell Julian, the founder, lead writer, and hands-on welding enthusiast behind ArcWeldingPro.com. With more than 15 years of real-world welding experience, I created this platform to share what I’ve learned in the field, in the shop, and in the heat of the arc.


