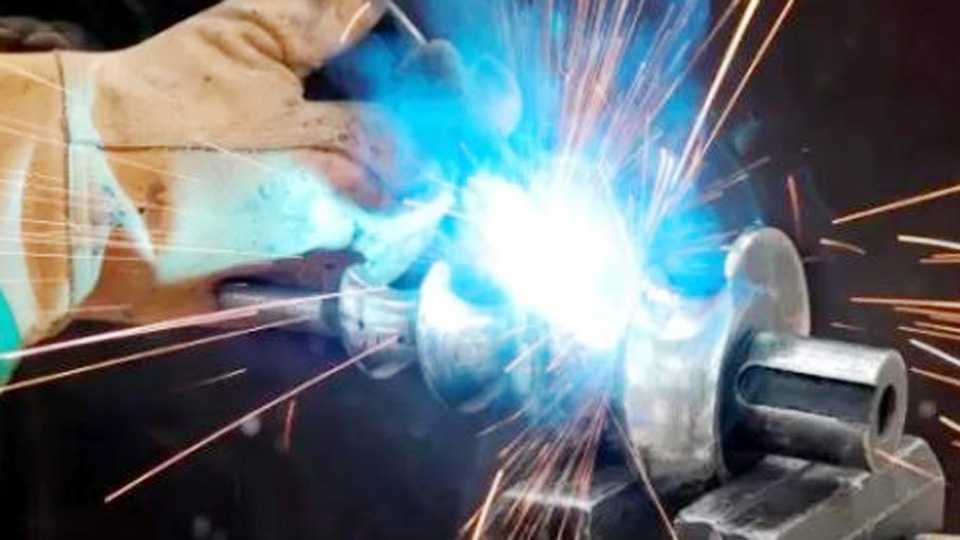
When I first started experimenting with MIG welding using flux core wire and shielding gas together, I wasn’t sure if it was worth the hassle. Most of us learn early on that flux core is usually run without gas, and solid wire is paired with gas. But combining the two—called dual shield welding—can actually give you the best of both worlds. The flux inside the wire helps with penetration and slag coverage, while the shielding gas protects the weld pool for cleaner beads and less spatter.
It’s especially useful on thicker metal, structural steel, and jobs where you need both strength and efficiency. Of course, it comes with its own setup quirks, from dialing in voltage and wire feed speed to handling different joint preps and metal thicknesses. In this guide, I’ll break down when and why you’d run flux core with gas, plus the tips I’ve learned to make it work smoothly in the shop or out in the field.

Image by inboxq
What Is Dual Shield Welding?
Dual shield welding is essentially MIG welding with flux core wire and shielding gas working together. It’s a semi-automatic process where you feed a tubular wire filled with flux through your MIG gun, but you add an external shielding gas to protect the weld pool. The flux inside the wire generates slag that shields and cleans the weld, while the gas enhances that protection for better results.
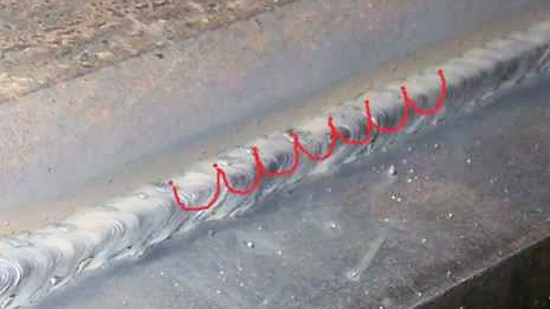
How does it work? The wire melts into the joint, the flux releases gases and deoxidizers to fight off contaminants, and the shielding gas—like a 75/25 argon-CO2 mix—keeps oxygen and nitrogen out. This combo creates a stable arc with spray transfer, leading to smooth beads and deep fusion.
I remember my first time trying it on a thick steel beam; the weld pooled perfectly without the spatter mess I’d get from self-shielded wire. It’s ideal when you need high deposition rates, like laying down a lot of metal fast on structural projects.
Flux Core Welding with Gas vs Without Gas
Let’s break down the differences, because I’ve seen plenty of welders mix this up. Flux core welding without gas, or self-shielded FCAW, relies solely on the flux in the wire to create its own shielding. It’s great for outdoor work where wind blows away gas, but it can produce more smoke and slag that’s tougher to chip off.
With gas— that’s dual shield—you get external protection from CO2 or argon mixes. This leads to cleaner welds, less spatter, and better mechanical properties like toughness and strength. Without gas, you’re limited to dirtier environments, but adding gas to self-shielded wire? Don’t do it; it’s a waste and can make your weld brittle by messing with the chemistry.
In my shop, I switch to gas-shielded for indoor fab work on clean steel—it’s faster and prettier. But out in the field on rusty pipe? Self-shielded saves the day.
Benefits of Using Shielding Gas with Flux Core Wire
Why bother with the extra gas bottle? Simple: it amps up your weld quality. You get deeper penetration into thick plates, which means stronger joints that hold up under stress. Plus, higher deposition rates—I’ve clocked in 20% more metal per hour on big jobs, cutting my time in half.
It’s forgiving on slightly dirty metal too; the flux traps rust or mill scale in the slag, so you don’t have to grind everything spotless. For pros following AWS codes, this method often meets stricter requirements for tensile strength.
One time, I was welding a trailer hitch, and switching to gas-shielded flux core let me bead over some light rust without porosity popping up. Saved me prep time and headaches.
When to Use MIG Welding with Flux Core Wire and Shielding Gas
This setup shines on materials thicker than 1/8 inch, like structural beams, heavy equipment repairs, or pipeline work. If you’re doing out-of-position welding—vertical up or overhead—the fast-freezing slag holds the pool in place, making it easier than solid wire MIG.
Use it for carbon steel, low-alloy steels, or even stainless if you pick the right wire. In US shops, it’s common for AWS D1.1 structural code jobs where integrity is key. Avoid it on thin sheet metal; the heat can burn through fast.
I’ve used it on farm equipment fixes where thickness varies—perfect for those beefy frames but switch to solid wire for panels.
Best Shielding Gas for Flux Core Welding
Picking the right gas is crucial. 100% CO2 gives max penetration and is cheap, but it spatters more and the arc feels harsher. I prefer 75% argon and 25% CO2 for smoother beads, less cleanup, and a stable arc—great for all-position work.
For stainless, go with tri-mixes like argon, CO2, and helium for better flow. Flow rate? Aim for 25-35 CFH; too low and you’ll get porosity, too high wastes gas.
In my experience, starting with 75/25 on mild steel keeps things consistent. Test on scrap to dial it in.
Types of Flux Core Wire for Use with Shielding Gas
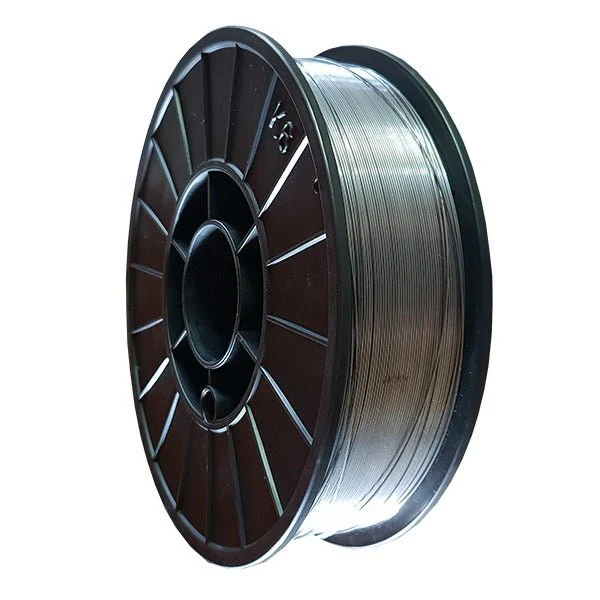
Not all flux core wire is made for gas. Look for gas-shielded types like E71T-1 or E70T-1, designed for dual shield. These have rutile-based flux for easy slag removal and good bead appearance.
Diameters? .045-inch is versatile for most MIG machines, handling 1/4-inch steel and up. For higher strength, E80T or E90T wires match low-alloy bases.
I stock E71T-1M for mixed gas—it’s forgiving and welds clean. Match wire to your base metal for compatibility; mismatched can cause cracking.
Setting Up Your MIG Welder for Flux Core with Gas
Getting your machine ready is straightforward, but skip a step and you’ll fight the arc all day.
First, check polarity: dual shield needs DCEP (electrode positive) for deep penetration. Swap leads if your welder’s set for solid wire.
Install knurled drive rolls—these grip the soft tubular wire without crushing it. Smooth rolls slip and cause birdnesting.
Thread the wire, set tension just enough to feed without slipping. Hook up your gas bottle, regulator at 20-30 PSI.
For a Lincoln Power MIG or Miller Multimatic, select FCAW-G mode if available. Start with voltage at 22-26V and wire speed 300-400 IPM for .045 wire on 1/4-inch steel.
I once birdnested a whole spool because I forgot knurled rolls—lesson learned, always double-check.
Step-by-Step Guide to MIG Welding with Flux Core Wire and Shielding Gas
Alright, let’s walk through it like we’re in the shop together.
Step 1: Prep your joint. Bevel edges on thick stock for better penetration. Clean off heavy rust, but light scale is okay.
Step 2: Clamp pieces securely—movement causes defects.
Step 3: Set machine: DCEP, 24V, 350 IPM wire speed, 30 CFH gas flow for starters.
Step 4: Hold gun at 10-15 degree drag angle, stick-out 3/4 to 1 inch.
Step 5: Strike arc, move at steady speed—too slow pools slag, too fast lacks fusion.
Step 6: Chip slag after cooling, wire brush for multi-pass.
Step 7: Inspect for porosity or cracks; adjust settings if needed.
On a recent gate repair, this sequence let me lay perfect beads vertically without drips.
Machine Settings for Different Materials and Thicknesses
Settings vary, but here’s a starting point for mild steel.
For 1/4-inch plate: 24-26V, 300-400 IPM, .045 wire, 75/25 gas.
Thicker, say 1/2-inch: Bump to 26-28V, 400-500 IPM for more heat.
Stainless: Use tri-mix gas, lower voltage 20-24V to avoid burn-through.
Aluminum? Skip flux core; it’s not compatible—stick to solid wire.
Test on scrap always. I tweak wire speed first for arc sound—a smooth sizzle means you’re golden.
Joint Preparation Tips for Better Welds
Good prep is half the battle. For butt joints on thick stock, use a 30-degree bevel and 1/16-inch gap for root pass.
Fillet welds? Clean to bare metal, position at 45 degrees.
On dirty metal, the flux helps, but grind heavy contaminants to avoid inclusions.
I’ve fixed weak welds by adding a slight root gap—lets the wire penetrate deeper without blowing holes.
Common Mistakes in Flux Core Welding with Gas and How to Fix Them
Biggest blunder: Using self-shielded wire with gas. It wastes gas and can brittle the weld—switch to dual shield wire.
Too much stick-out causes spatter; keep it under 1 inch.
Porosity? Check gas flow or leaks—pinch hoses to test.
Birdnesting: Tighten drive roll tension gradually.
I once had porosity from a leaky regulator; a quick swap fixed it. Slow down your travel if slag traps.
Pros and Cons of Dual Shield Welding
Let’s compare in a table for quick reference.
| Pros | Cons |
|---|---|
| High deposition rates for faster work | Higher cost for wire and gas |
| Deep penetration on thick materials | Sensitive to wind; not ideal outdoors |
| Good for out-of-position welding | Produces slag that needs chipping |
| Forgiving on slightly dirty metal | Not suitable for thin sheet metal |
| Cleaner beads with less spatter | Requires proper storage to avoid moisture |
In my book, the pros outweigh for heavy fab, but know your job.
Safety Considerations When Welding with Flux Core and Gas
Safety first—I’ve seen shortcuts lead to burns. Wear leather gloves, helmet with proper shade (10-13), and long sleeves.
Ventilate well; flux fumes are nasty—use exhaust fans or respirators.
Secure gas cylinders upright, chain them to prevent tips.
Eye protection for chipping slag, and ear plugs for noise.
One close call: A loose cylinder nearly fell—now I always chain ’em.
Real-World Applications in US Welding Shops
In American shops, this is staple for bridge building, shipyards, and oil rigs under API or ASME codes.
For hobbyists, it’s great for custom bumpers or frames—stronger than MIG alone.
Students, practice on scrap to meet AWS certs.
I’ve used it on ag equipment in Midwest farms—handles the abuse.
Wire Selection and Filler Compatibility
Match wire to base: E71T-1 for mild steel, E71T-8 for low-alloy.
Check AWS class for tensile match—70KSI minimum.
Diameter: .035 for lighter, .052 for heavy.
Compatible with most MIG fillers, but test for cracks.
I stick to Lincoln or Hobart wires—reliable in my setups.
Troubleshooting Weld Defects
Porosity: Increase gas flow or clean metal.
Cracks: Lower heat or preheat thick stock.
Undercut: Slow travel, adjust angle.
Spatter: Fine-tune voltage down.
I’ve troubleshot by logging settings—helps spot patterns.
Cost Efficiency: Is It Worth It?
Upfront, gas and wire cost more, but savings come from less rework and faster speeds.
For pros, it pays off on big jobs; DIYers, weigh against occasional use.
I saved bucks on a fab run by cutting cleanup time.
Combining Processes: When to Switch from MIG to Dual Shield
Switch when thickness hits 3/16-inch or positions get tricky.
For mixed jobs, keep both wires handy.
I’ve combined: MIG for tacks, dual shield for fills.
Conclusion
Wrapping this up, you’ve got the lowdown on MIG welding with flux core wire and shielding gas—from setup to troubleshooting. Key takeaways: It excels for thick, structural welds with deep penetration and high productivity, but pick the right wire and gas to avoid pitfalls. You’re now ready to tackle projects with confidence, knowing when to use dual shield for stronger, cleaner results. Grab your gun, test on scrap, and weld like a pro. Pro tip: Always store your wire in a dry spot to keep moisture out—ruined a spool once, and it wasn’t pretty.
FAQ
Can you use regular flux core wire with shielding gas?
No, regular self-shielded flux core wire doesn’t need gas and using it can waste resources or alter weld properties negatively. Opt for gas-shielded wire designed for dual shield setups.
What gas do you use for flux core welding?
Common choices are 100% CO2 for deep penetration or 75% argon/25% CO2 for smoother beads and less spatter. Adjust based on your wire and material.
Is flux core welding with gas better than without?
It depends— with gas offers cleaner welds and better properties for indoor, thick material work, but without is better for windy outdoors. Choose based on your environment.
What settings for flux core with gas on mild steel?
Start with 24-26 volts, 300-400 inches per minute wire speed, and 25-35 CFH gas flow for .045-inch wire on 1/4-inch steel. Tweak for your machine and test.
Can I use my MIG welder for flux core with gas?
Yes, most MIG welders handle it—just switch to DCEP polarity, install knurled rolls, and use gas-shielded wire. Check your manual for compatibility.

I’m Darrell Julian, the founder, lead writer, and hands-on welding enthusiast behind ArcWeldingPro.com. With more than 15 years of real-world welding experience, I created this platform to share what I’ve learned in the field, in the shop, and in the heat of the arc.


