Are you ready to take on the challenge of soldering copper pipe to stainless steel? This process may seem daunting at first, but with the right guidance and techniques, you’ll be able to create a secure and durable connection between these two materials. Let’s delve into the intricacies of soldering copper pipe to stainless steel and equip you with the knowledge and skills needed to accomplish this task successfully.
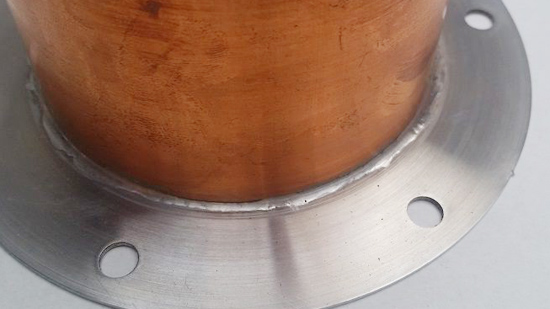
Photo by moonshinestillproject
Differences Between Copper and Stainless Steel
Before diving into the soldering process, it’s crucial to understand the fundamental differences between copper and stainless steel. Copper is a highly conductive metal known for its malleability and corrosion resistance, making it a popular choice for plumbing applications.
On the other hand, stainless steel offers excellent durability and strength, making it a preferred material for various structural and industrial purposes. When soldering these two materials together, it’s essential to consider their unique properties to ensure a reliable and long-lasting joint.
Soldering copper pipe to stainless steel requires careful preparation and precise execution to achieve a strong bond. While copper is relatively easy to solder due to its heat conductivity, stainless steel poses a challenge as it dissipates heat rapidly.
By understanding the distinct characteristics of copper and stainless steel, you can adapt your soldering technique accordingly to overcome potential obstacles and create a secure connection between the two materials.
Soldering copper pipe to stainless steel involves a series of steps that must be followed meticulously to achieve a leak-free joint. From cleaning the surfaces to applying flux and solder, each stage plays a critical role in ensuring the reliability and integrity of the soldered connection. By comprehending the differences between copper and stainless steel, you’ll be better equipped to navigate the soldering process with confidence and precision.
Tools and Materials Needed for Soldering
To embark on the journey of soldering copper pipe to stainless steel, you’ll need a specific set of tools and materials to facilitate the process. Essential tools include a propane torch or soldering iron, flux, solder wire, emery cloth or abrasive pad, pipe cutter, and safety gear such as gloves and goggles. Additionally, you’ll require a stainless steel brush to clean the stainless steel surface thoroughly before soldering.
Flux plays a crucial role in the soldering process by promoting the flow of solder and preventing oxidation on the metal surfaces. When selecting flux for soldering copper pipe to stainless steel, opt for a high-temperature flux compatible with both materials. Similarly, choose a solder wire that is suitable for joining copper and stainless steel to ensure a strong and durable bond.
Before commencing the soldering process, ensure that you have all the necessary tools and materials within reach. Proper preparation and organization of your workspace will streamline the soldering operation and contribute to the overall efficiency and quality of the soldered joint.
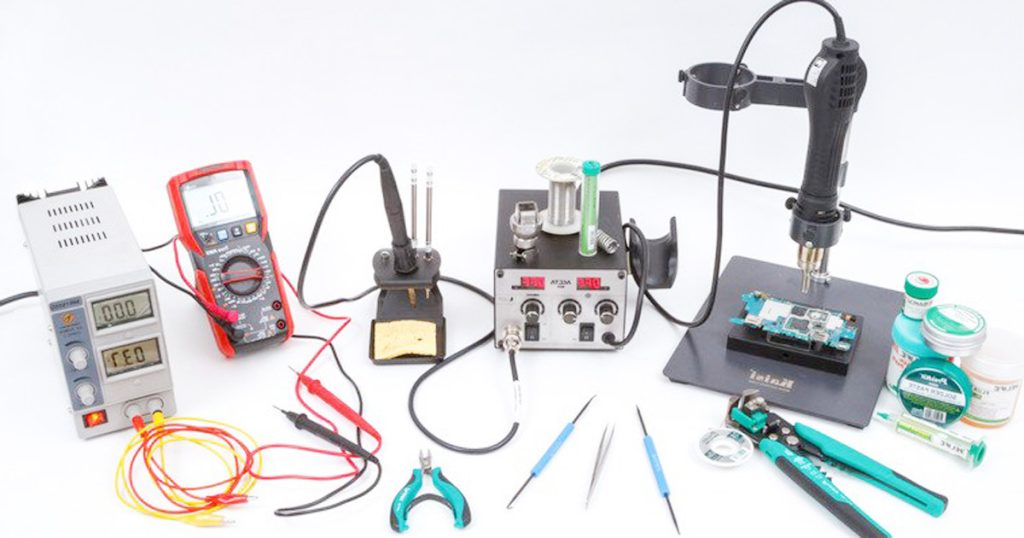
Image by toolboom
Preparing the Copper Pipe and Stainless Steel Surface
Prior to soldering copper pipe to stainless steel, meticulous preparation of the materials is essential to achieve a successful bond. Start by cutting the copper pipe to the desired length using a pipe cutter and deburring the edges to ensure a clean and precise fit. Next, use emery cloth or an abrasive pad to clean the exterior of the copper pipe and remove any dirt, grease, or oxidation that may hinder the soldering process.
Cleaning the stainless steel surface is equally critical, as any contaminants or residues can impede the adhesion of solder. Use a stainless steel brush to scrub the surface vigorously and eliminate any impurities that could compromise the solder joint. Thoroughly cleaning both the copper pipe and stainless steel surface is paramount to establishing a strong mechanical and metallurgical bond during soldering.
After preparing the materials, ensure that the copper pipe and stainless steel surface are dry and free of any debris before proceeding with the flux application. Proper preparation sets the foundation for a successful soldered connection and minimizes the risk of leaks or structural weaknesses in the joint.
Applying Flux and Soldering Paste
Flux application is a critical step in the soldering process, as it facilitates the flow of solder and enhances the wetting and adhesion of the metals. Before applying flux, ensure that the cleaned surfaces of the copper pipe and stainless steel are free of contaminants and oxidation. Using a brush or applicator, evenly coat the surfaces with flux to prepare them for soldering.
Soldering paste can also be applied to the cleaned surfaces to further improve the wetting and bonding between the copper pipe and stainless steel. The soldering paste acts as a supplementary flux to enhance the capillary action and ensure a uniform spread of solder along the joint. By applying flux and soldering paste meticulously, you’ll create an optimal environment for solder flow and bonding between the two materials.
Once the flux and soldering paste are applied, carefully position the copper pipe against the stainless steel surface to align them for soldering. Proper alignment and fit between the materials are crucial to achieving a seamless and robust solder joint that withstands pressure and temperature variations.
Heating and Joining the Copper Pipe and Stainless Steel
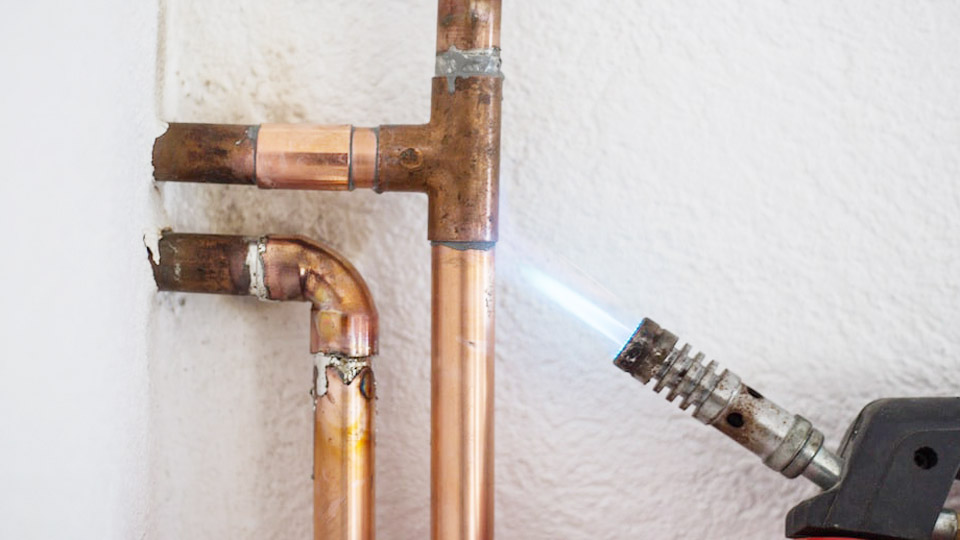
With the materials prepared and the flux applied, it’s time to heat and join the copper pipe to the stainless steel surface. Using a propane torch or soldering iron, apply heat evenly to the joint area to raise the temperature for soldering. Begin by heating the stainless steel surface to ensure uniform expansion and create a conducive environment for solder flow.
As the materials reach the appropriate soldering temperature, introduce the solder wire to the joint and allow it to melt and flow between the copper pipe and stainless steel. Ensure that the solder penetrates the joint completely and forms a solid bond between the two materials. Proper heating and soldering technique are essential to achieving a reliable and leak-free connection that adheres securely to both copper and stainless steel.
Throughout the soldering process, maintain a steady hand and monitor the temperature carefully to prevent overheating or underheating of the materials. Consistent application of heat and solder will result in a robust solder joint that exhibits excellent adhesion and structural integrity.
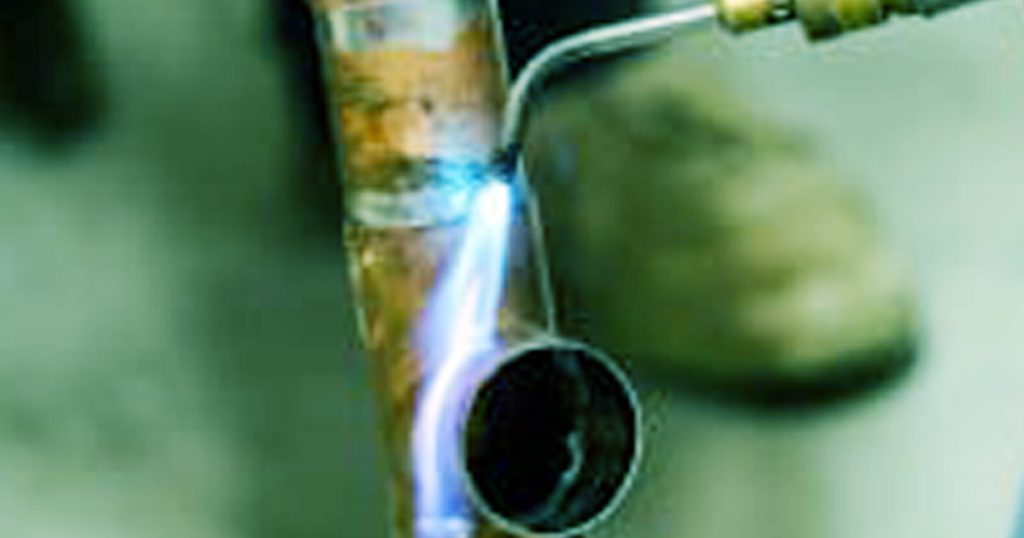
Image by forsteramerica
Cooling and Cleaning the Soldered Joint
After soldering the copper pipe to the stainless steel, allow the joint to cool naturally before proceeding with any further steps. Avoid disturbing the soldered connection during the cooling process to prevent any disruptions or defects in the joint. The cooling period is crucial for solidifying the solder and establishing a strong bond between the copper and stainless steel.
Once the soldered joint has cooled sufficiently, inspect it for any irregularities or imperfections that may require correction. Use a clean cloth or brush to remove any excess flux or solder residues from the joint and ensure a clean and polished finish. Cleaning the soldered joint enhances its appearance and durability while eliminating any potential sources of corrosion or weakness.
By allowing the soldered joint to cool gradually and cleaning it effectively, you’ll optimize the integrity and longevity of the connection between the copper pipe and stainless steel. Proper cooling and cleaning procedures are essential to maintaining the quality and performance of the soldered joint over time.
Testing the Soldered Connection
To verify the integrity and leak resistance of the soldered joint, it’s essential to conduct a thorough testing procedure. Begin by pressurizing the system with air or water to simulate normal operating conditions and assess the performance of the soldered connection. Inspect the joint carefully for any signs of leakage or structural weakness that may compromise its functionality.
Perform a visual inspection of the soldered joint and check for any visible cracks, gaps, or irregularities that could indicate a faulty solder bond. Use a leak detection solution or soap water to identify any potential leaks in the joint and address them promptly. Testing the soldered connection ensures that it meets the required standards for reliability and safety in plumbing or structural applications.
By rigorously testing the soldered joint, you can confirm its quality and effectiveness in withstanding pressure and fluid flow. Identifying and resolving any issues during the testing phase will prevent future complications and ensure the long-term performance of the soldered connection between the copper pipe and stainless steel.
Some Mistakes and Troubleshooting Tips
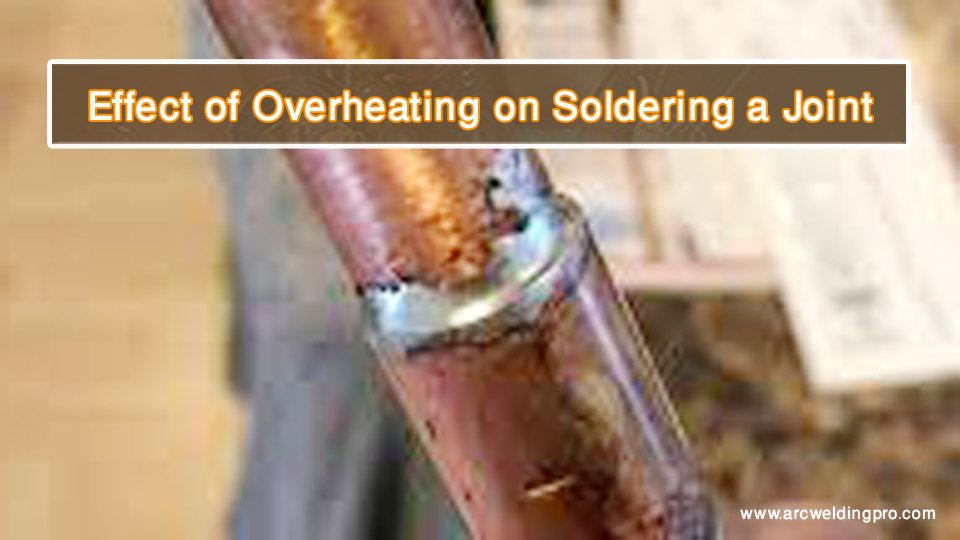
Despite careful preparation and execution, soldering copper pipe to stainless steel may encounter challenges or errors that require troubleshooting. Common mistakes include inadequate cleaning of the surfaces, overheating or underheating during soldering, improper flux application, and insufficient solder penetration. Addressing these issues promptly is essential to achieving a successful soldered connection and preventing leaks or structural failures.
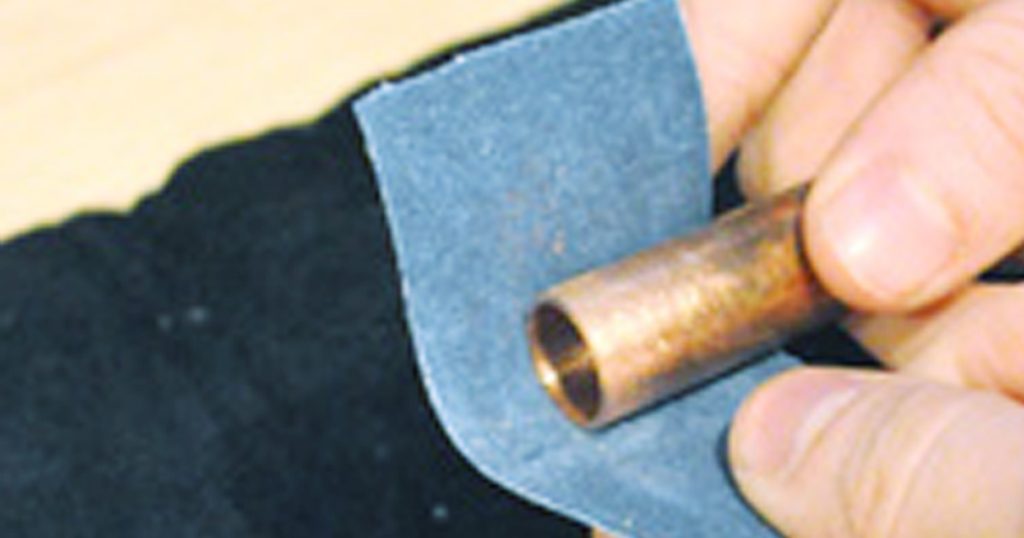
Image by oneprojectcloser
To troubleshoot soldering issues effectively, assess the root cause of the problem and implement corrective measures accordingly. If the soldered joint exhibits signs of weakness or leakage, reheat the joint gently and apply additional solder to reinforce the bond. Ensure that the surfaces are clean and properly fluxed before resoldering to promote adhesion and solder flow.
By identifying common mistakes and applying targeted troubleshooting tips, you can enhance your soldering skills and improve the quality of soldered connections between copper pipe and stainless steel. Learning from past errors and refining your soldering technique will enable you to achieve consistent and reliable results in future soldering projects.
Final Thoughts
Soldering copper pipe to stainless steel requires precision, patience, and attention to detail to create a durable and leak-free connection between these two materials. By understanding the unique properties of copper and stainless steel, selecting the appropriate tools and materials, and following a systematic soldering process, you can achieve a robust solder joint that withstands the test of time.
Through thorough preparation, meticulous cleaning, precise flux application, and controlled heating, you can overcome the challenges of soldering copper pipe to stainless steel and produce a high-quality soldered connection. Regular testing and troubleshooting of soldered joints will help you identify and rectify any issues promptly, ensuring the reliability and integrity of the soldered connection in plumbing or structural applications.
Mastering the art of soldering copper pipe to stainless steel opens up a world of possibilities for DIY enthusiasts and professionals alike. With the knowledge and skills gained from this comprehensive guide, you can tackle soldering projects with confidence and efficiency, knowing that you have the expertise to create strong and secure bonds between copper and stainless steel.
Practice makes perfect, so don’t be discouraged by initial challenges or setbacks in your soldering endeavors. By honing your soldering skills and applying the principles outlined in this guide, you’ll be well-equipped to solder copper pipe to stainless steel with precision and proficiency. Embrace the art of soldering and embark on your journey to mastering the fusion of copper and stainless steel through the transformative power of soldering.

I’m Darrell Julian, the founder, lead writer, and hands-on welding enthusiast behind ArcWeldingPro.com. With more than 15 years of real-world welding experience, I created this platform to share what I’ve learned in the field, in the shop, and in the heat of the arc.


