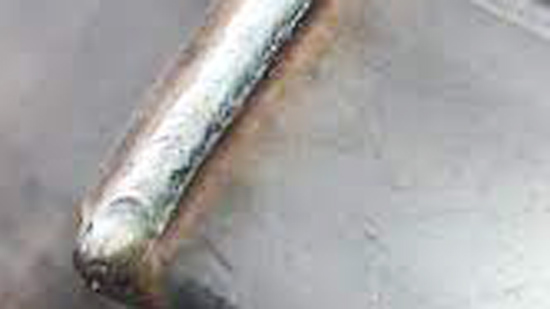
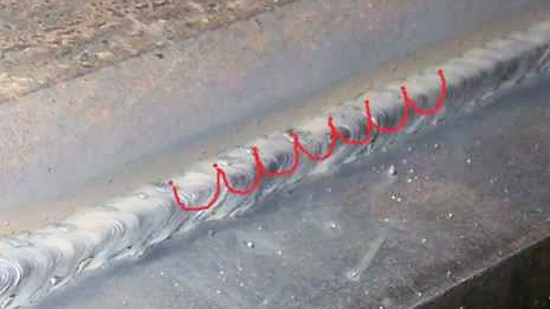
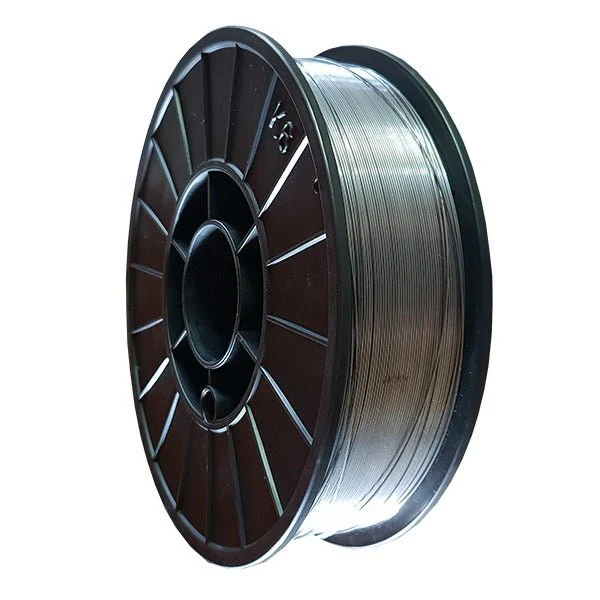
To use a MIG welder for beginners, start by wearing protective gear and ensuring a clean work area. Then, set the appropriate wire speed and voltage, hold the torch at a 10-15 degree angle, and maintain a steady hand while welding. Practice on scrap metal to improve your technique and always follow safety guidelines. With these steps, beginners can effectively use a MIG welder.
MIG welding, also known as Gas Metal Arc Welding (GMAW), is a popular welding technique that is relatively easy to learn for beginners. It involves using a MIG welder, which uses a continuously fed wire electrode to create the weld. However, for beginners, it is essential to understand the proper steps and techniques to ensure successful welds.
We will provide a concise overview of how to use a MIG welder for beginners, covering everything from safety precautions to achieving optimal welds. By following these guidelines, beginners can confidently start their journey into the world of MIG welding.

About MiG Welding
Basics Of MiG Welding
MIG welding is a popular welding technique for beginners.
- Uses a wire electrode to join metals together
- Requires a shielding gas to protect the weld
- Offers fast and efficient welding process
Benefits For Beginners
Learning MIG welding has several advantages for novices.
- Easy to learn and master
- Produces clean and precise welds
- Provides good control over the welding process
Safety First
Discover the essential tips for beginners on how to use a Mig welder safely. Learn the proper techniques and precautions to ensure a smooth welding experience. Prioritize safety measures to prevent accidents and ensure successful welding projects.
When it comes to using a Mig welder, the first thing you need to keep in mind is safety. Welding can be a dangerous activity, and it is crucial to take proper precautions to avoid any mishaps. We will discuss the personal protective equipment and workspace preparation necessary for using a Mig welder safely.
Personal Protective Equipment
Before starting any welding project, it is essential to wear appropriate personal protective equipment (PPE). The following items are a must-have for any welding project:
| PPE | Description |
| Welding Helmet | A helmet with a dark visor to protect your eyes and face from the bright light produced during welding. |
| Welding Gloves | A pair of gloves that are heat-resistant and protect your hands from sparks and splatter. |
| Long Sleeved Shirt | A shirt that covers your arms entirely to protect you from burns and UV radiation. |
| Long Pants | Pants that cover your legs entirely and made of a flame-resistant material. |
| Safety Glasses | Glasses that protect your eyes from harmful UV radiation produced during welding. |
| Welding Boots | Boots that are heat-resistant and protect your feet from sparks and splatter. |
Workspace Preparation
Before starting your welding project, ensure that your workspace is appropriately prepared. The following steps will help you prepare your workspace:
- Ensure that your workspace is well-ventilated to prevent the accumulation of harmful gases and fumes.
- Keep a fire extinguisher nearby in case of an emergency.
- Ensure that your workspace is free of any flammable materials that could catch fire during welding.
- Make sure that your welding machine is correctly grounded to avoid any electrical hazards.
- Place your welding machine on a stable surface to prevent any accidents.
By following these safety guidelines, you can ensure a safe and enjoyable welding experience. Remember, safety should always come first when using a Mig welder.
Assembling Your Mig Welder
As a beginner, assembling a MIG welder can seem daunting, but it’s a crucial first step. Proper assembly ensures safe and effective operation, so let’s break it down into manageable tasks.
Setting Up The Welder
Begin by carefully reading the manufacturer’s instructions. Next, assemble the welding gun and attach it securely to the welder. Then, connect the ground clamp to the machine and ensure a tight connection.
Choosing The Right Gas And Wire
Refer to your project requirements to select the appropriate shielding gas and welding wire. Consult the welding wire chart to match the wire diameter with the material thickness. Ensure the gas and wire are compatible with your welder’s specifications.
Welding Parameters
When using a MIG welder, understanding welding parameters is crucial. This involves adjusting voltage and wire speed control, as well as considering material thickness.
Voltage And Wire Speed Control
- Set voltage based on material thickness.
- Adjust wire speed to control heat input.
- Higher voltage for thicker materials.
- Faster wire speed for higher heat.
Adjusting For Material Thickness
- Thicker material requires higher voltage.
- Thinner material needs lower voltage settings.
- Wire speed should match material thickness.
- Experiment to find the right settings.
Getting The Hang Of It
As a beginner, learning to use a MIG welder can seem daunting. However, with the right guidance and practice, you can quickly get the hang of it.
Holding The Torch
Properly holding the welding torch is essential for successful MIG welding. Ensure a comfortable grip and maintain a steady hand throughout the process.
Practice Techniques
Practice is key when it comes to mastering MIG welding. Start with simple joint configurations and gradually progress to more complex ones as you gain confidence.
Common Beginner Techniques
Discover the essential techniques for using a MIG welder as a beginner. Learn the basics, such as setting up the machine, selecting the right welding wire and gas, and mastering proper welding techniques for successful results. Improve your welding skills and embark on your welding journey with confidence.
Tack Welding
Tack welding is a fundamental technique that beginners should master when using a MIG welder. It involves making small, temporary welds to hold the metal pieces in place before the final weld is made. To tack weld, follow these steps:
- Ensure that the metal pieces are clean and properly aligned.
- Set up your MIG welder according to the metal type and thickness.
- Hold the welding gun at a 90-degree angle to the metal surface.
- Press the trigger to initiate the arc and quickly move the gun to create a small weld pool.
- Release the trigger and allow the weld to cool before making the final weld.
Bead Welding Basics
Bead welding is another essential technique for beginners using a MIG welder. It involves creating a continuous weld bead along the joint or seam. Here are some basic steps to follow for bead welding:
- Prepare the metal surfaces by cleaning and aligning them properly.
- Adjust the settings on your MIG welder based on the metal type and thickness.
- Hold the welding gun at a 15-20 degree angle and position it at the start of the joint.
- Press the trigger to start the arc and move the gun steadily along the joint in a smooth motion.
- Maintain a consistent travel speed and aim for a uniform and even bead formation.
- Release the trigger at the end of the joint and allow the weld to cool.
Remember, practice is key to mastering these beginner techniques with a MIG welder. By becoming proficient in tack welding and bead welding, you will be well on your way to creating strong and reliable welds.
Troubleshooting Common Issues
New to using a MIG welder? Troubleshooting common issues is crucial for beginners. Ensure proper wire feeding, correct voltage settings, and clean metal surfaces to prevent problems. Regular maintenance and following safety guidelines will help you master MIG welding techniques smoothly.
Wire Feed Problems
Ensure wire spool is correctly installed and tension is adjusted.
Check for kinks or bends in the wire that may cause feeding issues.
Clean the wire feeder mechanism regularly to prevent blockages.
Porosity In Welds
Verify gas flow and adjust regulator if necessary for proper shielding.
Clean base metal to remove any contaminants before welding.
Adjust voltage and wire speed to achieve the correct welding parameters.
Cleaning And Finishing
Learn the basics of using a Mig welder for beginners, focusing on cleaning and finishing. Properly clean the metal surfaces before welding for better results and finish by grinding down any rough spots for a smooth final product. Mastering these steps is key to successful welding projects.
Cleaning and Finishing are crucial steps in achieving a successful Mig weld. Post-weld cleaning is necessary to remove any slag or debris left on the weld. Grinding and polishing, on the other hand, are done to improve the appearance of the weld. Here are the steps to follow:
Post-weld Cleaning
After welding, allow the metal to cool down before cleaning. Using a wire brush or chipping hammer, remove any slag on the surface. Next, use a grinder or sandpaper to remove any impurities or rust. Finally, use a degreaser to clean the surface of any oil or grease.
Grinding And Polishing
Grinding and polishing are optional but can improve the appearance of the weld. Use a grinder or sandpaper to smooth out any rough surfaces. A flap disc can also be used to remove any remaining slag. For polishing, use a buffing wheel and polishing compound. Start with a coarser compound and work your way to a finer one for a smooth, shiny finish.
To wear protective gear such as gloves, goggles, and a respirator when cleaning and finishing your weld. By following these steps, you can ensure a clean, polished finish on your MiG weld.
Moving Beyond The Basics
Once you have mastered the basics of using a MIG welder, it is time to move on to more advanced techniques. In this section, we will cover two important topics: joining different metals and advanced welding techniques.
Joining Different Metals
One of the advantages of MIG welding is that it can be used to join different types of metals. It is important to note that not all metals can be welded together. Before attempting to weld two different types of metal, it is essential to research the compatibility of the metals.
When welding different metals, it is important to adjust the welding settings according to the type of metal being welded. For example, stainless steel requires a different voltage setting than mild steel. It is also important to use the correct filler material for each type of metal.
Advanced Welding Techniques
Once you have mastered the basics of MIG welding, there are several advanced techniques that you can try to improve your welding skills. One such technique is pulse welding. Pulse welding allows for more precise control of the weld puddle, resulting in a cleaner and stronger weld.
Another advanced technique is the use of a push-pull gun. This type of gun is designed to feed the wire smoothly, making it easier to weld on thicker materials. The push-pull gun is particularly useful for welding aluminum. Using a spool gun can make welding aluminum even easier. The spool gun is designed to feed the aluminum wire directly into the weld, minimizing the risk of birdnesting and other wire feeding issues.
Conclusion
Learning how to use a MIG welder as a beginner is a rewarding experience. With the right equipment, safety precautions, and practice, you can master this essential skill. Remember to start with small projects, seek guidance, and always prioritize safety. Embrace the learning process and enjoy the creative possibilities that welding offers.

I’m Darrell Julian, the founder, lead writer, and hands-on welding enthusiast behind ArcWeldingPro.com. With more than 15 years of real-world welding experience, I created this platform to share what I’ve learned in the field, in the shop, and in the heat of the arc.


