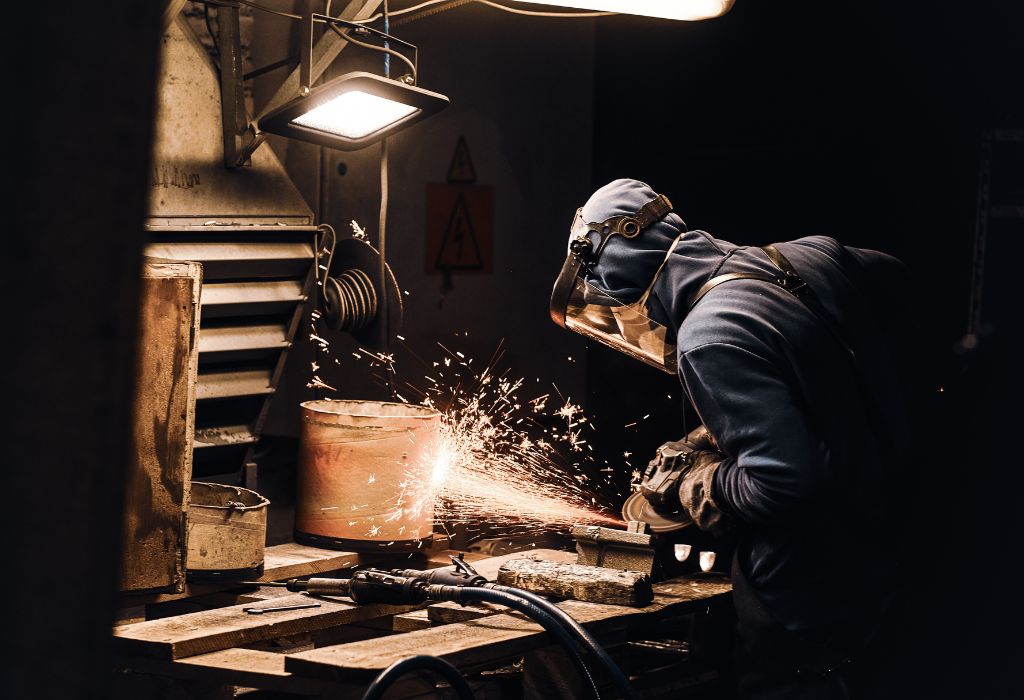
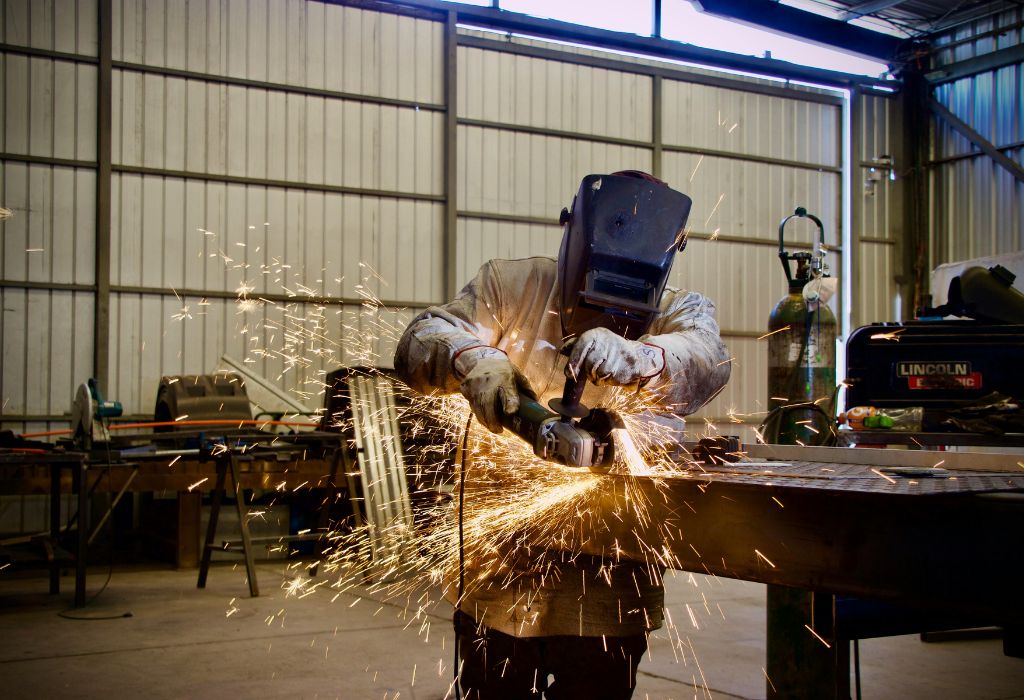
Welding positions are a crucial part of every welding project. They determine how and where a welder applies the weld on a structure, influencing strength, quality, and safety. From bridges and pipelines to car frames and aircraft parts, welding positions guide professionals on performing welds correctly under different angles and conditions.
For beginners, terms like 1G, 2G, 3F, and 4F can be confusing. These codes appear in blueprints, certification exams, and training manuals, making it important to learn them early in your welding career.
According to the American Welding Society (AWS), welders skilled in multiple positions have higher employability and earn up to 20% more than those trained only in flat welding (Source). Employers across construction, energy, automotive, and aerospace industries seek welders who can handle flat, horizontal, vertical, and overhead positions confidently.
This article provides a complete beginner’s guide to welding positions. You’ll learn:
- The types of welding positions and their standard symbols.
- Differences between groove and fillet weld positions like 1G vs. 1F.
- Techniques for handling each position to avoid defects.
- Real-world applications across major industries.
By the end, you’ll understand how welding positions work, why they matter for certifications, and how to practice them effectively using diagrams and training exercises.
What Are Welding Positions?
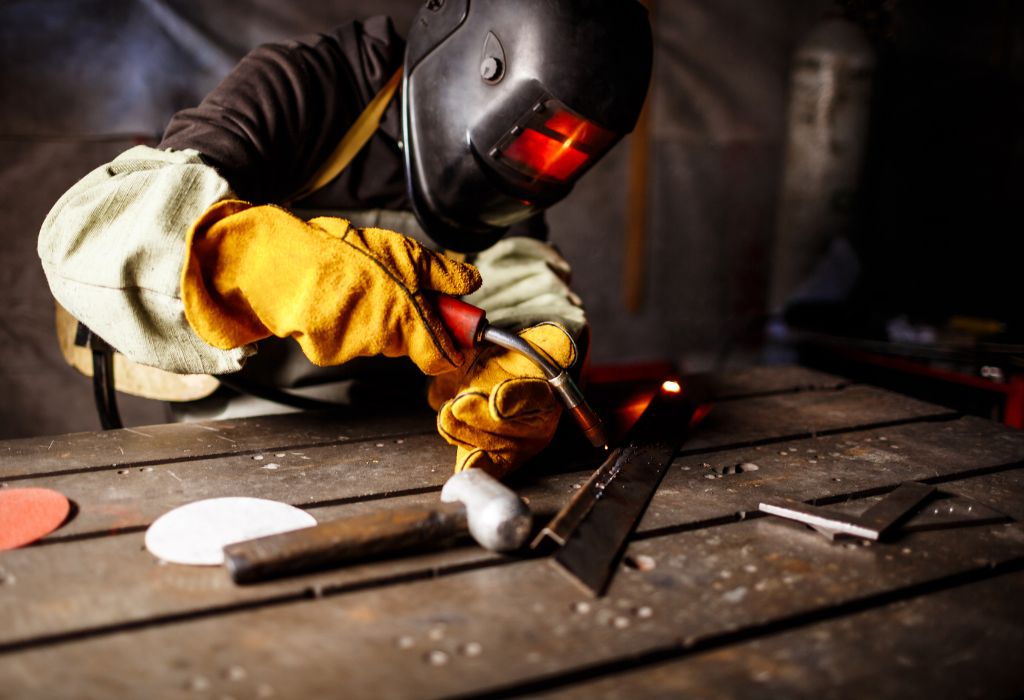
A welding position describes the orientation of the workpiece and the welder during the welding process. It defines how the joint is placed—flat, horizontal, vertical, or overhead—and determines the technique needed to produce a strong, defect-free weld.
Positions are standardized by organizations like the American Welding Society (AWS) and the International Organization for Standardization (ISO). Codes such as 1G, 2G, 3F, and 4F tell welders the position and type of weld required on blueprints and in certification exams.
For example:
- 1G stands for flat position groove weld.
- 2F stands for horizontal position fillet weld.
Learning welding positions helps beginners:
- Practice welding at different angles safely.
- Read and interpret blueprints and certification requirements.
- Prepare for real-world projects in construction, automotive, and aerospace sectors.
What is a welding position?
It’s the orientation of the workpiece and welder during welding, such as flat, vertical, or overhead.
Why should beginners learn welding positions early?
Positions affect weld quality, safety, and are part of most certification exams.
Are welding positions the same for all welding processes?
Yes, but techniques may vary slightly for SMAW, MIG, or TIG welding.
Who defines standard welding positions?
Organizations like AWS and ISO set global welding position codes and standards.
Types of Welding Positions and Their Symbols
Welding positions are divided into groove weld positions (1G, 2G, 3G, 4G) and fillet weld positions (1F, 2F, 3F, 4F). Each position tells welders how to place the workpiece and where the weld must be applied.
Flat Position (1G or 1F)
In the flat position, the workpiece is placed so that the weld is performed from above on a horizontal surface. It’s the easiest position for beginners because gravity helps control the molten metal.
- Applications: Structural plates, pipelines, sheet metal welding.
- Advantages: Easy to learn, high-quality welds, faster travel speed.
- Disadvantages: Not always suitable for on-site projects with fixed structures.
What is the flat position used for?
It’s used for welding flat surfaces like plates, tanks, and horizontal pipes.
Horizontal Position (2G or 2F)
The horizontal position places the weld on a vertical surface, but the weld axis itself stays horizontal. This requires better control because gravity pulls the molten metal downward.
- Applications: Shipbuilding, fabrication shops, construction projects.
- Advantages: Common in industrial work, good for pipelines and frames.
- Disadvantages: Beginners may struggle with bead shape and penetration.
Why is the horizontal position harder than the flat position?
Because gravity affects the molten pool, requiring better technique to prevent sagging.
Vertical Position (3G or 3F)
In the vertical position, the weld progresses either upward (vertical-up) or downward (vertical-down) along a vertical surface.
What’s the difference between vertical-up and vertical-down welding?
Vertical-up gives deeper penetration, while vertical-down is faster but with less penetration.
Overhead Position (4G or 4F)
The overhead position is the most challenging because the welder works from below the joint, and molten metal tends to drip downward.
- Applications: Pipelines, automotive frames, construction beams.
- Advantages: Allows welding in areas where workpieces can’t be moved.
- Disadvantages: Highest skill level needed; risk of spatter and defects.
Why is the overhead position considered difficult?
Gravity works against the welder, making control of molten metal harder and safety gear essential.
Groove Weld vs. Fillet Weld Positions
Welding positions are classified into two main categories: groove weld positions and fillet weld positions. Both use the same position codes (1, 2, 3, 4) but serve different purposes in welding applications.
Groove Weld Positions (1G, 2G, 3G, 4G)
- Definition: Groove welds join two pieces of metal in the same plane with the weld placed in a prepared groove between them.
- Positions:
- 1G: Flat groove weld
- 2G: Horizontal groove weld
- 3G: Vertical groove weld
- 4G: Overhead groove weld
- Applications: Pipelines, pressure vessels, structural components where full penetration welds are required.
Why are groove welds used in pipelines?
Because they provide full penetration, ensuring high strength and leak-proof joints for pressurized systems.
Fillet Weld Positions (1F, 2F, 3F, 4F)
- Definition: Fillet welds join two pieces of metal at an angle, forming a triangular cross-section.
- Positions:
- 1F: Flat fillet weld
- 2F: Horizontal fillet weld
- 3F: Vertical fillet weld
- 4F: Overhead fillet weld
- Applications: Frames, bridges, automotive parts, and structural supports.
Which is easier for beginners: groove or fillet welds?
Fillet welds are simpler because they need less edge preparation and are easier to set up.
Key Differences
| Aspect | Groove Welds | Fillet Welds |
| Joint Type | Edge-to-edge joints | T-joints, lap joints, corner |
| Strength | Higher strength with full penetration | Moderate strength |
| Preparation | Requires groove cutting/beveling | Minimal preparation needed |
| Applications | Pipelines, heavy structures | Frames, sheet metal, supports |
Welding Position Symbols on Blueprints
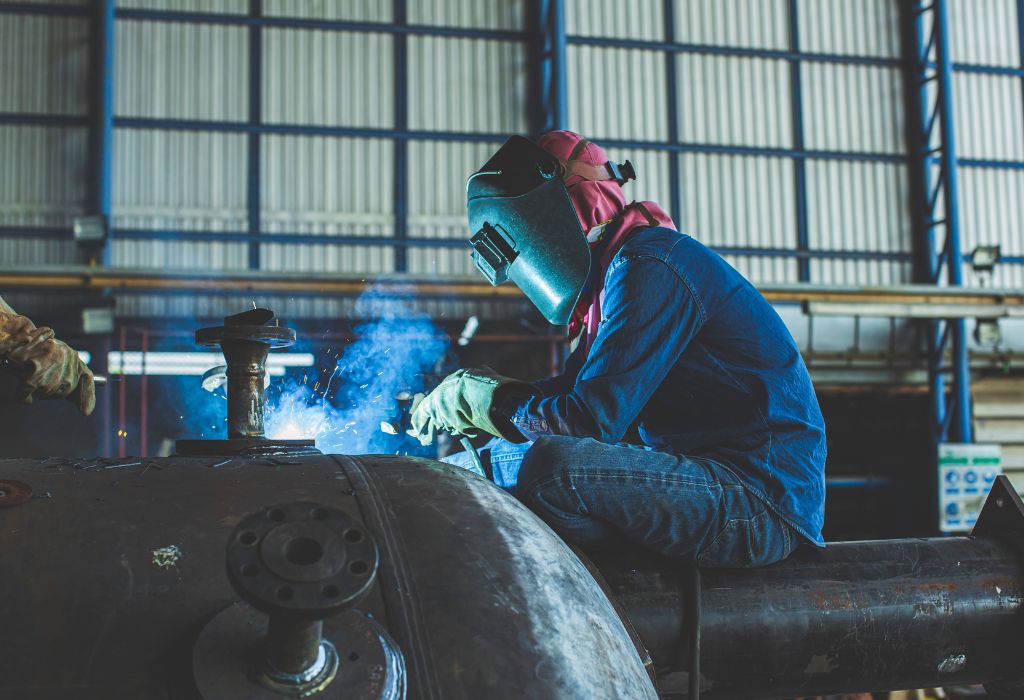
Welding blueprints use standardized position symbols so welders, engineers, and inspectors can interpret instructions quickly and accurately. These symbols follow global standards set by organizations like the American Welding Society (AWS) and International Organization for Standardization (ISO).
Position symbols typically appear along with:
- Reference lines showing weld type and location.
- Position codes like 1G, 2F, 3G, or 4F indicating the exact welding position.
- Supplementary symbols for weld size, length, and spacing.
For example:
- A 2G symbol on a blueprint means a horizontal groove weld is required.
- A 3F symbol specifies a vertical fillet weld.
Blueprint readers use these symbols to understand:
- The welding process (e.g., SMAW, GMAW, GTAW).
- The position and orientation of the weld.
- Any special instructions like root gaps or finishing requirements.
Do AWS and ISO use the same welding position symbols?
Most symbols are similar, but some international projects may add extra notations based on local standards.
Are these symbols used in robotic welding systems?
Yes. Automated welding machines rely on digital blueprints with the same standardized symbols to perform accurate welds.
Do beginners need to memorize position symbols?
It helps, but practicing with welding symbol charts and blueprint exercises is the best way to learn them.
Techniques for Each Welding Position
Each welding position requires specific angles, speeds, and techniques to ensure strong, defect-free welds. Beginners should practice each position separately to build confidence and consistency.
Flat Position (1G, 1F)
- Torch/Electrode Angle: Keep at 10–15° travel angle for smooth bead formation.
- Travel Speed: Moderate speed works best; too slow causes excess buildup, too fast leads to weak fusion.
- Common Defects: Overlap and excessive spatter if heat is too high.
Tip: Start with flat welding since it’s easiest for beginners and helps master basic hand control.
Horizontal Position (2G, 2F)
- Torch/Electrode Angle: Use a slight upward angle (5–10°) to counter gravity’s pull on the molten pool.
- Travel Speed: Maintain a steady pace to avoid sagging or undercutting.
- Common Defects: Slag inclusion and uneven beads due to gravity effects.
Tip: Use a weaving technique for wider joints to improve bead shape.
Vertical Position (3G, 3F)
- Torch/Electrode Angle: Hold at 90° to the workpiece with slight upward tilt for vertical-up welding.
- Travel Speed: Slower for vertical-up (better penetration); faster for vertical-down (less penetration).
- Common Defects: Undercut and lack of fusion if heat input is not controlled.
Tip: For vertical-up, use a zigzag or triangular motion to support molten metal as it cools.
Overhead Position (4G, 4F)
- Torch/Electrode Angle: 5–15° travel angle, keeping arc length short for better control.
- Travel Speed: Slightly faster to prevent molten metal from falling.
- Common Defects: Spatter, porosity, and slag inclusion if puddle control is poor.
Tip: Use low amperage and stringer beads to reduce molten metal buildup.
Which welding position is best for beginners to start with?
The flat position (1G, 1F) because it offers easier control and better visibility.
Why is overhead welding considered most difficult?
Gravity works against the welder, making puddle control and safety precautions more critical.
How do you prevent defects in vertical welding?
Control heat input, use proper travel speed, and maintain consistent electrode angles.
Practical Applications of Welding Positions in Industries
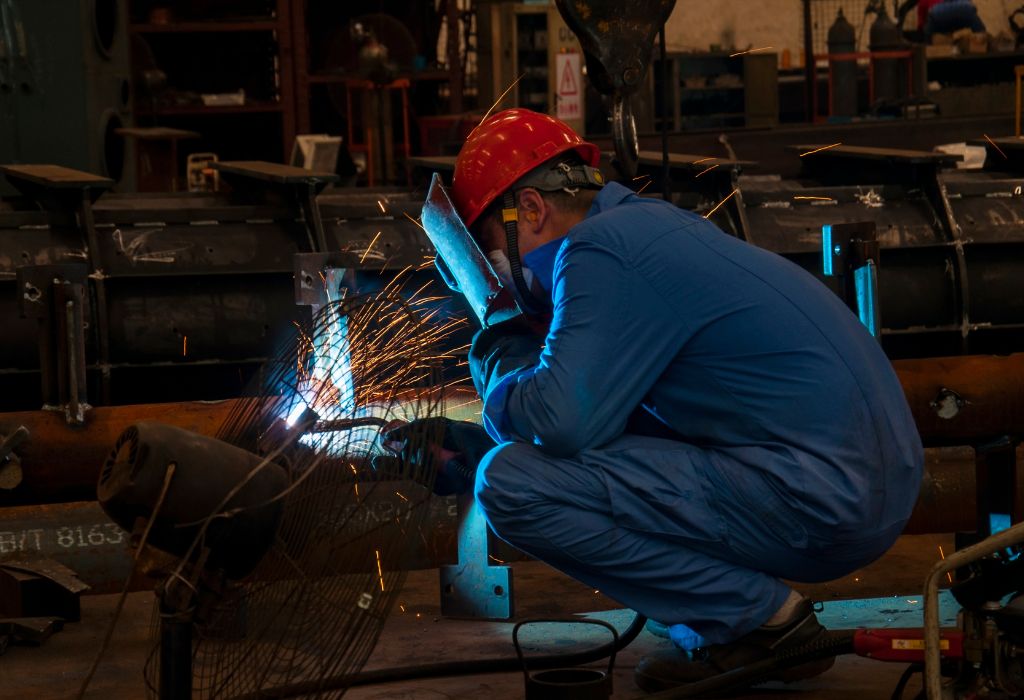
Different welding positions are used depending on the project type, structure orientation, and accessibility. Skilled welders often need to work in multiple positions for one project to ensure strength and precision.
Construction Industry
- Vertical and overhead positions are common when welding skyscraper frames, bridges, and offshore platforms.
- Flat and horizontal positions are used for welding beams, columns, and foundation plates in workshops before assembly.
Which positions are most used in construction?
Vertical and overhead positions dominate because many joints are fixed and cannot be rotated for flat welding.
Automotive Manufacturing
- Flat and horizontal positions are preferred for robotic welding of car frames, exhaust systems, and chassis parts.
- Overhead positions are sometimes required for repairs or assembly on elevated sections of vehicles.
Are overhead welds common in automotive work?
Less common in mass production but essential for maintenance and repairs.
Aerospace Industry
- Vertical-up positions are used in aircraft fuselages and precision welding of fuel tanks.
- Flat positions dominate in component manufacturing to ensure defect-free welds with high safety standards.
Do aerospace projects require all positions?
Yes, because aircraft structures involve complex geometries with varied orientations.
Energy Sector
- Overhead and vertical positions are required for pipelines, nuclear reactors, and wind turbine towers.
- Flat positions are used in fabrication shops for base components before on-site installation.
Which positions are common for pipelines?
Vertical-up and overhead positions because pipes are often fixed and need full penetration welds.
Advantages and Disadvantages of Welding Positions
Each welding position has its own benefits and challenges. The choice depends on factors like project complexity, material thickness, and accessibility.
Comparison Table: Welding Positions
| Position | Advantages | Disadvantages | Common Applications |
| Flat (1G, 1F) | Easiest for beginners, fast welding speed, good quality | Limited to parts that can be positioned flat | Plates, tanks, pipelines |
| Horizontal (2G, 2F) | Used in structural projects, easy for robotic welding | Gravity affects molten pool → risk of defects | Frames, shipbuilding, fabrication |
| Vertical (3G, 3F) | Full penetration welds possible, strong joints | Requires skill to control heat and weld pool | Bridges, towers, aerospace parts |
| Overhead (4G, 4F) | Useful for fixed overhead structures | Most difficult, risk of spatter, slow travel speed | Pipelines, construction beams |
Key Takeaways
- Flat position: Best for beginners and shop welding with rotatable parts.
- Horizontal position: Ideal for automated and structural welding projects.
- Vertical position: Ensures strength but requires skill and heat control.
- Overhead position: Used in fixed structures but needs advanced techniques.
Which position gives the strongest welds?
Vertical-up positions often produce the strongest welds due to better penetration.
Which position is most cost-effective?
Flat positions are faster, require less filler material, and are cheaper to perform.
Why avoid overhead welding for beginners?
It’s technically challenging and increases the risk of welding defects.
Visual Welding Positions Chart for Beginners
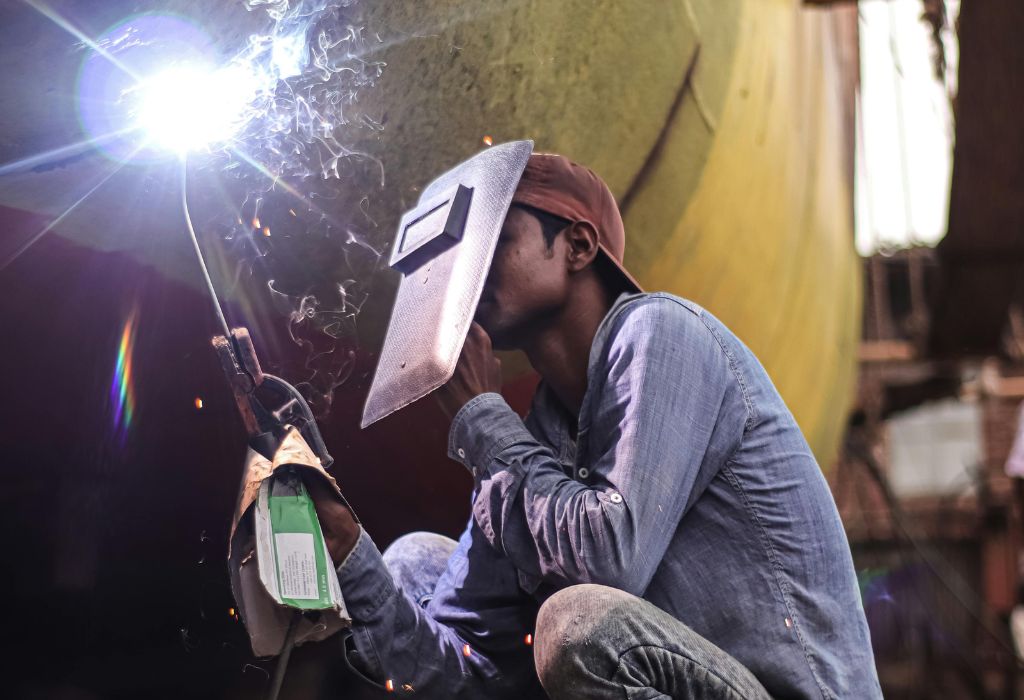
Learning welding positions becomes easier when beginners have access to visual charts and diagrams rather than relying only on text descriptions. Visual aids simplify complex concepts like position codes, joint orientations, and welding angles.
Recommended Diagrams and Infographics
1. Welding Position Codes Chart
A chart displaying all groove weld (1G, 2G, 3G, 4G) and fillet weld (1F, 2F, 3F, 4F) positions with clear labels and real-world examples.
2. Blueprint Symbol Reference Guide
Infographics showing how position symbols appear on welding blueprints with side-by-side explanations for AWS and ISO standards.
3. Welding Angles and Travel Speed Diagrams
Visuals explaining recommended electrode angles, travel speeds, and motion patterns for each position.
4. Comparison Table of Welding Positions
A single chart summarizing advantages, disadvantages, difficulty levels, and typical applications for quick reference.
5. Printable PDF Posters
Large-format diagrams for classrooms, workshops, or self-study, allowing beginners to memorize positions quickly.
Why Visual Aids Improve Learning
Studies show that visual learning improves retention by 65% when combined with text-based content (Source). Welding schools and training centers use wall charts, digital slides, and interactive PDFs to make learning faster and more effective.
Are digital tools available for welding positions?
Yes, many training programs offer interactive 3D models and simulation software for learning welding positions virtually.
Can I use these charts for certification preparation?
Absolutely. Most certification exams like AWS D1.1 require knowledge of welding position codes and symbols.
Conclusion
Mastering welding positions is essential for weld quality, structural safety, and career growth. From the simplest flat position to the challenging overhead welds, each position prepares beginners for real-world projects and certification exams.
In this guide, we explored:
- The four main welding positions and their standard codes.
- Differences between groove and fillet weld positions.
- Techniques to control heat, angle, and travel speed for each position.
- Practical applications in construction, automotive, aerospace, and energy industries.
For beginners, starting with the flat position (1G/1F) builds confidence before moving to horizontal, vertical, and overhead welding. Over time, learning multiple positions opens doors to advanced certifications like 6G and high-demand industrial jobs.
As industries embrace automation and robotic welding, welders trained in various positions will remain in demand for projects requiring accuracy, versatility, and safety compliance.
FAQs About Welding Positions
1. What are the main welding positions?
The four basic welding positions are flat (1G/1F), horizontal (2G/2F), vertical (3G/3F), and overhead (4G/4F).
2. Which welding position is easiest for beginners?
The flat position is easiest because gravity helps control the molten metal and it allows faster travel speed.
3. Which position is required for the 6G welding test?
The 6G test involves welding a pipe fixed at a 45° angle, combining multiple positions like vertical, overhead, and horizontal.
4. Do all welding processes use the same positions?
Yes, positions are standardized, though techniques may vary slightly for MIG, TIG, and stick welding.
5. Which welding position offers the strongest welds?
Vertical-up positions often produce deeper penetration, resulting in stronger welds for critical structures.
6. Are overhead welds common in industry?
Yes, overhead welds are frequently required in construction and pipeline projects where workpieces can’t be rotated.
7. Do AWS and ISO use the same welding position codes?
Most position codes are similar, but some international projects may use additional notations or slightly different symbols.
8. Which positions are used in automotive manufacturing?
Flat and horizontal positions dominate robotic welding of car frames and body panels for speed and consistency.
9. How do welding positions affect costs?
Flat positions are cheaper since they require less time, material, and skill compared to overhead or vertical welding.
10. Are all welding positions tested in certification exams?
Not always. Basic certifications test flat and horizontal positions, while advanced tests like 6G require multiple positions.
11. Can beginners learn vertical and overhead welding quickly?
Yes, with proper training and practice, but these positions require better heat and puddle control skills.
12. Do robotic welding systems use the same position codes?
Yes, automated welding machines follow the same standardized codes for programming and operation.

I’m Darrell Julian, the founder, lead writer, and hands-on welding enthusiast behind ArcWeldingPro.com. With more than 15 years of real-world welding experience, I created this platform to share what I’ve learned in the field, in the shop, and in the heat of the arc.

